
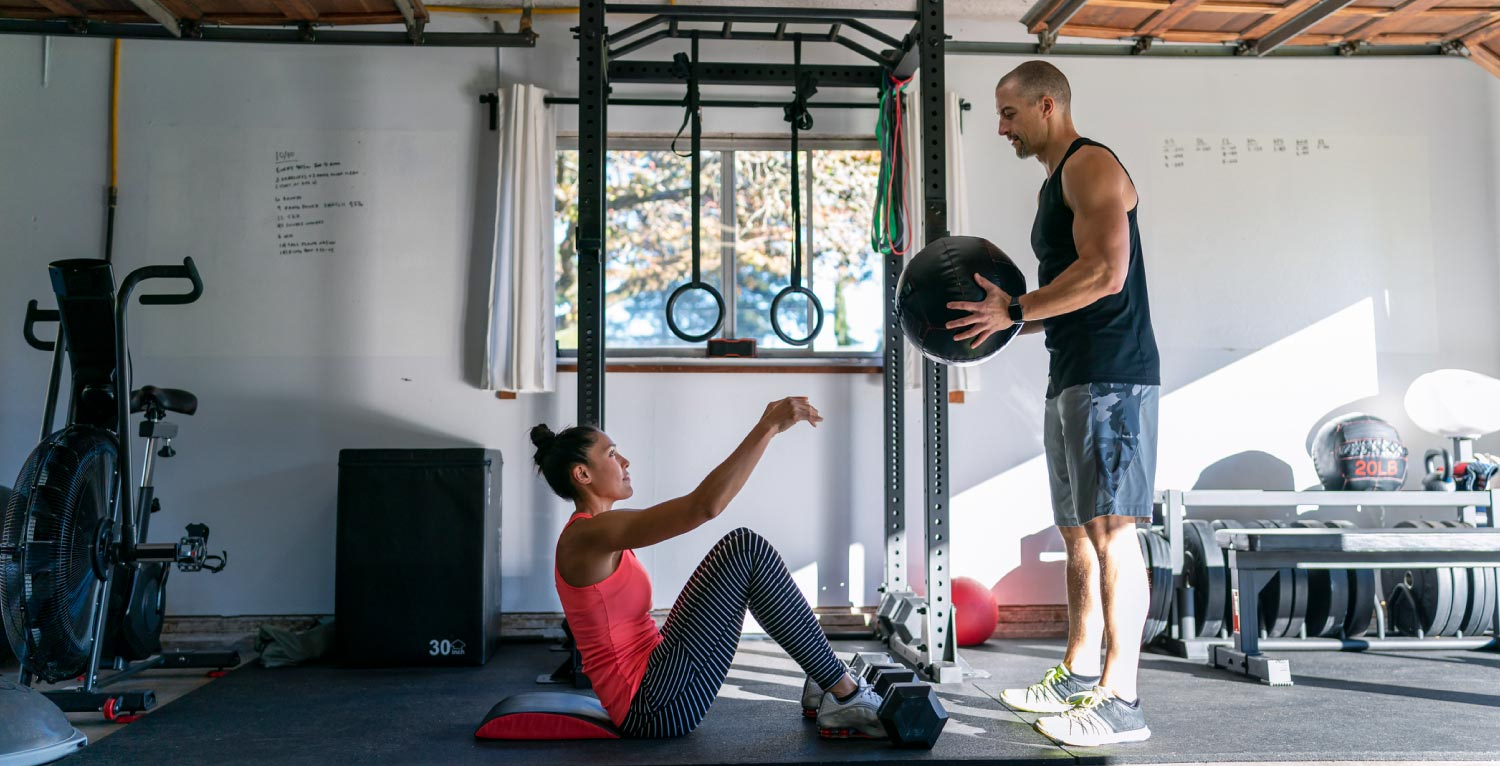
Home fitness is on the rise with no signs of slowing down. The fitness industry is positioning itself to meet the needs of the home-gym rat with fancier, more advanced equipment, however many are taking a simpler, more creative route with DIY solutions.
DIY home gym equipment is one of the ultimate forms of agency in your fitness journey because everything is on your terms. The price can be what you want, depending on how much you want to spend on parts. The type of equipment can be customized to meet your exact requirements opposed to products with limited variety. And of course there’s the satisfaction of the creative process, transforming everyday materials into functional fitness tools.
With just an understanding of your fitness goals and a little imagination, there are really no limits to the equipment you can create in order to help you along your fitness journey. From plyo-boxes to adjustable dumbbells, the possibilities are endless.
This article is designed to give you some ideas on how to begin creating DIY home gym equipment, provide resources to help you get started, and give you some practical steps to make your own top-of-the-line home gym. So without further adieu, let’s get started!
II. Planning Your DIY Home Gym
While creatively there are no limitations to the kind of fitness equipment you can create for your home gym, the paradoxical first step is assessing the limiting factors of your home gym- namely space, budget and realistic fitness goals.
Assess Your Space
Before putting anything together, it’s crucial that you figure out how much space you’re working with. For example garages or basements allow for larger equipment like power racks and benches. Spare rooms will be better suited for space-efficient set ups better suited for bodyweight/ free-weight exercises with smaller tools.
Accessing the space isn’t just limited to square footage- you’ll also have to note some of the smaller details that keep home gyms comfortable and functional. Does the basement or spare room have climate control? Are the ceilings high enough when jumping or pressing exercises are necessary? Is the flooring suitable for dropping weights? The rabbit hole of questions can go deep, but they’re important to ask to avoid complications in the DIY process.
Assess Your Space Checklist
Measurements & Dimensions:
- Measure total floor space (length x width in feet)
- Measure ceiling height (minimum 8 feet recommended for overhead exercises)
- Identify any obstructions (pipes, ductwork, support beams, light fixtures)
- Measure doorway width for moving equipment in and out
- Note any sloped or uneven flooring areas
Environmental Factors:
- Check ventilation (windows, fans, or air circulation)
- Assess natural lighting availability
- Evaluate temperature control (heating/cooling needs)
- Identify moisture or humidity issues (especially basements)
- Check for adequate electrical outlets for fans, speakers, or lighting
Structural Considerations:
- Determine floor type (concrete, wood, carpet)
- Assess floor durability and need for protective mats
- Locate wall studs for mounting equipment (use stud finder)
- Identify ceiling joists for overhead installations
- Check foundation stability for heavy equipment anchoring
Space Requirements by Equipment:
- Squat rack/power stand: 6×8 feet minimum (includes barbell clearance)
- Weight bench: 6×4 feet (includes movement space around it)
- Pull-up bar clearance: 7-8 feet height, 3-4 feet width
- Cardio/plyometric area: 8×8 feet open floor space
- Storage zones: wall space for racks, pegboards, or shelving
Safety & Access:
- Ensure clear pathways for entering/exiting workout area
- Verify adequate space to safely drop or rack weights
- Check for trip hazards (cords, uneven surfaces, clutter)
- Confirm emergency exit accessibility
- Plan equipment layout to avoid working out near windows or fragile items
Special Considerations:
- Basement: Check for low-hanging pipes, moisture prevention needs
- Garage: Consider insulation needs, vehicle parking space
- Spare room: Assess impact on household (noise, shared walls)
- Outdoor: Plan for weather protection, ground leveling, security
Final Space Assessment:
- Sketch a basic floor plan with equipment placement
- Confirm all planned DIY home gym equipment fits comfortably
- Leave 2-3 feet of clearance around major equipment pieces
- Identify future expansion possibilities
Set a Realistic Budget
Your budget is going to play a major role in the outcome of your DIY gym equipment. That’s not to say you can’t make some great fitness equipment with very limited funds, it just means you’ll have to major in creativity compared to someone with hundreds to spend on a variety of materials.
DIY home gym equipment generally costs 50-70% less than commercial alternatives. A basic homemade setup might run $100-300, while a more comprehensive gym could reach $500-800—still far cheaper than buying retail.
That being said, understanding what you’re willing to pay helps lay the framework for a strategic approach. For one it will help you determine what pieces of equipment should be prioritized first based on your fitness goal(s). Once you factor in materials, tools you don’t already own, and potential mistakes as you learn, your approach will also become more refined and your money spent more efficiently. All in all, remember to start small and expand over time rather than building everything at once.
Define Your Fitness Goals
Your workout focus determines what you’ll build. Strength training requires barbells, weight plates, and benches. Cardio enthusiasts might prioritize jump boxes and agility equipment. Mobility work needs minimal equipment—perhaps just parallettes or a slant board. Be honest about what you’ll actually use.
Define Your Fitness Goals Checklist
Primary Training Focus: (Check all that apply)
- Strength training (heavy lifting, muscle building)
- Cardiovascular endurance (stamina, heart health)
- Functional fitness (everyday movement, mobility)
- Athletic performance (speed, power, agility)
- Weight loss or body composition
- Rehabilitation or injury recovery
- General health and wellness
Essential Equipment Priorities: (Based on your goals)
- Strength: Squat rack, bench, barbell, weight plates
- Cardio: Jump rope, plyo box, battle ropes, agility equipment
- Bodyweight/Calisthenics: Pull-up bar, dip station, parallettes
- Functional Training: Sandbags, kettlebells, resistance bands
- Mobility/Flexibility: Foam roller, yoga mat, stretching aids
Workout Frequency:
- 2-3 days per week (minimal equipment needed)
- 4-5 days per week (moderate variety required)
- 6-7 days per week (comprehensive setup recommended)
Experience Level:
- Beginner (focus on safety, simple movements)
- Intermediate (ready for compound lifts, varied training)
- Advanced (need heavy-duty equipment, specialized tools)
Space & Budget Alignment:
- My goals match my available space
- My goals fit within my budget constraints
- I’ve prioritized must-have equipment over nice-to-have items
Reality Check:
- I’ll actually use this equipment regularly
- These goals align with my current lifestyle and schedule
- I’m being honest about what I’ll realistically build and maintain
Safety First
Quality materials and proper construction are non-negotiable. Invest in sturdy wood (avoid warped or cracked pieces), heavy-duty bolts, and appropriate fasteners. Test weight capacities before full use. Sand rough edges, ensure all connections are secure, and regularly inspect your equipment for wear. If you’re uncertain about a design’s safety, consult online communities or start with simpler projects.
If you want a more in-depth guide on how to tackle the home gym process, check out our article HOW TO SET UP A HOME GYM : THE COMPLETE GUIDE
III. Essential DIY Home Gym Equipment to Start With
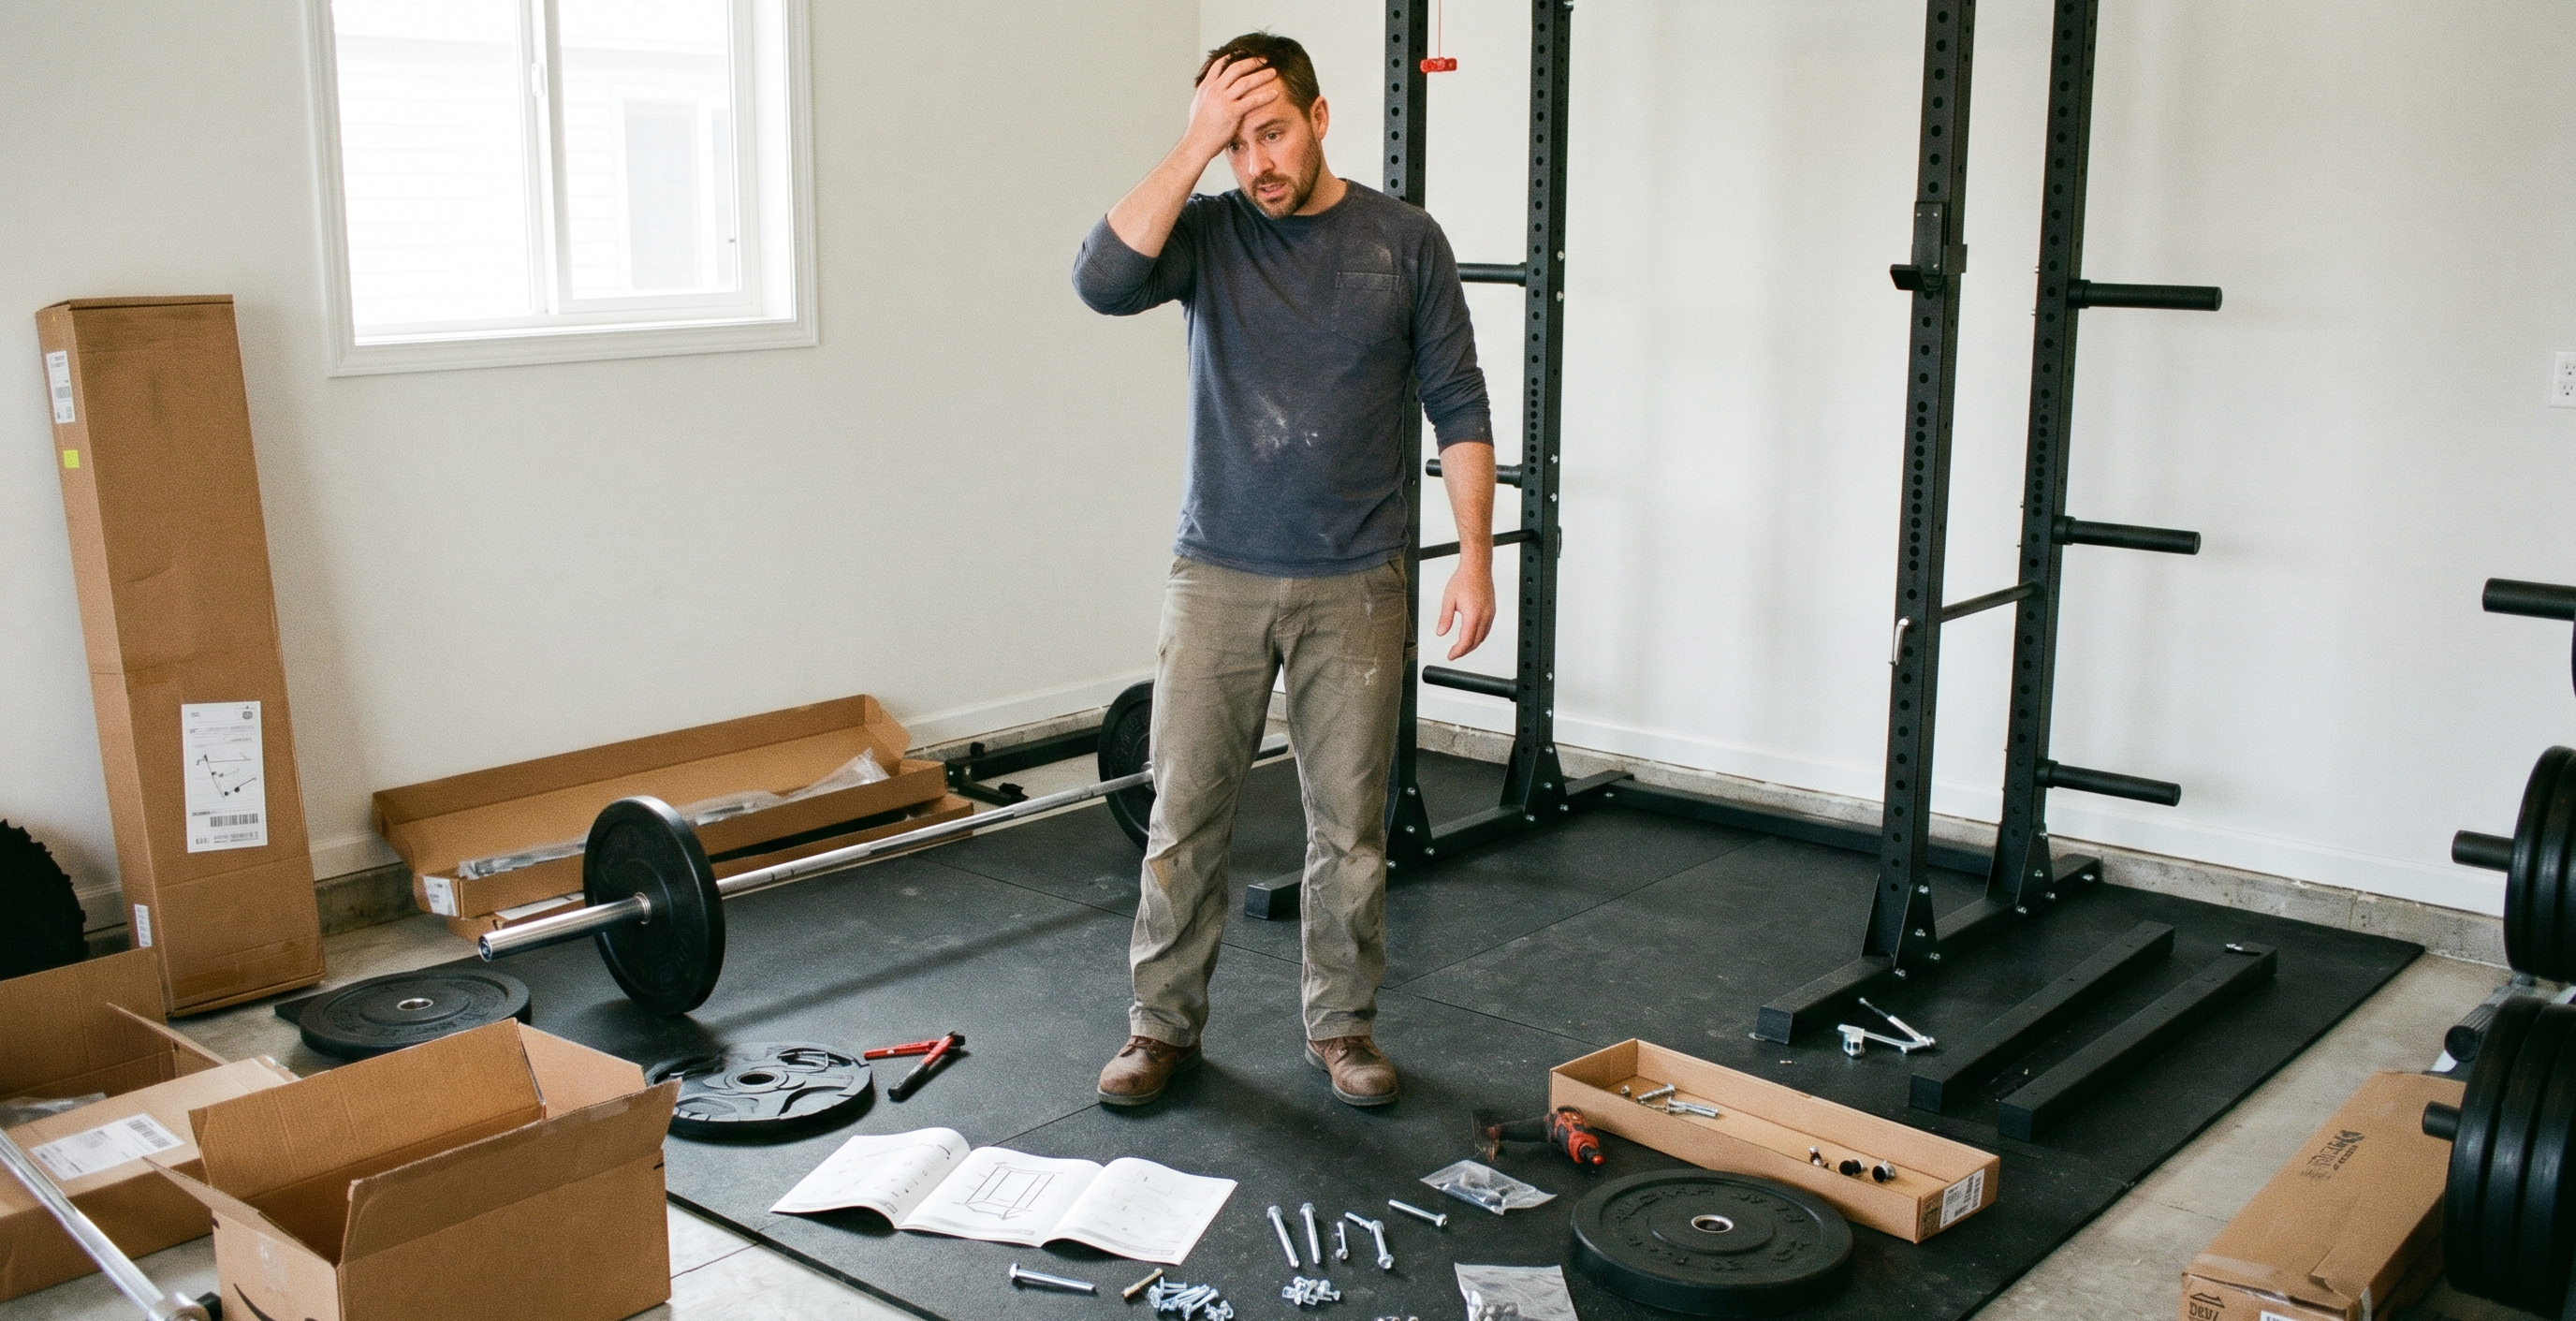
1. DIY Squat Rack/ Power Stand
A squat rack is the cornerstone of any strength-focused home gym, and building your own can save $300-800 compared to commercial models.
Materials:
Lumber Costs:
- 4×4 posts (four 8-foot posts): $40-80
- 2×6 boards (12 feet total): $15-25
- 2×4 boards (50 feet total): $25-40
- 2×10/2×12 base boards (optional): $20-35
Hardware & Fasteners:
- Lag bolts, carriage bolts, washers, nuts: $25-40
- Wood screws (box): $8-12
- L-brackets/corner braces: $15-25
Pull-Up Bar Materials:
- Galvanized steel pipe (4-5 feet): $20-35
- Floor flanges/mounting brackets: $10-20
- Pipe end caps: $5-10
Finishing Materials:
- Wood glue, sandpaper, sealant: $15-25
- Paint/stain (optional): $15-30
- Foam padding/pipe insulation: $5-10
- Rubber mat or weights for anchoring: $20-50
Total Estimated Cost: $150-280
Construction Overview: Build two vertical frames using 4×4 posts (at least 6-7 feet tall) connected by horizontal 2×4 supports at the base and top for stability. The bar catches—critical for safety—should be notched into the uprights or bolted securely using lag bolts (minimum 3/8-inch diameter). Space the catches 2-3 inches apart vertically to allow height adjustments. Cross-brace the back of each frame diagonally for rigidity, then connect both frames with additional bracing at the top and bottom. Anchor the entire structure to the floor or weigh it down with sandbags.
Safety Tips: Test with lighter weights first, gradually increasing load. A well-built wooden rack can safely handle 300-500 pounds, but this depends entirely on wood quality, joint strength, and anchoring. Never rely on a freestanding rack for heavy squats without proper weight distribution. Inspect bolts and joints monthly for loosening.
2. Homemade Weight Bench
A solid weight bench opens up dozens of exercises and costs a fraction of commercial alternatives.
Materials:
Lumber:
- 3/4-inch plywood sheet (4×8 feet): $45-65
- 2×4 lumber (approximately 20 feet for frame/legs): $15-25
- OR 4×4 lumber (approximately 12 feet for sturdier legs): $20-35
Hardware & Fasteners:
- 3/8-inch carriage bolts (3-4 inches long) with washers and nuts (16-20 pieces): $15-25
- Wood screws (2.5-3 inches, box): $8-12
- Wood glue: $5-8
Padding & Upholstery:
- High-density foam (2-3 inches thick, 12×48 inches): $20-35
- Vinyl upholstery fabric (3-4 yards): $25-40
- Staples for staple gun (box): $5-8
Finishing Materials:
- Sandpaper or sanding pads: $5-10
- Polyurethane sealant or exterior wood finish: $10-18
- Paint or stain (optional): $12-25
Tools (if you don’t already own):
- Staple gun (if needed): $15-30
- Most other tools (drill, saw, etc.) are commonly owned
Total Estimated Cost:
- Basic flat bench: $165-$270
Construction:
Cut your plywood for the bench top (approximately 12 inches wide by 48 inches long). Build an H-frame base using 2x4s or 4x4s, with legs angled slightly outward for stability—standard height is 17-18 inches. Bolt everything together rather than relying solely on screws. Attach the bench top securely to the frame. Cover the top with high-density foam (2-3 inches thick), then staple vinyl upholstery tightly underneath, ensuring no wrinkles that could cause discomfort during use.
Adjustable vs. Flat: Flat benches are simpler and more stable for beginners. Adjustable benches require a hinge mechanism and a locking pin system for the backrest, adding complexity but enabling incline and decline exercises. Start with a flat bench and upgrade later if needed.
Safety Checks: Before use, test the bench with your body weight, then gradually add resistance. Check that all bolts are tightened, the padding is secure, and there’s no wobbling. Apply polyurethane sealant to protect wood from moisture, and touch up with paint or stain for aesthetics.
3. DIY Pull-Up Bar
Pull-up bars deliver exceptional upper body development and are among the easiest pieces of DIY home gym equipment to construct.
Doorway Version:
The simplest option uses a 1.25-inch galvanized steel pipe cut slightly wider than your doorframe, with heavy-duty flanges screwed into the door frame studs on each side. Ensure screws penetrate at least 2 inches into solid wood. This setup costs $20-35 and installs in under an hour.
Ceiling-Mounted:
For a permanent solution, mount a steel pipe or wooden beam (2×6 works well) perpendicular to ceiling joists using lag bolts. This allows for multiple grip positions if you use a longer bar. Locate joists with a stud finder and use 3/8-inch lag bolts, minimum 3 inches long, driven into the center of the joists. Cost: $30-60.
Outdoor Version:
Build a freestanding frame using 4×4 posts set in concrete, with a 1.5-inch steel pipe or 2×6 mounted between them at 7-8 feet high. Add a step-up platform if needed. This robust option costs $60-120 but provides the most versatility.
Multi-Grip Bar:
Add perpendicular pipes for neutral grips, wrap sections with rubber grip tape for comfort, or attach wooden dowels at various angles for gymnastic ring mounting points.
4. Sandbag Weights & Water Jug Dumbbells
These represent the most budget-friendly resistance training options and provide excellent functional fitness benefits.
Sandbags:
Purchase military-style duffel bags or heavy-duty contractor bags (double-bagged for safety). Fill with playground sand, pea gravel, or rubber mulch to your desired weight—typically 20-100 pounds. Weigh the contents first using a bathroom scale, then seal with duct tape and zip ties. For durability, place filled bags inside canvas or cordura outer shells with handles sewn on. Cost per bag: $10-25.
Water Jug Dumbbells:
One-gallon jugs hold approximately 8 pounds, while 5-gallon jugs hold 40 pounds when full. For lighter weights, partially fill jugs. Create better handles by wrapping the existing handle with foam pipe insulation and duct tape, or thread a wooden dowel through the handle and across the top for two-handed movements. Add a small amount of bleach to prevent algae growth. Cost: $0-10 (often free with repurposed jugs).
5. Resistance Bands & Suspension Trainers
To be honest, commercial resistance bands and suspension trainers are pretty easy to come by and inexpensive. However if you’re interested in creating your own, the process can be both simple and cheap. Here are a few options to think about:
Resistance Band Alternatives:
Heavy-duty bungee cords (available at hardware stores) or tow straps can substitute for expensive resistance bands. Look for cords rated for at least 300-500 pounds. Create handles by threading the cord through PVC pipe sections wrapped with foam padding. Cost: $15-30 for multiple resistance levels.
DIY Suspension Trainer:
Purchase 25 feet of 1-inch nylon webbing (rated for 1,000+ pounds), two small carabiners, and two PVC pipe sections for handles. Create adjustable loops using cam buckles or friction buckles midway down each strap. Total cost: $25-40 versus $200+ for commercial systems.
Anchor Options:
For door anchors, sandwich a tennis ball inside a sock at the end of your strap—close the door on it above the frame. For wall/ceiling anchors, install heavy-duty eye bolts into studs or joists. Outdoor options include wrapping straps around tree branches or playground structures (use padding to protect the webbing).
Safety:
Always test anchors with your body weight before dynamic movements. Inspect webbing and connections before each use for fraying or damage. Never use resistance equipment with visible wear.
6. DIY Plyo Box or Step-Up Platform
Plyometric boxes are essential for explosive training, cardio conditioning, and lower body strength—and they’re incredibly simple to build.
Materials:
Hardware & Fasteners:
- 2-inch wood screws (coarse thread) – 50-60 pieces: $8-12
- Wood glue (interior/exterior grade) – 8-16 oz bottle: $5-10
- Optional: Corner brackets for added reinforcement – 4-8 pieces: $8-15
Tools Required:
- Circular saw or table saw (for cutting plywood)
- Power drill with drill bits
- Screwdriver bit for drill
- Measuring tape
- Carpenter’s square or speed square
- Pencil for marking
- Clamps (2-4) to hold pieces during assembly: $15-30 if purchasing
- Sandpaper or power sander
Finishing Materials:
- Sandpaper (80-120 grit) – Several sheets: $5-8
- Polyurethane sealant or exterior wood finish: $10-18
- Paint or stain (optional, for aesthetics): $12-25
- Rubber stall mat sections (12×24″ or larger) – For non-slip top surface: $15-30
- Construction adhesive (for attaching rubber): $5-8
- OR Anti-slip paint/grip tape as alternative: $10-20
- Basic plyo box (painted, no rubber top): $70-115
- Premium plyo box (with rubber mat top): $95-145
- Three-sided multi-height box: $100-160
Construction:
The most popular design is a 20x24x30-inch three-sided box that can be flipped for different heights. Cut six pieces of plywood: two 20×24-inch panels, two 20×30-inch panels, and two 24×30-inch panels. Assemble into a rectangular box using wood glue and screws every 4-6 inches along the edges. Pre-drill holes to prevent splitting. For a single-height box, standard dimensions are 20x24x24 inches.
Be sure to sand all edges smooth to prevent splinters. Apply polyurethane for moisture protection. Add rubber stall mat sections to the landing surface using construction adhesive, or apply anti-slip paint or grip tape. Paint the entire box with exterior paint for durability and aesthetics.
Stability Tips: Ensure all corners are perfectly square during assembly—use a carpenter’s square or measure diagonals to confirm. The box should sit flat without wobbling on all sides. Add weight inside if needed (sandbags work well). Do not make boxes taller than 30 inches unless you have advanced jumping experience.
7. Homemade Cardio Solutions
Cardio equipment is often the most expensive category, but DIY home gym equipment options make it accessible.
Jump Rope: The simplest option—purchase a basic rope for $10-15 or make your own using 1/4-inch nylon rope cut to length (stand on the center; handles should reach your armpits). Add wooden dowel handles or PVC pipe sections with end caps for grip.
Battle Ropes: Instead of buying expensive fitness ropes, source used fire hoses from fire departments (often free or very cheap when they retire old equipment). Cut to 30-50 feet and seal the ends with heat shrink tubing or duct tape. The weight and texture are perfect for battle rope exercises. Cost: $0-30 versus $100-200 for new battle ropes.
Outdoor Cardio Equipment: Tractor tires (free from tire shops) work perfectly for flips, hammer strikes, and sled pulls. For sled pulls, attach ropes to the tire or build a simple wooden sled using 2x6s with metal runners on the bottom. Fill with weight plates or sandbags for progressive resistance. Cost: $0-40.
Agility Ladder: Create one using PVC pipes or wooden dowels connected by nylon straps or rope. Each “rung” should be 15-18 inches apart. Cost: $10-20.
Focus on equipment that’s simple, durable, and multi-functional. Body weight cardio (burpees, mountain climbers, jumping jacks) requires no equipment at all. Your DIY gym should supplement, not replace, fundamental conditioning exercises.
IV. Creative Storage & Space-Saving Ideas
Creating your own DIY gym equipment is a great achievement, one that should be complimented by a clean, organized aesthetic. Having space to store equipment and keep the floor clear is literally the fine line between a functioning home gym and a storage unit for clutter. And believe me when I say that few things kill home fitness motivation quite like a messy gym floor. Even the most budget-friendly DIY home gym equipment deserves thoughtful organization that maximizes your space and keeps everything accessible.
Efficient Equipment Organization
An easy way to bring order to a potentially chaotic home gym is to organize equipment by frequency of use. The pieces that you use regularly- smaller items like resistance bands, jump ropes, and yoga mats– can be stored within arm’s reach and easily accessible. Heavier, less-used items like sandbags or extra weight plates can occupy floor space along walls or in corners.
Organizing equipment based on exercise type also helps establish visual cohesion and accessibility within a home gym. Some examples could be creating a strength area centered around a power rack or bench, a bodyweight zone centered around your pull up bar, or a cardio section with an open layout that caters to a variety of explosive HIIT exercises, jump rope, etc.
These mental and visual organization methods will make workouts flow so much more naturally and reduce stress from clutter.
Wall-Mounted Storage Solutions
Walls are your greatest ally in small spaces. Install a simple pegboard system ($20-40) to hang resistance bands, jump ropes, workout gloves, and smaller accessories. Use pegboard hooks of varying sizes to accommodate different items, and outline each tool’s position with paint or tape so everything has a home.

Build a DIY barbell rack using 2x4s mounted horizontally to wall studs with heavy-duty brackets. Space them 16-24 inches apart vertically to hold multiple barbells or loaded bars. Each rack costs $15-30 in materials and clears valuable floor space.

For weight plate storage, create a vertical plate tree using a steel pipe mounted to a heavy plywood base, or go horizontal with wall-mounted pegs (3/4-inch steel rods work perfectly). Horizontal storage is particularly space-efficient—mount 6-8 inch steel rods directly into studs at varying heights to accommodate different plate sizes.

Foam rollers, yoga mats, and resistance bands fit perfectly in wall-mounted PVC pipe holders. Cut 4-6 inch sections of 4-inch PVC pipe, mount them horizontally to a board, then attach the board to your wall. Each “cradle” holds cylindrical items securely and costs just a few dollars.
Multipurpose Furniture & Equipment
Another way to take your DIY gym equipment to the next level is to construct them with multiple functions! This new perspective will minimize clutter, save space and ultimately save money you’d otherwise spend on storage units.
However to accomplish this you’ll have to be intentional with your DIY equipment and be willing to think outside the box. When constructed creatively a weight bench can serve as a coffee table with a removable cushion top. With a little ingenuity a plyo-box can double as a storage container built with a hinged lid to hold resistance bands, weights, and small accessories inside.
Storage ottomans or benches with lift-top lids work excellently for dumbbells, ankle weights, and workout accessories. Place them along walls to provide both seating and hidden storage.
Overhead Storage Options
The idea of ceiling storage space might raise an eyebrow, but it’s an ingenious use of space when you think about it. With an installed storage rack (2×4 frame) suspended from garage ceiling joists– you have a perfect set up for rarely used equipment, seasonal gear or bulky items like sandbags. As long as you keep them high enough or close enough to the walls to allow for overhead exercises, you have an opportunity to save a considerable amount of space.
Ceiling-mounted hooks can hold TRX-style suspension trainers, battle ropes, or resistance bands when not in use. This keeps them off the floor and prevents tangling.

Vertical Stands & Mobile Carts
Build a simple dumbbell tree using a 4×4 post mounted to a heavy base with angled 2×4 arms extending at multiple heights. This vertical storage keeps dumbbells organized and easily accessible while occupying minimal floor space.
For ultimate flexibility, create a mobile storage cart using a small utility dolly or furniture coaster wheels. Mount a plywood platform with dividers for plates, dumbbells, and accessories. Roll it into position for workouts, then tuck it away in a closet or corner when finished.
V. Budget Breakdown: What You Can Expect to Spend
We’ve mentioned that DIY home gym equipment can save you a lot of money compared to their commercial alternatives- however knowing the numbers is still important. Depending on how many pieces of equipment you plan on creating, the numbers can rise quickly if you’re not strategic or creative with your money. Below are some budget tiers to help you get a better understanding of what to expect on your DIY fitness journey.
Sample Budget Tiers
Minimal Setup ($100-200):
This bare-bones gym covers fundamental movements and works perfectly for beginners or apartment dwellers with limited space.
Example equipment:
- DIY pull-up bar (doorway or ceiling-mounted): $20-35
- Resistance bands or DIY suspension trainer: $25-40
- Sandbag weights (2-3 bags at varying weights): $30-50
- Water jug dumbbells: $0-10
- Jump rope: $10-15
- Yoga mat or puzzle foam tiles: $15-30
This setup enables pull exercises, pushing movements (push-ups, dips), squats, carries, and cardio conditioning. It’s surprisingly comprehensive despite the minimal investment.
Mid-Range Setup ($300-600):
This tier adds substantial strength training capacity while maintaining significant savings over commercial equipment.
Example Equipment:
- DIY squat rack or power stand: $150-250
- Homemade weight bench: $150-240
- DIY pull-up bar with multi-grip options: $40-70
- Plyo box: $40-60
- Sandbags and water jugs: $40-70
- Resistance bands: $30-50
- Battle ropes (repurposed fire hose): $0-30
- Barbell and weight plates (used): $100-200
This setup rivals basic commercial gym capabilities. You can perform compound lifts, explosive training, and varied cardio work. The barbell and plates represent the largest expense here, but buying used dramatically reduces costs.
Advanced Setup ($700-1,200):
This comprehensive home gym includes everything serious lifters need, with premium materials and additional versatility.
Example Equipment:
- Heavy-duty wooden or steel DIY power rack: $250-400
- Adjustable DIY weight bench: $180-280
- Multiple pull-up bars with various grips: $60-100
- Set of plyo boxes (multiple heights): $80-120
- Olympic barbell and 300+ lbs of plates (used): $250-450
- .Landmine attachment (DIY): $30-50
- Complete sandbag set: $60-100
- Battle ropes and tire for outdoor work: $40-80
- Dip station or parallettes (DIY): $40-70
- Rubber flooring or stall mats: $150-250
- Storage solutions (wall racks, pegboard): $60-100
This setup competes with commercial gyms costing $2,000-4,000. You’ll have redundancy for different exercises and the capacity to train multiple people simultaneously.
DIY vs. Retail Price Comparison
The savings become crystal clear when comparing equivalent setups:
Basic Strength Package:
- Retail: Power rack ($500) + bench ($200) + barbell set ($300) = $1,000
- DIY: Power rack ($200) + bench ($150) + used barbell set ($150) = $500
- Savings: $500 (50%)
Complete Home Gym:
- Retail: Power rack ($800) + adjustable bench ($350) + barbell set ($400) + dumbbells ($300) + accessories ($200) = $2,050
- DIY: Power rack ($250) + bench ($200) + barbell set ($200) + DIY alternatives ($150) + accessories ($100) = $900
- Savings: $1,150 (56%)
The savings compound further when you consider gym membership costs. A typical membership runs $30-80 monthly ($360-960 annually). Your DIY home gym equipment pays for itself within 6-18 months while providing permanent access.
Sourcing Affordable Materials
Hardware Stores:
Big box stores like Home Depot, Lowe’s, and Menards are going to be your primary lumber and hardware sources. Scour their clearance sections for discounted wood with minor cosmetic flaws—which is perfectly ok for gym equipment. Also don’t be afraid to ask about contractor discounts; believe it or not some stores offer 10% off for bulk purchases or if you’re buying materials for multiple projects. And always be mindful of the seasons for timing major sales (Memorial Day, Labor Day, Black Friday) which could land you 15-25% savings on tools and materials.
Tip: Don’t overlook smaller, local hardware stores. They often have remnant lumber sections where odd lengths and leftover pieces sell at deep discounts—ideal for smaller projects like plyo boxes or benches.
Craigslist & Facebook Marketplace:
These platforms have the potential to be goldmines for used weight plates, barbells, and benches. Search terms like “weight set,” “barbell,” “gym equipment,” and “workout gear.” Be patient and check daily—great deals appear and disappear within hours.
Negotiate respectfully. Most sellers expect 10-20% below asking price, especially for items listed over a week. Bring cash and a vehicle capable of hauling heavy equipment. Inspect everything before purchasing: check barbells for severe rust or bent sleeves, ensure weight plates aren’t cracked, and test benches for stability.
Spring and fall see increased listings as people clean garages or abandon New Year’s fitness resolutions. Post “wanted” ads specifying exactly what you need—sometimes sellers reach out directly with unlisted items.
Online Retailers & Specialty Sources:
- Amazon/eBay: Compare prices on hardware, padding materials, and specialty items like grip tape or carabiners.
- Tractor Supply/Farm stores: Excellent for heavy-duty materials, chains, ropes, and rubber matting at agricultural pricing.
- Scrap yards: Source steel pipes, angle iron, and metal materials for a fraction of retail costs. Bring your measurements and they’ll often cut pieces for small fees.
- Surplus stores: Military surplus and industrial surplus stores stock webbing, canvas, and durable materials perfect for DIY projects.
VII. Safety & Maintenance Tips
Building DIY home gym equipment is only half the equation—proper maintenance ensures it remains safe and functional for years.
Regular Equipment Inspections
Inspect your equipment before every workout session, focusing on high-stress areas. Check wooden structures for cracks, splits, or warping, especially near joints and bolt holes. Examine all bolts and fasteners monthly—they naturally loosen over time from vibration and load cycling. Tighten anything that’s become loose using appropriate tools.
Look for rust on metal components like pull-up bars, steel pipes, and fasteners. Surface rust is cosmetic, but deep pitting or flaking indicates structural weakness. Wire brush minor rust and apply rust-inhibiting spray. Replace severely corroded parts immediately.
Test weight-bearing equipment with lighter loads after any extended period of non-use. If something feels unstable or sounds unusual, stop using it until you’ve identified and resolved the issue.
Proper Storage Practices
Store equipment in dry, climate-controlled spaces when possible. Moisture is the enemy of both wood and metal. If your gym is in a garage or basement, use dehumidifiers during humid months to prevent wood rot and metal corrosion.
Keep weights off the ground using racks or mats to prevent floor damage and moisture absorption. Store sandbags and water jugs away from direct sunlight—UV exposure degrades plastic and fabric over time.
Hang resistance bands, ropes, and suspension trainers rather than coiling them on the floor. This prevents permanent creasing and extends their lifespan. Clean vinyl upholstery and padding regularly with mild soap to prevent deterioration from sweat and oils.
When to Upgrade or Retire Equipment
Replace any equipment showing structural damage immediately—don’t risk injury to save money. Cracked wood, bent metal, frayed straps, or compromised joints mean retirement, not repair.
Plan to rebuild weight-bearing equipment every 3-5 years even without visible damage, as wood naturally weakens from repeated stress cycling. Non-weight-bearing items like plyo boxes or storage solutions can last indefinitely with proper care.
Upgrade when your strength outpaces your equipment’s capacity. If you’ve added 100+ pounds to your lifts since building your rack, consider reinforcing it or building a sturdier version with larger lumber or steel components.
- Regular inspection of homemade equipment for wear and tear.
- Proper storage of weights and materials.
- When to upgrade or retire your DIY builds.
VIII. Conclusion: The Power of Building Your Own Fitness Journey
Building DIY home gym equipment isn’t just about saving money—it’s about taking ownership of your fitness journey. With basic tools, affordable materials, and a willingness to learn, you can create a fully functional workout space for a fraction of retail costs.
From simple projects like sandbags and pull-up bars to more ambitious builds like power racks and adjustable benches, every piece of equipment you construct delivers both practical value and personal satisfaction. The skills you develop transfer beyond fitness: problem-solving, woodworking, and resourcefulness that serve you in countless future projects.
Start small if you’re hesitant. Build a single piece of equipment, test it, refine your technique, then expand. Source materials strategically through hardware stores, online marketplaces, and creative recycling. Maintain what you build with regular inspections and proper storage.
The gym membership you’re paying for right now could fund your entire home setup within a year. Your DIY home gym equipment works on your schedule, eliminates commute time, and never closes for holidays. Most importantly, it’s yours—customized to your goals, built by your hands, and ready whenever motivation strikes.
Stop waiting for the perfect moment or the perfect budget. Grab some lumber, watch a few tutorials, and start building. Your fitness goals deserve a space as unique and determined as you are.


Leave a Reply