
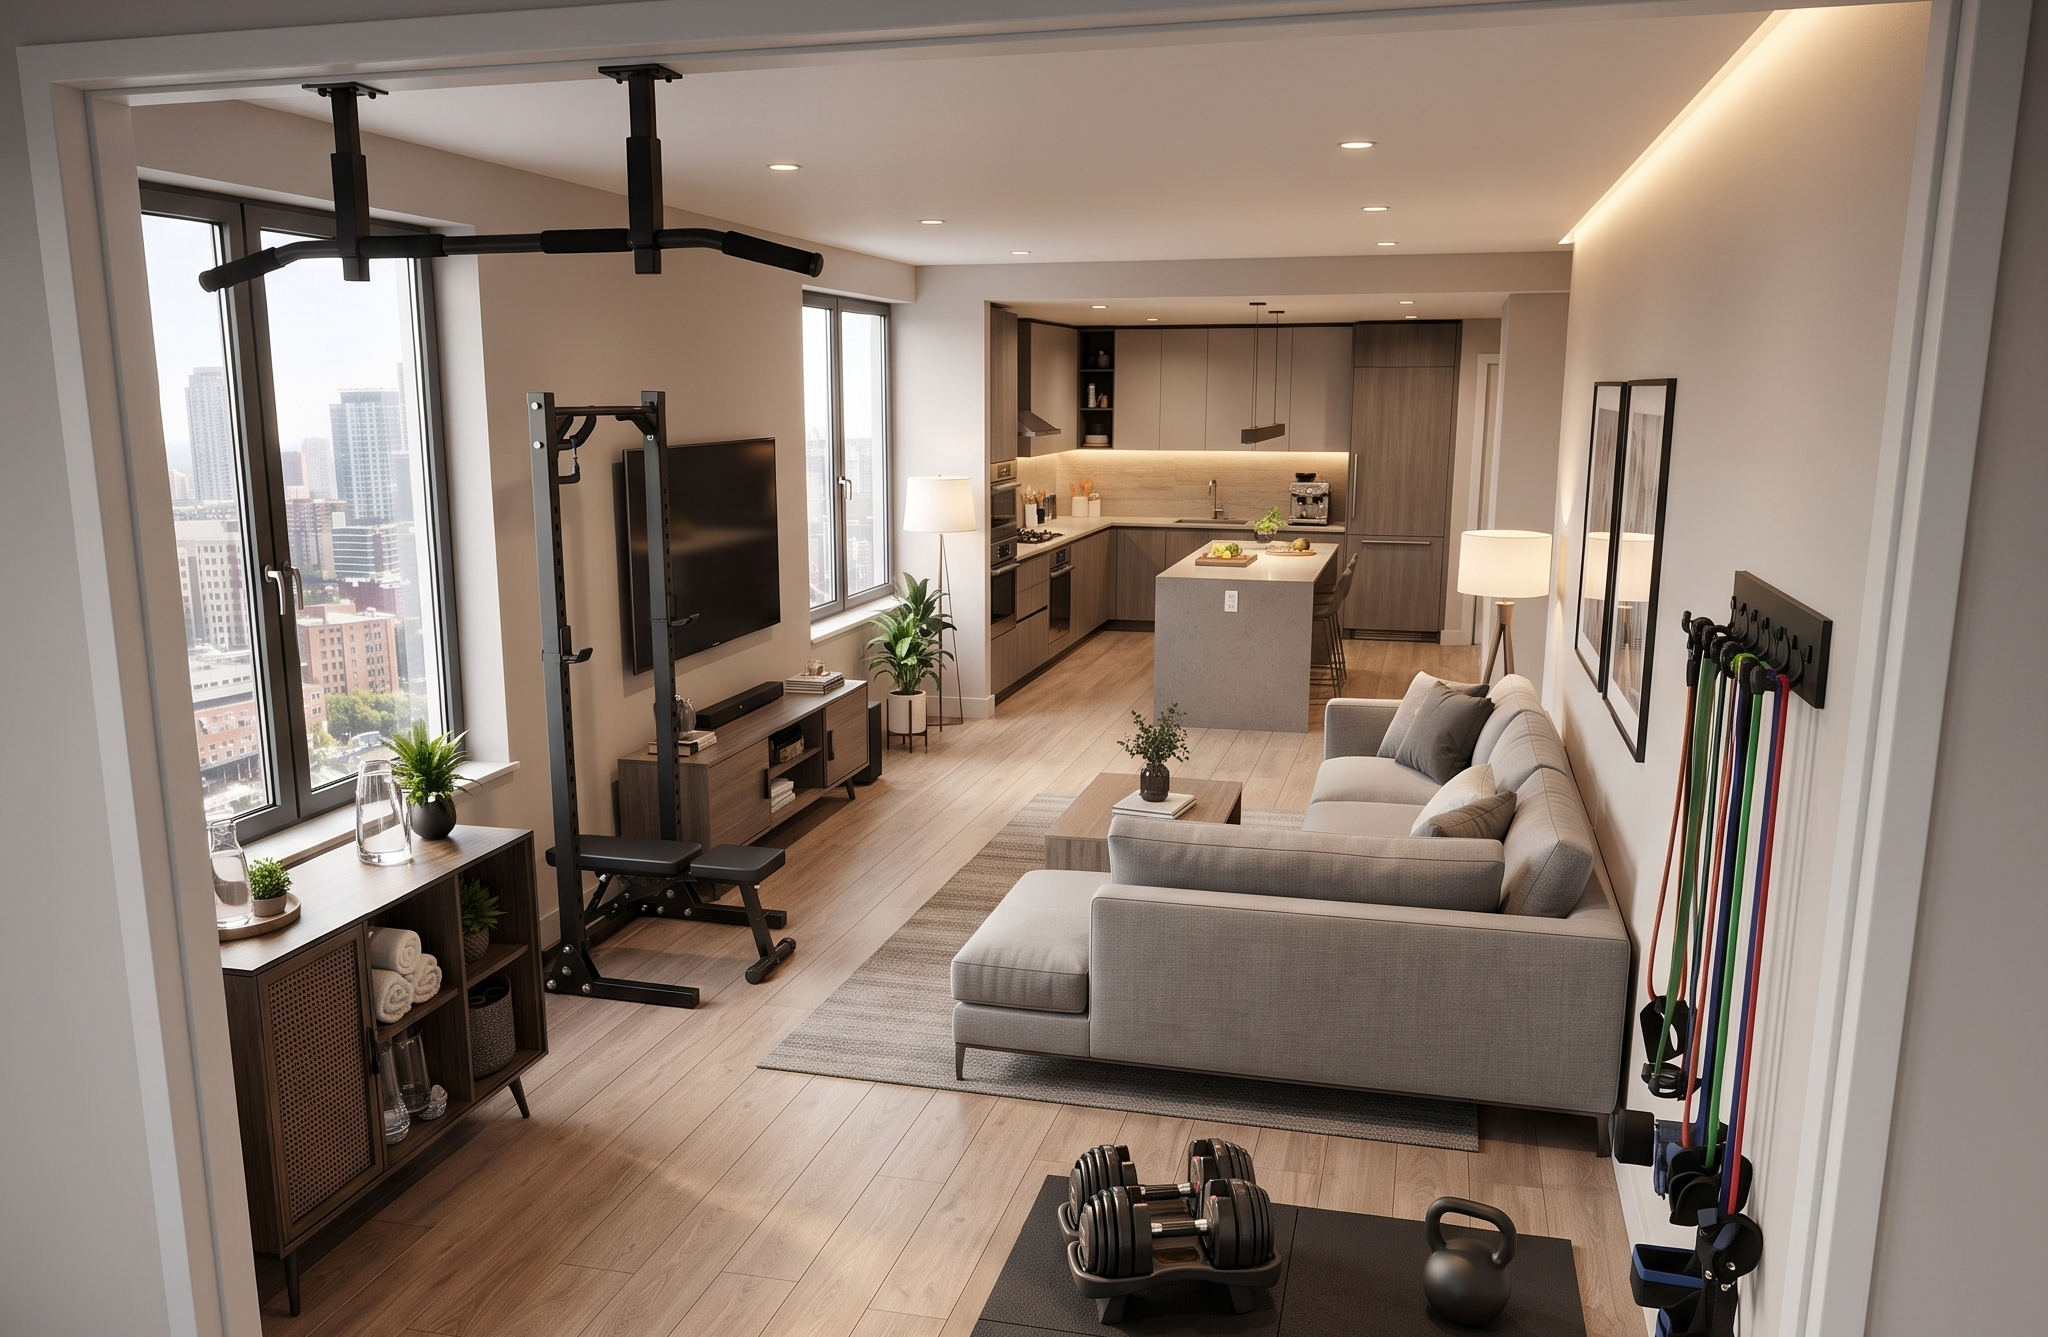
You’ve done the math. In an apartment with no garage, no basement, or a spare room — you get to choose between a corner of your living room or the corner of your room to make a workout happen. As a current apartment-renter, I sympathize with your struggle. But regardless of the difficulty, to make what we have work, we have to ask ourselves: how can an apartment home gym setup support real training?
This guide is here to answer that exact question: the mistakes that derail most apartment setups, how to plan the space before you buy anything, what equipment actually earns its square footage, and how to train around noise and lease restrictions without training around your goals.
The Mistakes That Sink Most Apartment Home Gym Setups
Before we dive into what to buy, it’s important to address the conditions that usually sabotage apartment home gyms from the jump. If we can create a foundation of awareness of what NOT to do– there’s no limits to the creative and functional options that will make your apartment home gym setup elite.
Buying equipment before measuring the space
This is the single most common mistake. Even if you know what type of equipment you want, buying, it’s in your best interest to pause. Imagine ordering a squat rack knowing full well it’s what you wanted, only to have it arrive for a room where it blocks the closet door. You should stop before you buy in order to measure first, always — width, depth, and ceiling height, since overhead pull-up bars and jump rope work both need clearance most people forget to check.

Ignoring the floor
Any apartment renter will tell you apartment floors are not gym floors. Dropping a kettlebell on laminate over a subfloor doesn’t just annoy your downstairs neighbor — it has the potential to chip the flooring and, in some buildings, violate your lease. This is a serious risk– not just an inconvenience, which is why floor protection isn’t optional in an apartment home gym setup the way it might be in a garage.
Overbuying in the first month
It doesn’t matter what kind of home gym you have– the temptation to buy everything at once is real. Understandably- motivation is highest at the start, and that’s exactly when people buy a bench, a rack, a full dumbbell set, and a cardio machine before they know how they’ll actually train in the space. Equipment should be added in response to a training need you’ve already run into — not stockpiled in anticipation of one.
No plan for reclaiming the space
If your gym corner has to become “the living room” again for guests, and there’s no system for that, the equipment starts feeling like clutter — and clutter is the fastest way an apartment home gym setup gets abandoned within a season.
Training like you’re not in an apartment
It should go without say that box jumps, heavy barbell drops, running in place work in a garage-but in a second-floor unit, they’re a whole other story. Loud, explosive exercises create a problem that no amount of motivation survives: a heated conversation with your neighbor. The training style has to fit the building, not fight it.
Keep this list nearby while you plan. Every section below is built to help you avoid these specific failure points, not just to fill space with generic advice.
Related Post: Home Gym Layout Mistakes (and How to Fix Them)
Planning Your Apartment Home Gym Setup Before You Buy Anything
Remember that a home gym is an environment, not a shopping list — and the environment has to be designed before the equipment gets chosen. This is every home gym owner should start, apartment or otherwise.
Measure the actual usable footprint
Most people can carve out a functional apartment home gym setup in 35–60 square feet — that could be a bedroom corner, a section of the living room, or a cleared-out dining nook. What matters more than raw square footage is a clear rectangle with no obstructions: you need room to hinge at the hips with a kettlebell, extend a resistance band fully, and move a dumbbell overhead without clipping a shelf.
Check ceiling height if you plan to jump or press overhead
Standard apartment ceilings run 8 feet. That’s enough for pressing movements and rope work, but tight for tall lifters doing overhead barbell work — factor your own height in before assuming a movement will fit.
Know your floor type before you commit to a layout
Concrete slab (common in newer or high-rise buildings) is far more forgiving for weights than a wood subfloor over joists, which transmits impact to the unit below. If you don’t know which you have, I’d recommend asking your building management or checking your lease — this detail should shape how much you invest in rubber flooring.
Talk to your downstairs neighbor before there’s a problem, not after
I know this might be an annoying step but having a five-minute conversation about your training schedule does more for long-term peace than any amount of rubber matting.
Design for multi-use from day one
If the space needs to revert to a living room, home office, or guest space, plan the layout around fast transitions — not around the assumption that the equipment gets to live out in the open permanently.
This planning stage is the actual foundation of a serious apartment home gym setup. Skip it, and no equipment list will save you.
Related Post: How to Set Up a Home Gym: The Complete Beginner’s Guide
The Core Equipment List: What Actually Earns Its Space
Once the space is mapped out, equipment selection gets a lot simpler — because the question isn’t “what’s available,” it’s “what solves a real training problem in this footprint.”

Strength Training Essentials
- Adjustable dumbbells
Hypata adjustable dumbbell set
A single adjustable pair replaces that entire rack in about two square feet of floor space, which is why they’re close to non-negotiable in almost every apartment home gym setup.

2. A kettlebell (or two)
Lifeline strength training kettlebell
In a moderate and heavier weight, cover ballistic and strength work — swings, goblet squats, presses — without needing a bench or rack.

3. Resistance bands
Are likely the most underrated tool in small-space training. They add loaded resistance to nearly any movement pattern, take up almost no storage space, and produce zero drop noise — a real advantage upstairs.

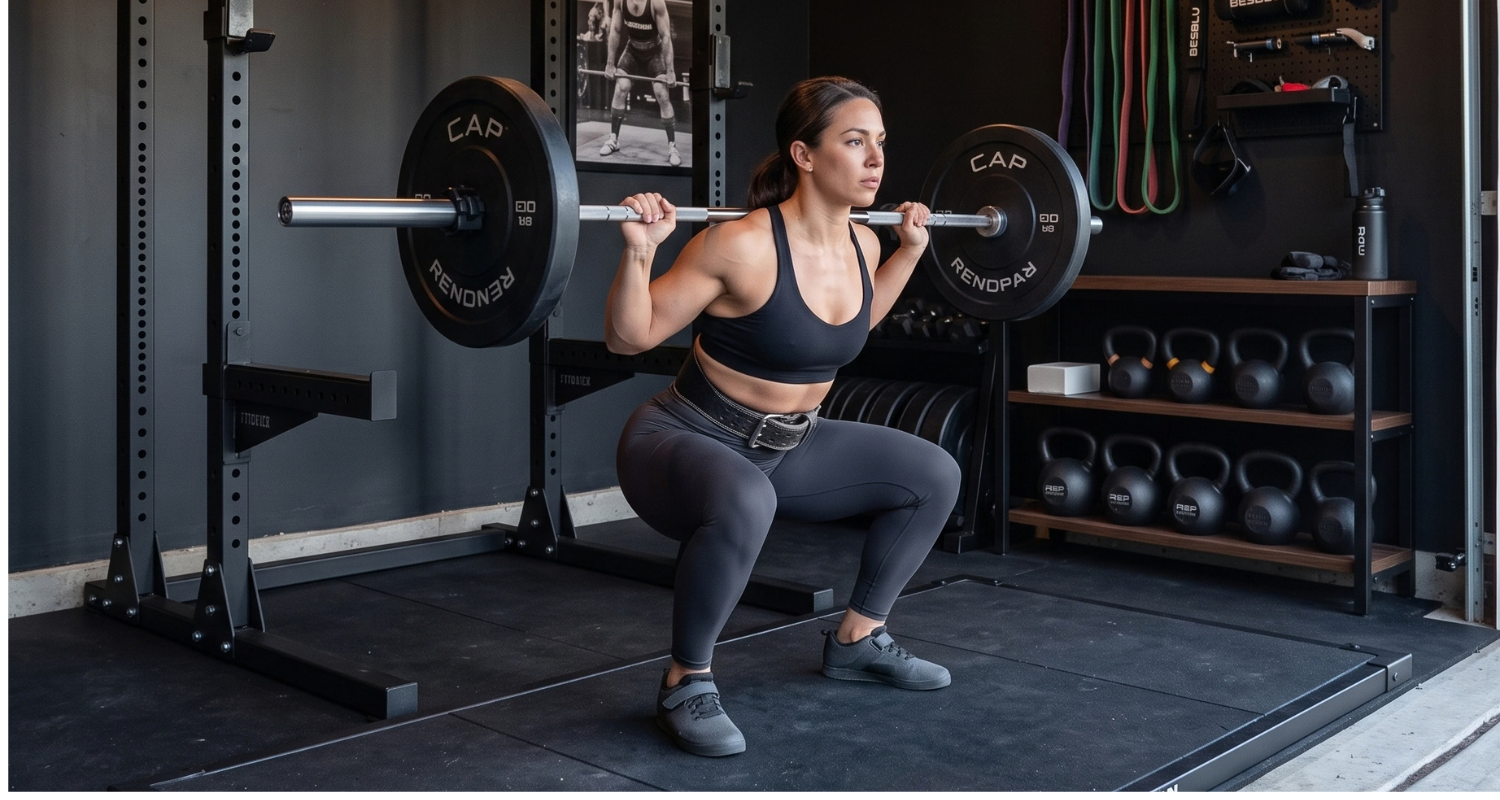
4. A compact folding rack
Mikolo 2’x2′ folding wall-mounted squat rack
If you’re committed to barbell training and have verified your floor can handle it.

5. A doorway pull-up bar
Delivering vertical pulling work without any footprint at all when not in use.

6. Adjustable/ Foldable Bench
While adjustable benches or preferable for the variety of exercises they offer in flat and inclined positions, foldable benches are ideal for storing away when not in use.

7. Mat Flooring
PRAISUN 0.6″ rubber gym flooring
Interlocking rubber tiles at least 3/4 inch thick absorb impact, protect hardwood or laminate from dumbbell dings, and keep weights from sliding during dynamic movements. Cover your full training footprint, not just a small square under the rack

Cardio for Tight Spaces
A jump rope is the most space-efficient conditioning tool that exists — but see the noise section below before you commit to it as your primary option. A foldable exercise bike is the better low-impact choice for apartments with hard floors or downstairs neighbors, since it produces almost no impact noise and folds flat against a wall.
What to Skip
Skip the flat bench if your space can’t fit it and leave a walking path — a stability ball or the floor can substitute for most bench work in a pinch. Skip heavy fixed-weight barbell plates unless your building has confirmed your unit can bear the load. And skip anything marketed as “space-saving” that still requires permanent floor placement — if it can’t be moved in under two minutes, it doesn’t belong in an apartment home gym setup built around a multi-use room.
Noise Control: The Part That Actually Determines Whether This Works
If there’s one factor that separates an apartment home gym setup that lasts from one that gets a noise complaint in month two, it’s this section — as much as I love the equipment list.
Get real flooring, avoid yoga mats. A yoga mat does nothing to absorb impact. What you want is interlocking rubber gym tiles, at least 3/4 inch thick, across your full training footprint. This is the single highest-leverage purchase for noise control, full stop.
Rethink how you drop weight. In a garage, dropping a kettlebell after a swing is normal. In an apartment, it’s one of the fastest ways to a noise complaint. Train yourself to lower weights under control instead of dropping them — it’ll be better for your joints anyway, and it’s the difference between training at 9pm and not being able to.
Swap plyometrics for low-impact equivalents. Box jumps and jump rope work translate to step-ups and shadow-boxing footwork with almost identical conditioning benefit and a fraction of the floor impact. This isn’t a downgrade — it’s a substitution that fits the environment.
Respect quiet hours as a training constraint, not a suggestion. Most leases and building rules specify quiet hours, typically after 9 or 10pm. Build your training schedule around them the same way you’d build around available equipment — it’s part of the environment, not an obstacle to it.
Get this section right, and your apartment home gym setup becomes something your neighbors never notice. Get it wrong, and it becomes the reason you’re asked to stop.
Related Post: How to Soundproof a Home Gym Without Major Renovations
Storage and Layout: Making Equipment Disappear When You Need It To
The equipment shouldn’t run your apartment — it should fit into it, and disappear when it’s not in use.
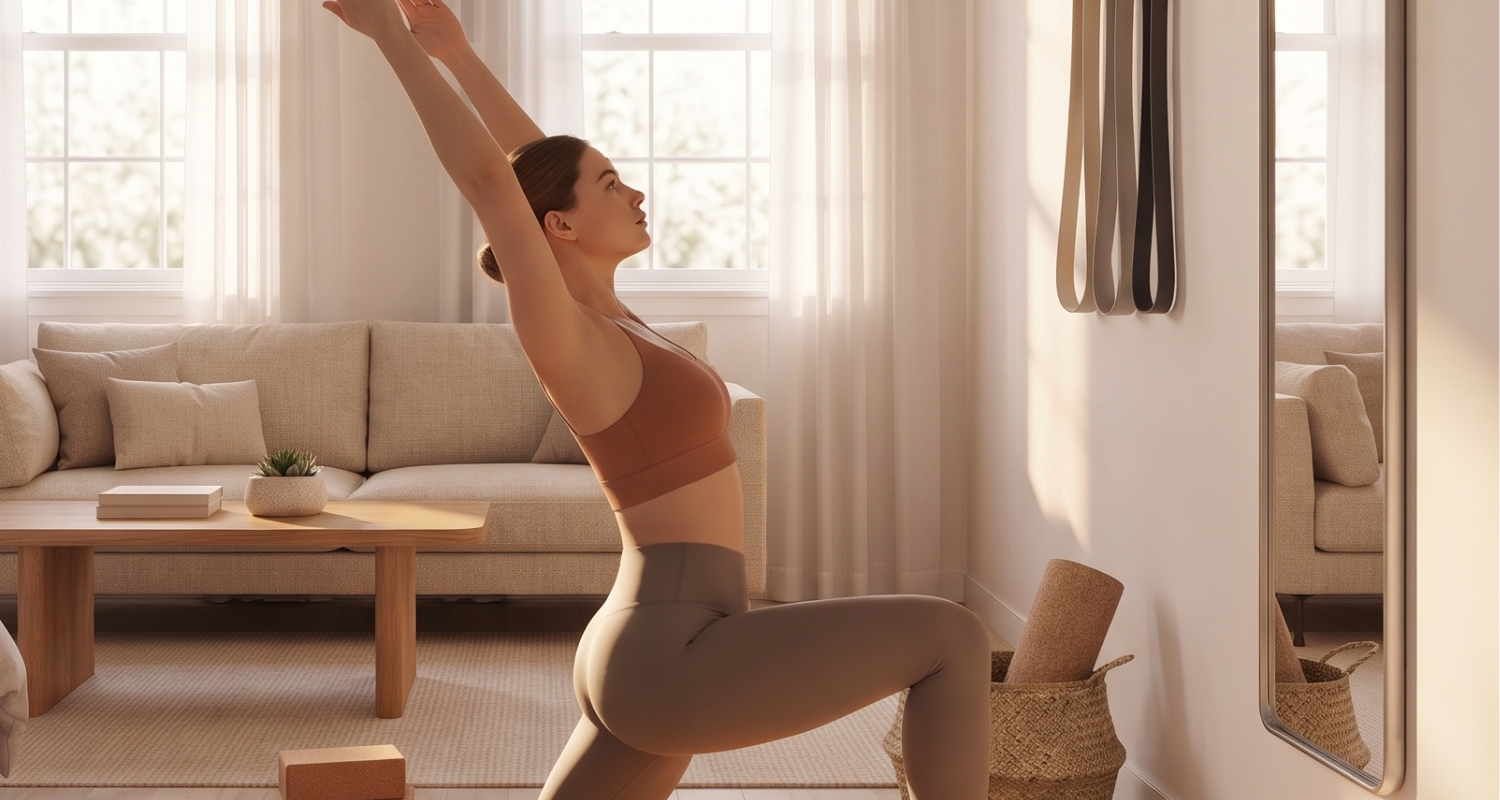
Go vertical. Wall-mounted hooks for resistance bands, a slim wall rack for dumbbells, and over-the-door storage for smaller items keep your floor clear for actual training, not equipment storage.

Use dead space under furniture. Under the bed is prime real estate for flat items — resistance bands, a folded mat, plates if you’re using them.
Build a two-minute reset routine. The equipment that stays out permanently should be the equipment you use daily; everything else gets a designated spot it returns to after every session. If putting the space back together takes longer than the workout felt worth, the layout needs to change.
Consider furniture that does double duty — an ottoman that stores bands and a jump rope, a bench that doubles as seating when guests are over. This is what makes an apartment home gym setup feel like a permanent part of the apartment instead of a temporary intrusion into it.
Sample Apartment-Friendly Training Programs
Here’s what this actually looks like in practice — three sample sessions built entirely around the equipment and constraints above.
Full-Body Strength (3x per week, adjustable dumbbells + bands) Goblet squats, dumbbell Romanian deadlifts, single-arm rows, floor press, band pull-aparts, band-resisted glute bridges. Three sets of 8–12 reps each, controlled tempo, zero dropped weight.
Low-Impact Conditioning (2x per week, minimal equipment) Kettlebell swings, step-ups, shadow-boxing intervals, band-resisted lateral walks. Circuit format, 40 seconds work / 20 seconds rest, six rounds.
No-Equipment Starter Routine (for your first two weeks) Bodyweight squats, push-ups, reverse lunges, glute bridges, plank holds. This is where I start every new apartment client — building the habit and the space-awareness before adding load.
Related Post: Best Strength Training Program for Beginners
Budget Breakdown: What to Actually Expect to Spend
| Tier | Equipment | Approx. Cost |
|---|---|---|
| Starter | Resistance bands, rubber mat, jump rope | $80–150 |
| Core Setup | Add adjustable dumbbells, kettlebell | $350–600 |
| Full Apartment Home Gym Setup | Add trap bar or compact rack, folding bike, full-room rubber flooring | $900–1,600 |
You don’t need to land on the top tier to train seriously. Most clients get real, sustained results from the Core Setup tier — the Full tier is for people who’ve already proven out the habit and know exactly what they’ll use.
The Space Is the First Investment
An apartment home gym setup isn’t a scaled-down version of real training — it’s a legitimate training environment, built to the constraints you actually have instead of the ones a bigger space would give you. The floor plan, the noise plan, the equipment that earns its square footage: that’s the foundation everything else gets built on. Skip it, and even the best program won’t stick. Get it right, and the space stops being an excuse and starts being the reason you show up.
If you want a structured way to walk through this — from measuring your space to building your equipment list without overbuying — grab our free [Home Gym Planning Checklist]. It’s the exact process outlined above, in a format you can work through room by room.
Leave a Reply