
You’ve made a lot of excuses in your fitness journey, and most of them have been complete and utter bull s&%t. I know this for a fact because I’ve been there too; it could’ve been a light drizzle outside and you blamed your absence from the gym on “inclement weather”. You said you were too tired after a long work day, and instead of curing it with an energizing workout, you used the same amount of time to down your favorite flavor of ice cream in front of your favorite show. There’s no judgement, we’ve all been there.
But this scenario is different. This excuse is real. Because unlike those early years of fitness when your excuses were your own, now you have to contend with the needs of a beautiful (but often annoyingly demanding) child/ children. These days you’d probably kill for the time you wasted in or outside of the gym, but those days are in the past.
Realities Between Fitness and Family
Now you don’t miss leg day because you weren’t motivated. You miss it because by the time the kids are fed, bathed, and finally asleep, the gym is closed– or you are for the day.
With kids in the picture, what you have isn’t a discipline problem. It’s become a logistics problem. And fortunately logistics problems have solutions.
A home gym for parents isn’t a backup plan or a consolation prize for people who can’t make it to the gym. It’s the only realistic training environment for anyone managing the beautiful chaos of raising kids while still trying to show up for themselves. I’ve worked with dozens of parents in my training practice, and the ones who stay consistent long-term almost always have one thing in common: they stopped trying to fit their workouts into their old life and built a new environment that fits the life they actually have.
This guide is built around that idea. We’re going to talk about why the home gym works so specifically well for parents, how to train effectively in short windows, how to share space safely with little ones, and which equipment setups make sense for real homes — not Pinterest boards.
Let’s build something that actually works.
Why a Home Gym for Parents Is the Only Training Model That Actually Works
I wish it weren’t true for parents, but unfortunately the math doesn’t lie. A gym membership that requires a 15-minute drive means every workout costs you at least 30 extra minutes of transit, plus time to park, change, and get set up. On a good day, you might be able to pull that off. On a day when your baby’s nap runs short, your partner has a late meeting, and the dog needs a walk — that 30 minutes looks too expensive for a trip to the gym.
The home gym eliminates all of it. The commute is the walk from your kitchen to your garage or spare room. There’s no childcare to coordinate. You don’t have to worry about what the gym floor looks like at 5:45 a.m. or whether the squat rack is open at 8 p.m. You train when you have time, for as long as you have time.
But beyond pure convenience, there’s something more meaningful happening when you build a dedicated training space in your home. You’re making a physical statement — to yourself and your family — that your health is not negotiable. That this matters. You know how kids absorb everything– they notice that. They see a parent who prioritizes movement, and they learn something about what it means to take care of yourself that no conversation could teach as clearly. There are few gifts you could give a child that’s more meaningful.
TRAINER’S ADVICE:
What I tell my clients who are parents: stop treating your fitness like something that orbits your life. Fitness in your life and environment should become a core feature that every other concern and aspect revolves around. I know it sounds selfish, but offering the world anything less than a healthy, active version of yourself is doing yourself and your loved ones a disservice. Build an environment where it’s already part of it. The home gym doesn’t just save time — it removes the decision-making friction that’s killing your consistency.
Takeaway
Calculate your current gym’s true time cost — door to door, including transit, parking, and setup. Most parents are shocked to realize it’s 45–60 minutes before they’ve touched a weight. That time is your training budget. Keep it.
The 20-Minute Training Strategy That Actually Builds Results
I know twenty to thirty minutes sounds like a compromise. Like you’re settling for less. But when those sessions are structured correctly, they’re not a watered-down workout — they’re a different kind of workout, and for busy parents, often a more effective one.
The reason why is when time is scarce, sharper focus becomes a necessity. You’re not spending seven minutes scrolling between sets. You’re moving with intention. The research on high-density training — shorter rest periods, compound movements, and circuit-style loading — consistently shows it produces comparable strength and cardiovascular adaptations to longer sessions, particularly for intermediate-level trainees.
So what does a 20-30 minute session actually look like in practice? I like to structure my clients’ short sessions around three principles:
- Start with the compound lift(s). Squats, deadlifts, hip hinges, push, pull — whatever movement pattern matters most gets done first, while your energy is highest.
- Double-up accessory work as supersets. Instead of resting between isolation exercises, switch between opposing muscle groups. Think bicep curls into tricep pushdowns. Goblet squat into Romanian deadlift. When you move more and rest less, you will definitely finish faster.
- Use density blocks for conditioning. The final 5-8 minutes of a session can be a timer-based circuit — kettlebell swings, bodyweight movements, or sled pushes if you have the space — that replaces the cardio machine you don’t have time for.
A sample 25-minute home session might look like: 5 minutes of dynamic warmup, 12 minutes of strength work (3 rounds of a superset pairing), 8 minutes of density conditioning. Done. Shower. Kids are still asleep.
TRAINER’S ADVICE:
One of the glaring mistakes I see parents make is trying to compress a 60-minute workout into 20 minutes. Scrap it and create/ use a program designed for 20 minutes from the jump. You’ll have a completely different structure, different exercise selection, and different rest periods. If performed right, you’ll find it a much more intense and effective experience.
Takeaway
This week, map out three 20-minute training windows in your schedule — not ‘sometime in the morning’ but specific time slots. Treat them like appointments you cannot cancel. Then design each session in advance so you walk in knowing exactly what you’re doing.
Kid-Friendly Safety in Your Home Gym: What You Must Address Before the First Rep
You’ll usually find this section skipped in most home gym guides, but it’s worth noting if you have kids in the house. A poorly set-up home gym with kids around isn’t just inconvenient — it’s a genuine safety risk. Getting this right isn’t about being paranoid; it’s about building an environment you can actually train in without one eye constantly on the door.
Let’s go through the non-negotiables:
Access Control
If your gym is in a garage or spare room, the door needs a lock — ideally one that requires a key or code, not just a handle turn that a curious four-year-old can figure out in approximately 45 seconds. Barbell plates, dumbbells, and kettlebells are not toys, and they’re heavy enough to cause serious injury if they fall on small feet.
Flooring and Stability
Rubber flooring isn’t just for protecting your subfloor. It creates a non-slip, shock-absorbing surface that reduces the risk of equipment tip-overs. Make sure all equipment — especially racks, cable machines, and adjustable benches — is properly weighted or anchored. A power rack that isn’t bolted to the wall is a falling hazard if a child tries to climb it (and they will try to climb it).
Related Article: Best Home Gym Flooring for Home Gyms: Rubber, Foam, or Carpet?
Equipment Visibility and Storage
Store resistance bands in a drawer or sealed bag — they’re irresistible to small hands and a strangulation risk. Keep plates loaded on the rack or in a dedicated storage area, not stacked against the wall where they can tip. Dumbbells should live on a rack, not the floor. Jump ropes, cable attachments, and loose accessories should be stored in a closed bin or cabinet.
Designated Zones
If your children are old enough to understand boundaries, establish a clear rule: during your training session, there’s a line they don’t cross. Use a piece of tape on the floor, a baby gate, or a visual marker. This isn’t about keeping your kids away from you — it’s about preventing accidents during loaded movements when your attention is divided.
Takeaway: Before your gym is ready to use, do a full walk-through at your child’s eye level — literally crouch down and see what they see. Look for loose cables, tipping hazards, accessible sharp edges, and any equipment that could be climbed on or pulled over. Fix those things first.
Related article: How to Organize a Small Home Gym (Solutions that Work)
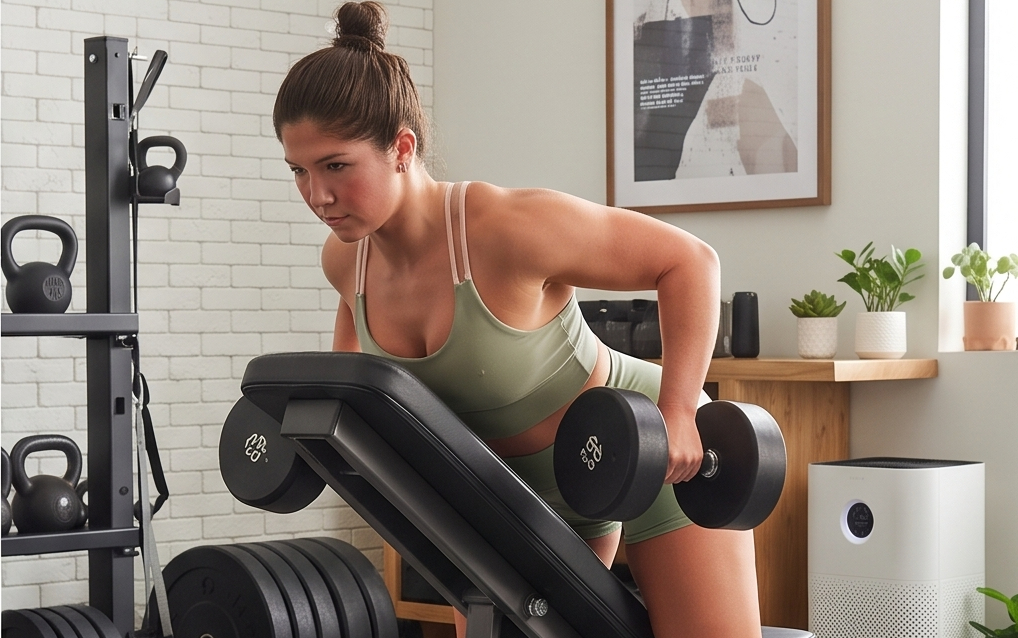
Training During Nap Time: The Quiet Equipment Setup That Won’t Wake the Baby
Nap time is sacred. The precious time in your day just for you. And if you’ve ever started a deadlift session and watched the baby monitor light up ten minutes in because a dropped plate rattled through the house — you know exactly why equipment selection matters as much as programming for nap-window training.
The good news: you don’t have to choose between effective training and a sleeping child. You just have to choose the right tools.
Quiet Equipment That Delivers Real Results
- Adjustable dumbbells — The single best investment for nap-time training. Brands like Bowflex SelectTech or Nuobell allow you to switch weights silently without the clanging of traditional iron plates. They’re compact, cover a wide weight range, and support virtually every movement pattern you’d want for a 25-minute session.
- Resistance bands — Completely silent, highly versatile, and underrated for building genuine strength. A set of loop bands and a set of tube bands with handles covers pull, push, hinge, squat, and carry patterns. They’re also easy to store and impossible to drop on a hardwood floor.
- Bodyweight training systems — Suspension trainers like a TRX, mounted to a door frame or stud anchor, allow you to hit rows, push-ups, single-leg squats, and core work with zero noise and zero equipment beyond the anchor point.
- Kettlebells — Not entirely silent, but significantly quieter than barbell work, especially on rubber flooring. Swings, goblet squats, Turkish get-ups, and carries are all nap-friendly when performed on a proper surface.
What to Avoid During Nap Windows
- Barbell dropping (even with bumper plates — the impact transmits through the floor)
- Heavy dumbbell drops — use controlled lowering on every rep
- Box jumps or jump rope on uncarpeted surfaces directly above or adjacent to the sleeping space
- Loud music without headphones — use wireless earbuds instead
Related Article: Best Adjustable Dumbbells (2026 Guide)
Takeaway: Build a ‘nap time training menu’ — a list of 3-4 pre-planned sessions that use only quiet equipment. Keep it on your phone. When nap time hits, you’re not deciding what to do, you’re just picking from the list and going.
The Couples Workout Model: How Shared Accountability Transforms Consistency
Something I’ve observed consistently when working with parent clients is this: the ones who train with their partner — even occasionally — typically outlast the solo trainers. I wouldn’t say it’s because couples are more motivated, but because that added accountability takes away the escape route.
When you’re training alone and exhausted, the negotiation in your head is private. You can talk yourself out of it without anyone knowing. When your partner is lacing up in the next room, that negotiation gets a lot harder.
The home gym makes couple training accessible in a way a commercial gym rarely does. No coordinating schedules around the same gym hours. Zero awkward sharing of equipment with strangers. No getting separated because one of you wants to use a machine the other one isn’t near. You’re in your own space, with your own equipment, on your own timeline.
Structuring a Shared Session
Not every partner workout needs to be identical. In fact, some of the best setups I’ve seen involve partners training simultaneously but with different programs — one doing strength work while the other does cardio or mobility — sharing only the space and the energy.
If you do want to train together:
- Alternate sets on the same movement — one rests while the other works. This is efficient and keeps both people moving.
- Design circuits where you’re at different stations simultaneously, meeting back at a central point between rounds.
- Use a shared weekly goal — not the same program, but a mutual commitment: three sessions each, this week, no exceptions.
On the equipment side, this is where investing in adjustable dumbbells or a barbell with appropriate weight ranges pays off. Both partners can use the same equipment with quick adjustments rather than needing duplicate setups.
TRAINER’S ADVICE:
The most powerful accountability tool I’ve ever seen a couple use was a simple shared note on their phones — a running log where both partners check off their sessions. There’s nothing special about the technology. It’s the visibility that matters. Nobody wants to be the one with three blank boxes when their partner has three checkmarks.
Takeaway
This week, have one conversation with your partner about shared fitness goals — not vague ones like ‘we should both be healthier,’ but specific commitments: how many times per week, at what times, with what equipment. Write it down somewhere you can both see it.
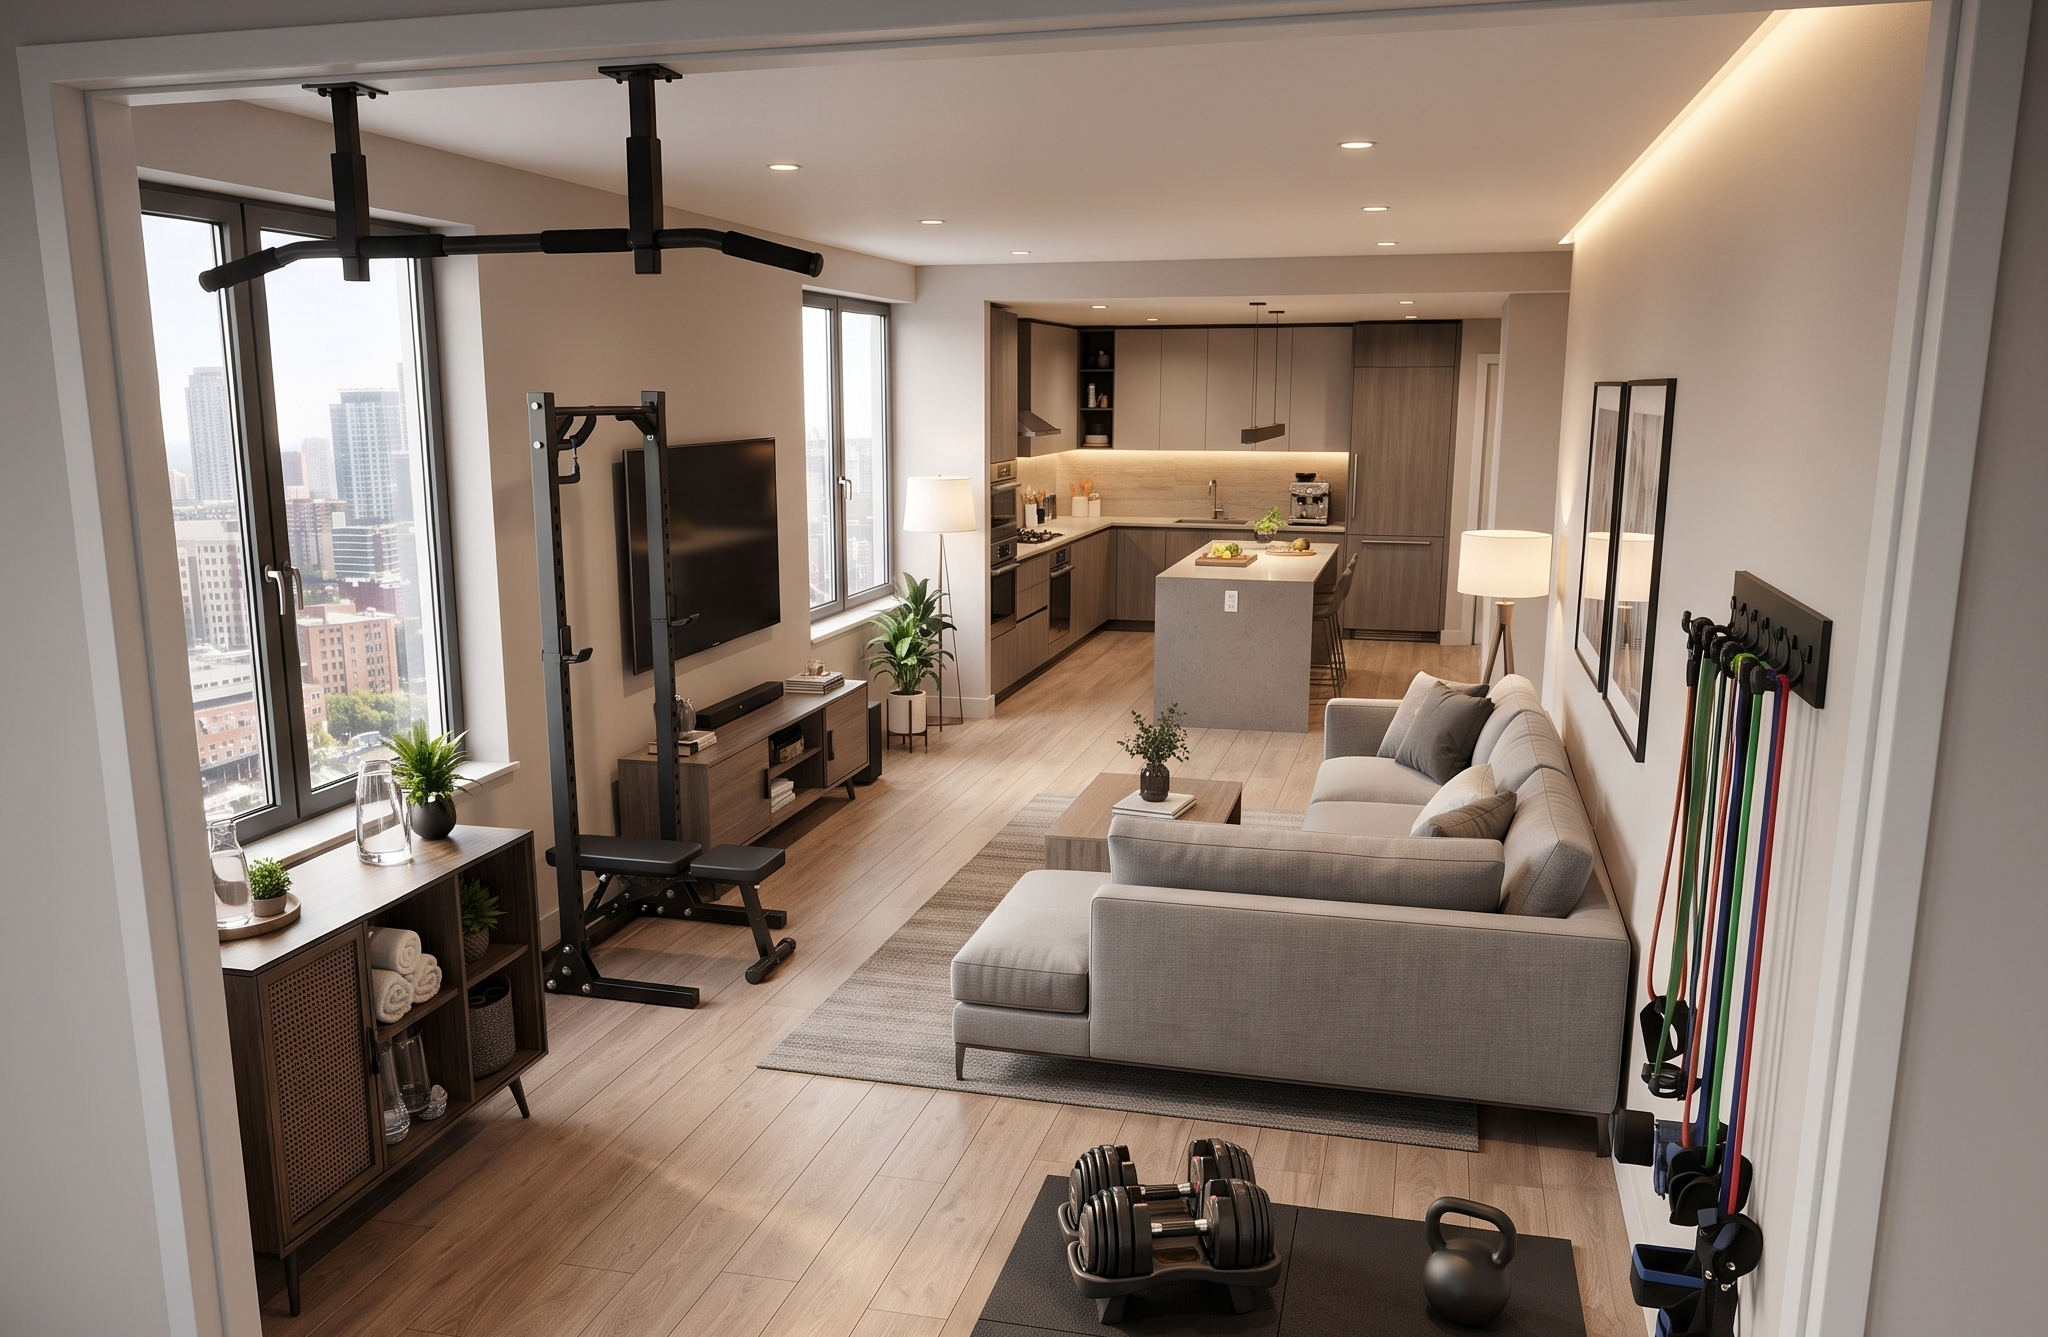
The Gym-Playroom Hybrid: How to Share Space Without Sacrificing Either

In a perfect world, your home gym has its own dedicated room. In the real world of most parents — especially those with two or three kids, a mortgage, and a home that wasn’t designed with a squat rack in mind — that dedicated room doesn’t exist.
What does exist: a garage that doubles as storage, a spare room that’s half office half chaos, a basement that could be something with some work. And yes, some parents genuinely do share gym and play space — it works better than you’d think when it’s done deliberately.
Zoning a Shared Space
The key to a functional gym-playroom is physical delineation. Not just a mental note about where the gym ends and the play area begins, but actual, visible zones. Rubber flooring on the gym side and a soft play mat on the child’s side creates an immediate visual and tactile boundary. A low shelving unit can serve as a room divider that stores toys on one side and gym accessories on the other.
Garage Gym Reality Check
A two-car garage (typically around 20×20 feet) can comfortably house a functional home gym on one side and a kids’ zone on the other. A power rack positioned against the back wall, a rubber flooring area of 10×10 feet for lifting, and a storage wall for equipment on one side leaves the other half entirely available for bikes, play equipment, or general storage.
Single-car garages (~10×20 feet) are tighter but viable. Wall-mounted fold-flat equipment — like a wall-mounted pull-up bar or a folding squat rack — becomes valuable here because it can be cleared when you need the floor space for something else.
Spare Room Reality Check
A 10×12 spare room can function as a genuine training space with smart equipment choices. A set of adjustable dumbbells, a pull-up bar, a resistance band set, a yoga mat, and a small kettlebell collection is enough to run full programming. Add a cable machine or compact all-in-one system if the budget allows. This same room can double as a reading nook, a craft area, or a quiet space for older kids.
Takeaway: Sketch your available space to scale on graph paper — or use a free online room planner. Mark the zone you’re claiming for training and the zone remaining for other uses. Then work backwards: what equipment fits that footprint, and what programming can you build around it?
Equipment That’s Safe Around Kids and Actually Worth Buying

Most home gym equipment guides lead with specs — weight capacity, dimensions, price per pound. I want to lead with something different: the problem each piece of equipment solves for a parent.
Because when you’re making a purchasing decision with real money and limited space, you’re not buying a piece of steel — you’re buying consistency, safety, and the ability to actually train in the life you have right now.
The Parent-First Equipment Priority List
1. Adjustable Dumbbells- First Purchase, Everytime
The problem they solve: you need a full range of loads without 15 pairs of dumbbells scattered across a space your kids also use. Adjustable dumbbells collapse an entire dumbbell rack into a single compact unit. They’re safer (no tripping hazard from rows of weights), quieter in operation, and adaptable to whatever you’re programming. Invest in a quality set that goes from 5 to at least 50 lbs. That covers 95% of exercises for 90% of parent trainees.
2. A Pull-Up Bar – The Most Space-Efficient Strength Tool By Far
The problem it solves: upper body pulling is hard to train effectively without equipment, and most parents’ spaces can’t accommodate a full lat pulldown machine. A wall-mounted or door-frame pull-up bar takes up essentially zero floor space and trains the lats, biceps, rear delts, and core — all in one movement. Mount it high enough that it’s not a head hazard and inaccessible to young children without assistance.
3. Resistance Bands – The Safest Equipment in the Room
The problem they solve: you want equipment that cannot injure a child if it’s handled. A resistance band, if released, snaps back — it doesn’t fall and crush. Stored in a drawer, they’re invisible. Used in training, they’re effective for warm-ups, accessory work, rehab, and even primary loading for certain movements. Every parent gym should have a set.
Related Article: Best Resistance Bands for Home Workouts (Tested and Reviewed)
4. A Kettlebell (Maybe Two) – The Swiss Army Knife
The problem it solves: you need something that supports ballistic training (swings, cleans) and loaded carries without requiring a barbell setup. Kettlebells are compact, durable, and handle-equipped — easier to grip and control than dumbbells for explosive movements. Start with one medium-weight bell (16-20 kg for most women, 20-24 kg for most men) and add from there. Keep them stored on a low rack or mat, away from foot traffic areas.
5. Rubber Flooring – A necessity, Not a Luxury
The problem it solves: everything. Rubber flooring protects your subfloor, reduces noise and vibration, provides a non-slip surface, and creates the visual and physical boundary between gym space and living space. If your gym is in a garage, 3/4-inch horse stall mats from a farm supply store are the most cost-effective solution — around $50 per 4×6 mat. If it’s a spare room, interlocking rubber tiles give you flexibility in coverage and can be configured around your specific footprint.
Takeaway
If you’re starting from zero and working with a limited budget, build in this order: rubber flooring first, adjustable dumbbells second, pull-up bar third. That combination supports hundreds of effective workouts and checks every safety box for a home with children.
The Bottom Line: Build the Environment, Then Build the Habit
Every parent who has tried to maintain a training habit without the right environment eventually hits the same wall. Not a motivation wall. A logistics wall. A ‘the gym is closed and the kids are awake and I haven’t eaten yet and where did I even leave my workout shoes’ wall.
A home gym for parents doesn’t eliminate life’s chaos — nothing does that. But it removes the logistical barriers that chaos loves to exploit. It puts the training environment in the same building as your kids, your schedule, and your life. It means a nap-time window is a training window. A 6 a.m. early riser is a training window. A partner who finally has a Tuesday free is a training window.
What I’ve watched happen, again and again with the parents I’ve worked with, is this: once the environment is right, the habit finds its footing. Sessions that were heroic acts of willpower become something closer to routine. The investment in the space pays dividends not just in workout frequency but in something harder to measure — the sense that your fitness isn’t a project you’ll get back to someday, but a structure that’s already built into your daily life.
That’s what SOMA is built around. Not just helping you pick the right equipment, but helping you build a physical environment worthy of the transformation you’re capable of. The home gym isn’t where you settle. It’s where you start taking yourself seriously.


Leave a Reply