
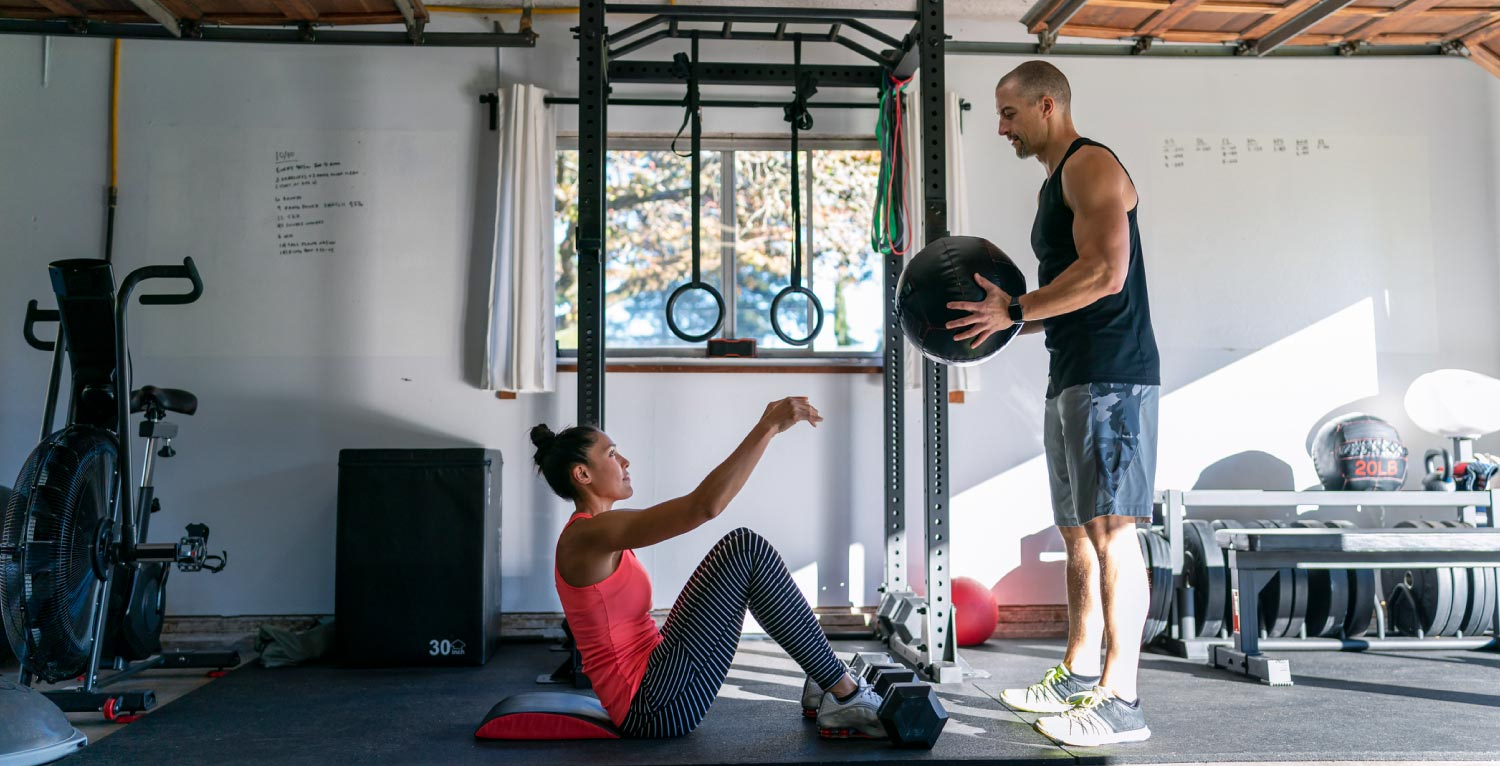
The back makes up one of the largest and most complex networks of muscles in the human body. This fact is nothing new, however when you consider how infrequently we see the back, this fact makes it that much harder to train. To develop a well rounded back you need a variety of exercises, and one of the hidden gems of an excellent back workout is the meadows row.
One of the reasons the meadows row isn’t readily practiced is because of how it’s performed. Most rows for lat development are performed with a neutral grip. However with the meadows row, the key is using a pronated grip. This hand and arm position will target the rhomboids, lower traps, and rear delts- developing the thickness of these muscles. This rowing exercise will still work your lats as well, just not as thoroughly as movements like the lat pulldown or traditional row.
How To Do A Meadows Row

Before we can even talk about the exercise, it’s important to have the right equipment on deck. Ideally you’ll want to use a barbell, weighted plates, and a landmine attachment. While the barbell and plates are fairly easy to find, the landmine attachment is rare and very important for this exercise. It will provide the free range of motion necessary for a great contraction all while keeping the barbell secure at the base.
If you don’t have a landmine attachment at your gym, here’s what you can do. I recommend wedging the end of the barbell between a corner or two plates to keep the bottom end from shifting during the row.
Make sure you choose a weight that allows you to row with good form. You definitely won’t have to go heavy on this lift.
Phase One: The Starting Position
To begin the meadows row, you’ll need a solid base of support. Using the inactive arm, rest the forearm against your thigh as you lean forward. This will help stabilize your upper body and take unnecessary pressure off your lower back.
Position your body perpendicular to the barbell, keeping your working shoulder aligned with the bar. Be sure to put foot on your working side back behind the body so that it’s out of the path of the rowing movement.
Phase Two: The Row
Reach for the tip of the barbell with your working hand, taking hold of it with a pronated grip. Fully extend the arm towards the floor. Feel the stretch in your upper back- this will be your starting position. While keeping your torso completely immobile, drive your elbows up to shoulder height. Remember to avoid using your torso for momentum. The only body part that should be moving is your elbow rises towards the ceiling.
Phase Three: The Descent
When your elbow is level with your torso, hold the position briefly while squeezing the muscles of the upper back. Slowly lower the barbell back to the starting position by extending your elbow. With your back straight repeat this process for reps.
Benefits Of The Meadows Row
Enhances Strength In The Upper Back
When it comes to developing the muscles of the back, most gym goers stick with the typical pull-ups, rows, lat pulldowns, etc. However the various muscle groups of the back need a variety of exercises to develop each fiber equally. The beauty of the meadows row is that because of the angle of the exercise, it not only works to strengthen the main muscles of the back (lats, rhomboids, etc.), it also develops the muscles of the shoulder girdle such as the rear delts. This in turn provides a firm foundation for pulling movements, but pushing movements as well that require stability and mobility in the shoulder region.
It’s Easier On The Back
For many of us, bent-over exercises can do a number on the lower back. Without a strong lumbar spine, any number of injuries of varying degrees could happen to the back during deadlifts, rows, etc. However when performing the meadows row, you have the benefit of support when resting one arm on the knee. This alleviates stress off of the spine and helps direct the focus of the exercise onto the muscles of the upper back.
Muscles Worked During The Meadows Row
While it’s obvious that the meadows row works the muscles of the back, it’s important to understand which ones specifically. This knowledge will ensure that you train the muscles necessary to build a well rounded back.
Rhomboids
The rhomboid is a large, flat muscle located on the medial region of the upper back. The rhomboid and a few other muscles make up the shoulder girdle, a network of fibers responsible for keeping the shoulders stable. This muscle specifically pulls the shoulder blade towards the spine. It also works to lift and rotate the shoulder blade, giving the arms the range of motion necessary for performing numerous tasks. A few examples include:
– Lifting your arms overhead
– Performing throwing motions
– Performing pulling movements (pulldowns, rows, etc.)
– Aiding in torso rotation
Lower Trapezius
The lower trapezius (or trap for short) is a long, triangular muscle that originates on the scapula and inserts onto the thoracic spine. The lower trap is another important muscle for shoulder blade stabilization. It performs numerous functions for the scapula such as upward rotation, posterior tilt, external rotation, and expansion during humeral elevation.
During the meadows row remember to squeeze at the top of the movement. This helps to draw the muscles of the middle back closer to the spine and contract/ develop the lower traps specifically.
Lats
The Latissimus dorsi is a thick muscle that originates from the spine and inserts onto the upper humerus. The Lats also happen to be the largest muscle of the back, responsible for the majority of pulling motions. Though there are other rowing movements that activate the lats more efficiently, the lats are still triggered to a degree during the meadows row.
As you perform the pulling movement be conscious of the mind-muscle connection you feel in your lats. Certain studies have found that the concentration on a specific muscle helped increase muscle activity during relative loads between 20-60% 1RM (1). Doing the same (with respect to the lats) will help work them to a greater degree and develop them at an angle different to most rows.
If you’re just getting started with weightlifting, it helps to build your training around simple, proven principles that actually drive progress.
→ Read: How to Start Strength Training at Home (Beginner’s Guide)
Meadows Row Alternatives
Wide Grip Cable Row
This exercise in my opinion is one of the closest alternatives to the meadows row for a number of reasons. For one, the wide grip cable row is performed with a neutral grip just like the meadows row. It is also a wide rowing movement that lifts the angle of the elbow (similar to the meadows row).
While the wide grip cable row emphasizes the lats, the deep muscles of the upper back (particularly the rhomboids) are targeted secondarily. When rowing the bar remember to focus on the squeeze in the traps and rhomboids as you pull the bar towards your torso.
How To Perform The Wide Grip Cable Row
- Using a wide bar attachment, grasp the bar at the base of the curve.
- Keeping your back straight, fully extend your arms creating tension in the cable. This will be your starting point.
- Begin to row the bar just below the chest. Bend your elbows to form a 90 degree angle and align with the back. Focus on the contraction in the traps and rhomboids as you reach the top of the movement.
- After squeezing at the top briefly, slowly allow your elbows to return to your sides.
- Continue to extend your arms until they’re straight and the bar returns to the starting position. Keep your back straight and feel the stretch in your lats. Repeat this process for reps.
Bent Over Row
The bent over barbell row is definitely the close cousin of the meadows row. Both exercises are performed with the torso facing the floor, both focus on rowing the bar vertically, and both require a particular focus on technique. The bent over row is a staple exercise of back training, targeting the lats, teres major, traps, rhomboids, erector spinae, but also the muscles of the arms like the bicep brachi, brachialis, brachioradialis (2).
When performing the bent-over row please be conscious of your back at all times. Avoid rounding the upper back, letting the hips rise ahead of or faster than the shoulders, or rowing the bar too far in front of the body.
How To Perform The Bent-Over Row
- With your feet shoulder-width apart, squat down with your torso a little higher than hip height. Keep your knees slightly bent take hold of the barbell with a closed, pronated grip. Make sure the bar is close to your shins and your arms are fully extended. This will be your starting position.
- While maintaining a flat back begin lifting the bar off the ground by flexing the elbows towards the torso and pulling the bar towards the stomach.
- Hold a few inches away from the torso for a brief moment. Feel the contraction in your back as the muscles of the back glide towards the spine.
- Slowly return the barbell towards the floor until your arms are fully extended. Remember to keep your back rigid and in a neutral position to prevent injury. Repeat for reps.
Horizontal Row
The horizontal row and exercises such as inverted rows, bent-over rows and seated rows are more suited for stimulating the midline muscles of the back: the trapezius, infraspinatus, erector spinae. In contrast vertical pulling exercises like pull ups are more effective at stimulating the muscles of the lats compared to inverted rows and others like it.
How To Perform The Horizontal Row
- Find a smith machine or power rack and adjust the barbell to the height of your hips. If you’re a beginner or want to perform the row with less difficulty, raise the barbell higher. Lower it if you want more of a challenge.
- Take ahold of the barbell with a probated (overhand) grip and adjust your hand width a little past shoulder width apart.
- Walk your feet out past the barbell until your body is straight and your arms and chest are directly beneath the bar.
- Breath in deeply, tighten your core, brace your chest, and begin rowing your body up towards the bar. Make sure your arms are parallel with the floor and you keep constant tension on your back muscle.
- Pause either just before or when your chest makes contact with the barbell, really feeling the contraction in your back and arms.
- Exhale and begin lowering your body down slowly. Keep your body controlled and don’t release tension until your arms are straight and you’ve returned to the starting position.

Leave a Reply