
Most gym-goers have a hard time understanding this fact: there are many dimensions to growing an exceptional back. There are well over 20 different muscles that make up this body part, all requiring different approaches and pieces of equipment. If your goal is to grow an exceptionally wide and thick back, machine high rows are a must have. Unfortunately most gyms (mine included) don’t have this machine. However don’t despair- there’s several routes to reach out destination. We’ll cover the high machine row; technique, how to use it, what muscles it works, etc. However we’ll also tackle some alternatives and how to use them to bring out the best in your back.
There are 40 muscles that make up the back, 20 pairs that perform different tasks and move on separate plains. Simply switching your grip or widening your hand placement can completely alter which muscles in the back you’re training. This is why having a variety of equipment and techniques are essential for muscle development.
Machine high rows are an excellent exercise, however if you’re training at a commercial gym, you may not have access to it. Nevertheless there are some solid alternatives you can use that will develop the same muscles and tax them in the same way.
Exercise Overview
If you don’t have time to read the entire article, check out this lists of exercises you can incorporate into your training. The sets and rep ranges are purely optional, find the one that works for your goals and have at it!
Analyzing Machine High Rows
As I stated earlier, the machine high row is a piece of gym equipment with high lever arms that reach overhead. As you can see in the picture, most high row machines are plate loaded weighted plates- creating the potential for a lot of resistance. This weight suspends the pulley arms away from the ground, forcing the user to pull the arms towards the body.

Which Muscles Do High Rows Use?
The pulling motion needed to operate this machine targets the list of muscles below:
- Latissimus Dorsi (lateral back)
- Teres Major (upper back)
- Rhomboids (between the shoulder blades)
- Biceps (front of the arms)
While performing the row, the lats and rhomboids serve as the prime movers of the exercise. The teres major and biceps play a secondary role assisting the lats and rhomboids. High rows are essential for developing the width of the back, predominantly the lats that create the iconic V-taper (aka cobra back). To create the illusion of a broad back and narrow waist, incorporating exercises like the row that spread the back past the rib cage are key.
How To Use The Machine High Row
In all honesty this piece of equipment is not hard to use at all, but this is no excuse for performing the exercise haphazardly. Proper technique and good form is EVERYTHING. Always be conscious of your posture during every phase of the exercise- even this can alter the muscles being worked.
- Start by sitting down at the machine, then adjust the leg support to an adequate height. The cushion should be right on top of the knees to prevent the body from being lifted by the weights.
- With the back in a neutral position, engage the muscles of the core. This in essence will aid in keeping the torso in place and ensure the muscles of the back are being worked.
- Take hold of the handles, and after choosing hand placement, pull the handle towards your chest. Full range of motion will likely be when the elbows are either aligned with or a little past your back.
- Hold at the bottom of the movement for a brief moment.
- Slowly return the weight to the starting position. Feel the contraction in the lats and use them to control the weights smoothly to the top.
- Repeat this process for your chosen amount of reps.
Tips For Performing Machine High Rows
- When you’re arms are almost fully extended at the top of the movement, flare your lats. You can accomplish this by either inhaling deeply or consciously expanding your rib cage. Flaring your lats at this stage will help you get the fullest contraction, training the fibers that create the appearance of width.
- Choose a weight that offers the right balance of reps and intensity. Too much weight and you’ll perform each rep with sloppy form. The body will also recruit the wrong muscles in an attempt to compensate for each forced rep. Too little weight and the body won’t adapt and grow. Your goal is to find the happy middle ground that allows you to execute each rep with good form, but still make the overall set challenging.
- Try leaning back slightly at the bottomed the the machine row. This will emphasize the squeeze of your shoulder blades and create even more range of motion as you extend your arms back to the top of the row.
- Be sure not to extend your elbows too far back past your rib cage. Pulling too far will round the shoulders and divert the full contraction away from the back.
Additional High Row Benefits
Most people don’t consider the practical effects exercises have on the body, but you’ll find plenty with high rows. For one this exercise helps to improve posture by developing the muscle of the upper back- all while being very easy on the lower back. Especially when in a seated position, machine high rows virtually avoid lower back discomfort all together.
They are also great for improving grip strength and building the muscles of the arms. Because the hands are underhand and parallel with the body, the pulling motion the row uses is on-par with a bicep curl. It along with the chin up are the most underrated bicep exercises in fitness.
One of the less tangible benefits of this exercise is definitely mental toughness. As you begin loading more plates onto the machine, the mental fortitude and physical stamina required to finish each set is tremendous. Your confidence will grow even as your body grows stronger and adapts to greater amounts of resistance.
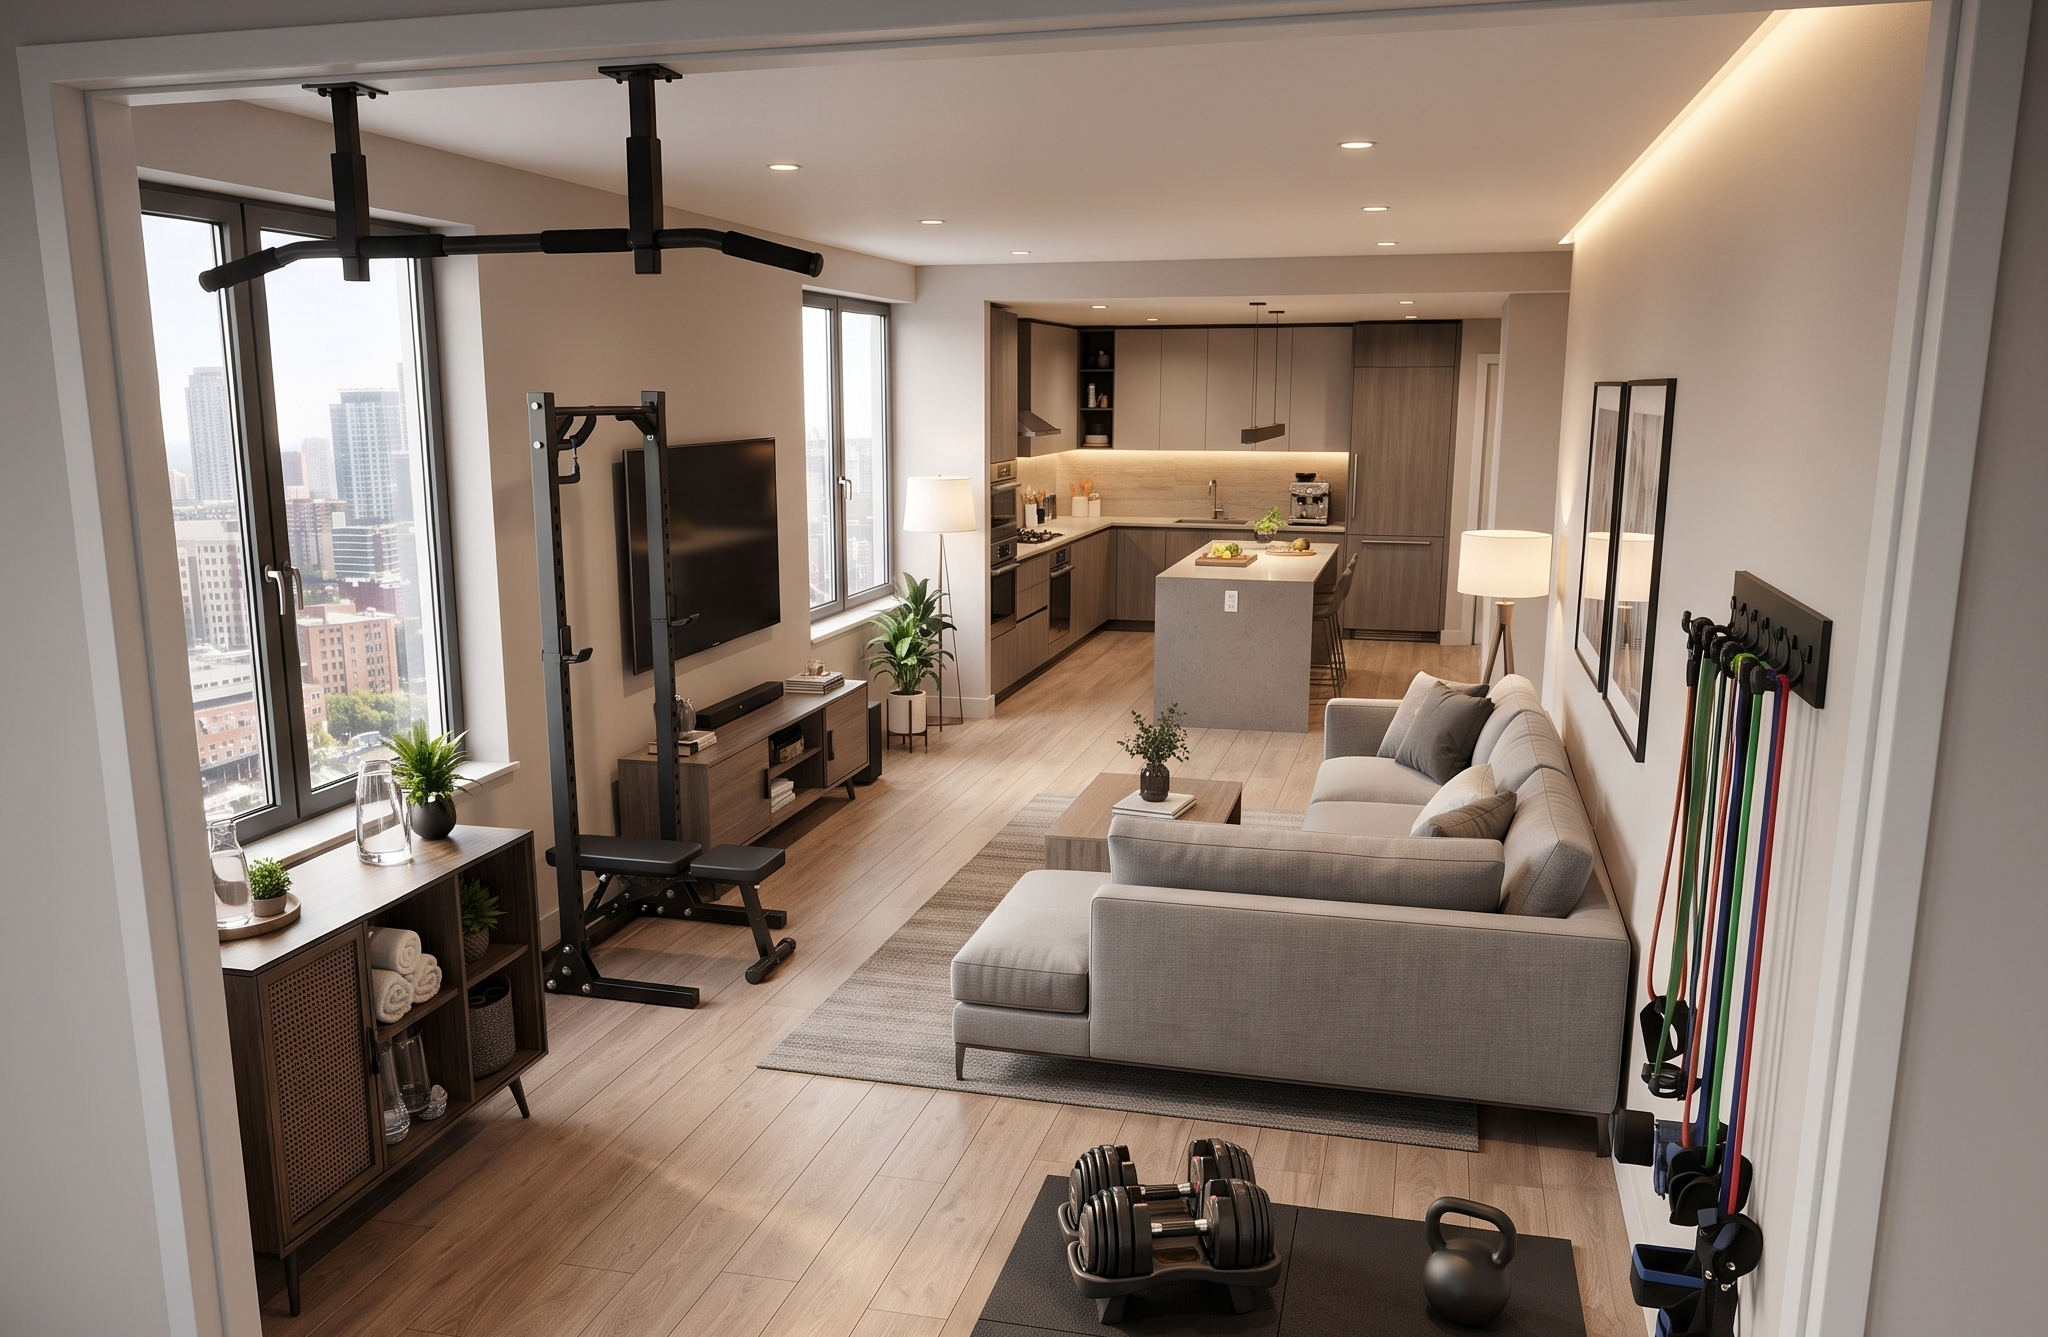
Having a home gym is one thing—knowing how to use it effectively is another. Without a clear approach to training, even the best setup can go underutilized.
If you’re just getting started or want to make better use of your space, it helps to build your training around simple, proven principles that actually drive progress.
→ Read: How to Start Strength Training at Home (Beginner’s Guide)
Great Machine High Row Alternatives
Now that you understand how to perform the exercise and what muscles it works, we can move to some of its substitutes. These are a few choices to consider, ranging from simpler movements to more challenging exercises.
Remember that regardless of the exercises you use, a replacement is no substitute for intensity and technique. If you utilize these two factors properly, you’ll accelerate the growth of your back, regardless of how much more effective these alternatives are for you. With that being said let’s jump into it.
Cable High Row
This exercise is likely the most natural substitute for the machine high row. I would say it’s even one of the most effective cable back exercises out there. So if your gym is lacking in a lot of equipment, I highly recommend giving this move a try. There are a few reasons you may like or dislike this exercise. One positive aspect of the cable high row is the cable machine itself. Cables offer a much greater range of motion, which gives you the power to choose the angles that offer the best contractions for your back. This will enable you to sculpt and fine tune all of the smaller, aesthetic muscles of the back (the teres major, rear delts, rhomboids, etc.). Cable machines also have a variety of handles you can switch between- allowing you to change your hand placement to what is most comfortable.
Depending on which attachment you choose, it may alter the muscles being targeted slightly. For example the rope cable high row target less of the lats and more of the smaller muscle of the upper back like the traps and rhomboids. The same is true for high pulley rows- the attachment will alter hand/ arm placement and ultimately change the muscles at work.
It may not seem like much, but having that much range of movement and variety may activate your muscles in ways the machine high row can’t.
Downside Of Cable High Rows
That being said the one glaring weakness of the cable high row- the seating situation. Most people perform this exercise seated on the floor which in my opinion is a disadvantage when compared to the machine high row. With its machine counterpart the leg support keeps you anchored in the seat, which allows you to pull a substantial amount of weight. With cables though, the only thing that keeps you anchored to the ground is your own body weight. This means you have to lift much less weight or risk being raised off the ground. For some this might not be an issue but for the sake of intensity training with more weight may produce greater adaptation.
How-To:
- Take a seat on the floor directly in front of the cable machine.
- Reach for the cable and position yourself accordingly. The pull line between you and the cable should be about a 45 degree angle.
- With a slightly bent arm pull the handle towards your torso so your elbows are parallel with your back.
- Hold and squeeze in this position for a few seconds
- Slowly return the weight back to the stat position, but don’t straighten your arms. Keep your arms bent and immediately repeat the movement to keep constant tension on the lats.
Supinated Lat Pulldown
The supinated lat Pulldown (SLP) or the underhand lat pulldown is a great exercise for any back routine. Like the machine high row, the SLP predominantly works the lats- the largest muscle in the back. This exercise also makes use of the shoulders, biceps, abs, and upper back. The back serves as the prime mover, however the biceps are activated as the arm bends and the core works as a stabilizer of the torso.
This pulldown is strictly underhanded, however you might find different results exploring grip width. Research found that grip width also plays a part in lat Pulldown activation. As a whole, studies found that a medium grip has small advantages over narrow and wide grips for muscle activation in the lats, traps, infraspinatus, and biceps.
You can use this info as a guide, but when you do the Pulldown try playing with these grips yourself. See which ones you feel the most engagement with and run with it.
How-To:
- Sitting in the seat, make sure the leg support is placed over the thighs with little to no space in between.
- With a supinated (underhand) grip reach for the bar. Choose your hand width and once in place, lean your torso back slightly about 30 degrees.
- Pull the bar down directly over your collar bone. Feel the stretch of your lats at the top of the movement and consciously engage them as you bring the bar down.
- Hold at the bottom for a brief second as your shoulder blades connect and back contracts.
- Slowly return the bar to it’s starting position. Never release the tension from your lats as you control the weight back up.
- Repeat the process for as many reps are necessary
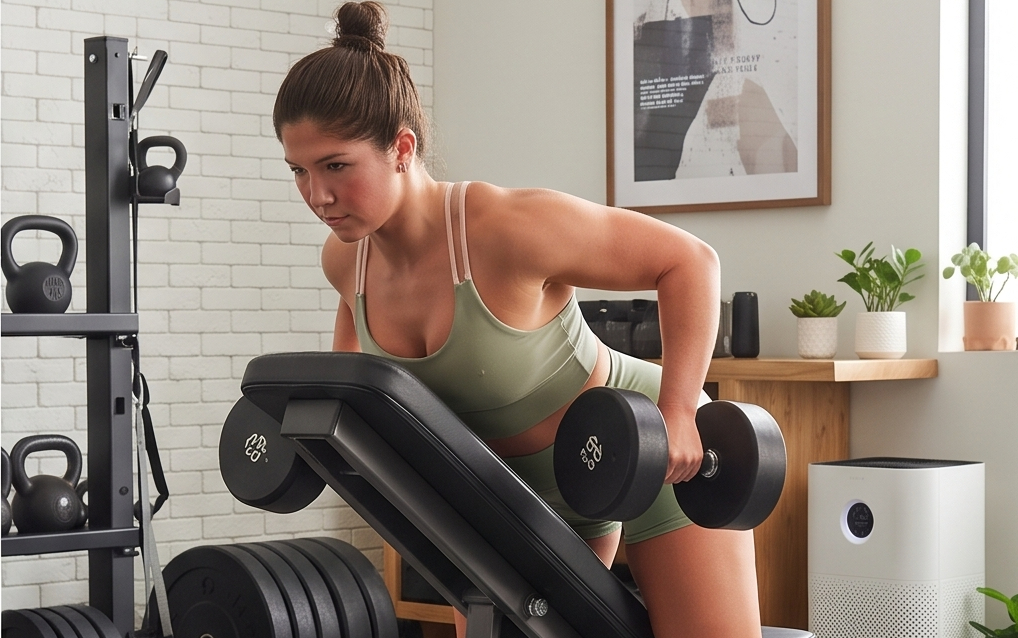
Bodyweight Substitutes For The Machine High Row
Inverted Row
Gym goers of all levels from beginners to advanced can make use of the inverted row in their workout regimen. Like many types of rows it targets the lats and several intricate muscles of the upper back. It also works the biceps and forearm in addition to automatically engaging the deep muscles of the core.
Benefits Of Inverted Rows
It’s easily adjustable for increasing difficulty: for example placing your feet on an elevated surface like a bench can increase the demand on muscles without adding an additional load.
Because the inverted row is a body weight exercise, its capacity for muscle building will depend on volume and not load. This will allow you to play with rep ranges and time under tension, two essential factors for triggering muscle hypertrophy.
Since you’re only using your arms to support your bodyweight, there are also a few more elements at play such as grip strength, core stabilization, and body awareness. If you’ve ever had issues with body weight back exercises like pull ups or chin ups, inverted rows are a great bodyweight exercise to start with. They will help develop the mind-muscle connection needed to perform bodyweight exercises with just enough load and intensity to be performed successfully.
How-To:
- Position your chest directly under the bar with your hands a little more than shoulder width apart. The bar itself should be racked high enough to lower your body without touching the floor, but low enough to still be challenging.
- Keep your body straight and your feet hip width apart. Engage your core to prevent any dipping in your hips or spine.
- Begin to row your chest towards the bar. Pull with your arms and as your torso rises, pinch your shoulder blades together.
- Once your chest makes contact with the bar, hold the position briefly to feel the full contraction of the arms and back.
- Slowly lower yourself back to the starting position.
Chin-Ups
Chin-ups make for a great high row substitute for a few reasons. For one the work many of the same muscles, but more importantly they are difficult to do. If you haven’t practiced chin ups for a while or developed much upper body strength, they might be one of the hardest exercises you perform.
Benefits Of Chin-Ups
Don’t let there difficulty level keep you away though. Chin-ups have a lot to offer if you stay committed and keep at them. For one chin-ups definitely improve grip strength and posture while fortifying muscles that stabilize the spine. This in turn protects the back from potential injury.
Believe it or not chin-ups generate greater muscle activation in several muscles when compared to other back exercises. An ACE study found that chin-ups produce substantially more activation in the lats and infraspinatus (external rotator of the shoulder) than 5 other exercises, including several rows. Another study recorded greater activation in the bicep, erector spinae, and several muscles of the shoulder during the concentric phase compared to lat pulldowns.
Chin-ups are in many ways easier to perform and easier on the body. As Mike Boyle, a Boston-based strength and conditioning coach puts it:
“Palms-up is easier for my athletes because it includes the use of the elbow flexors (biceps). In addition it places the shoulder in a more ‘friendly’ position of external rotation. A palms-forward (pull-up) grip creates the abduction and internal rotation that generates impingement. One of my main concerns with clients is helping reduce the risk of injury, and the supinated hand position is essential from an injury-prevention standpoint.”
How-To:
- Reach both hands up and grab the bar, holding it with a palms up grip.
- With the spine long and core engaged lift your body towards the bar leading with your chest. You’ll want to bend your arms and guide your elbows until they are at or a little past the rib cage.
- Feel the contraction at the top and then begin to lower your body back to the start position in a controlled motion.
I hope this guide has been helpful and will serve you well in the gym. Remember to keep learning and applying that knowledge. Give it time and you will see amazing results in the gym. Until next time, BE WELL!!


Leave a Reply