The time has come. You’ve decided to zero in on a power rack- the cornerstone of serious home gym strength training. There might be only one problem- The space in your house you know was destined for this rack is at best cramped and at worst occupied. If you’re working with tight space, the million dollar question becomes how do I create a power rack small space setup that works for my home gym?
While an inconvenient problem, it’s definitely not an impossible hurdle. A power rack small space setup is one of the common challenges I help clients navigate, and the honest answer is that space is rarely the real obstacle. Poor planning is. The difference between a home gym that transforms your training and one that collects dust is almost always made in the measuring and decision phase — before anything gets purchased or moved. This guide walks you through that entire process, room by room, with the same practical guidance I give clients who are building the home gym that will anchor their long-term fitness for years to come.
How Much Space Do You Actually Need? Minimum Requirements for a Power Rack
Before anything else, you need to know what you’re actually working with — and what the rack itself demands. Most standard full power cages have a base footprint of roughly 4 feet wide by 4 feet deep, but that number is deceptive on its own.
The real space requirement includes:
- Height clearance: Most full racks run 84–90 inches tall (7–7.5 feet). Add 6–12 inches for Olympic bar overhead press clearance, and you’re looking at 8 feet minimum ceiling height for a full cage. This is where most people get tripped up.
- Bar path on either side: A standard 7-foot Olympic barbell extends roughly 3.5 feet on each side of the rack. If you’re centering the bar on a 4-foot rack, you need about 9–10 feet of total width to load plates without hitting a wall.
- Forward working space: You need room in front of the rack to walk out for squats and step back without running into equipment. Figure 2–3 feet of clearance in front.
- Spotter arm depth: Full cages extend 20–24 inches front-to-back. Safety bars add another few inches of depth projection.
A realistic minimum footprint for a full power rack setup: 9–10 ft wide × 8–9 ft deep × 8 ft ceiling.
Rack Type Comparison for Small Spaces
| Rack Type | Base Footprint | Ceiling Needed | Best For |
| Full Power Cage | ~4×4 ft | 8+ ft | Garage, large basement |
| Half Rack | ~4×3 ft | 7.5+ ft | Basement, bedroom |
| Wall-Mounted Folding Rack | ~2×1.5 ft (folded) | 7.5+ ft | Spare bedroom, tight garage |
| Squat Stand | ~4×4 ft (with bar) | 7+ ft | Minimal space, mobile setup |
If you’re working with genuine square-footage constraints, the folding wall-mount rack is usually the most practical solution — it reclaims nearly all floor space when not in use.
Assess Your Space Before You Buy: The Pre-Purchase Checklist
The most expensive mistake in a power rack small space setup isn’t choosing the wrong rack — it’s buying before measuring. Here’s what to check before you place an order.
1) Ceiling height first, everything else second.
Measure from floor to ceiling at the lowest point in the room — not just in the middle. Sloped garage ceilings, HVAC ducts, and exposed joists can reduce effective height by 12 inches or more.
2) Floor load capacity matters more than people think
A loaded power rack can easily weigh 500–800+ pounds with plates, barbell, and the rack itself. Concrete slabs (garage, basement) handle this without concern. Upper-level rooms — including spare bedrooms — are a different story. Most residential floors are engineered for 40 pounds per square foot of live load. A concentrated setup can approach those limits depending on the configuration. [LINK: how to calculate home gym floor load capacity]
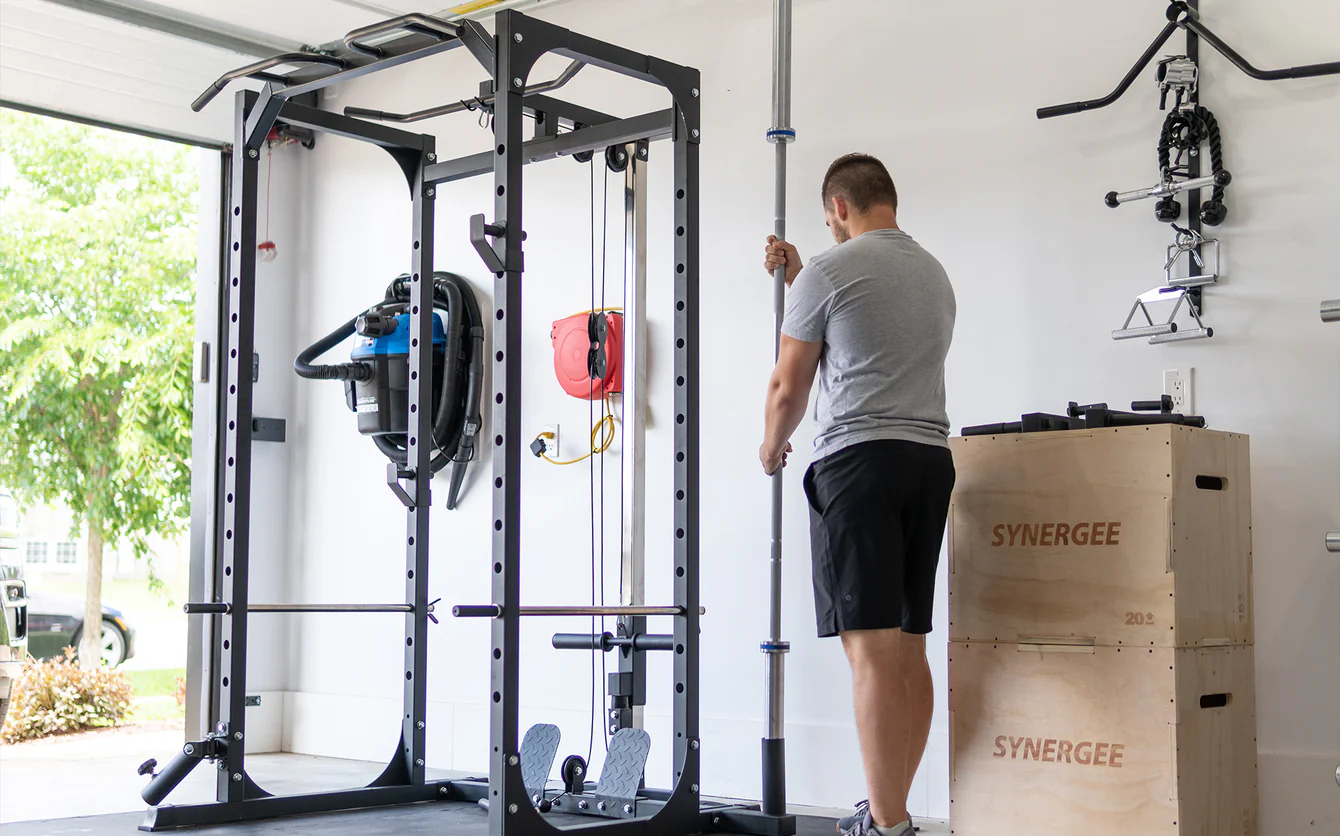
3) Measure your doorways and stairwells before delivery day.
Power rack uprights are typically sold in sections, but some cross-members and base frames won’t clear a standard 32-inch doorway. Check every doorway, stairwell, and turn in the path from your front door to your intended room. Measure width and height, because diagonal clearance matters for long pieces.

Ventilation and lighting are quality-of-life decisions that become safety issues. A garage or basement without airflow becomes dangerously hot in summer and discouraging in winter. At minimum, identify where you’ll add a fan and where your primary light source will be positioned. Poor lighting makes it harder to check form and increases injury risk.
Actionable step: Before you close a single browser tab, get a tape measure. Write down ceiling height, room width at the narrowest point, door clearance on the path to the room, and floor type. Those four numbers determine everything that follows.
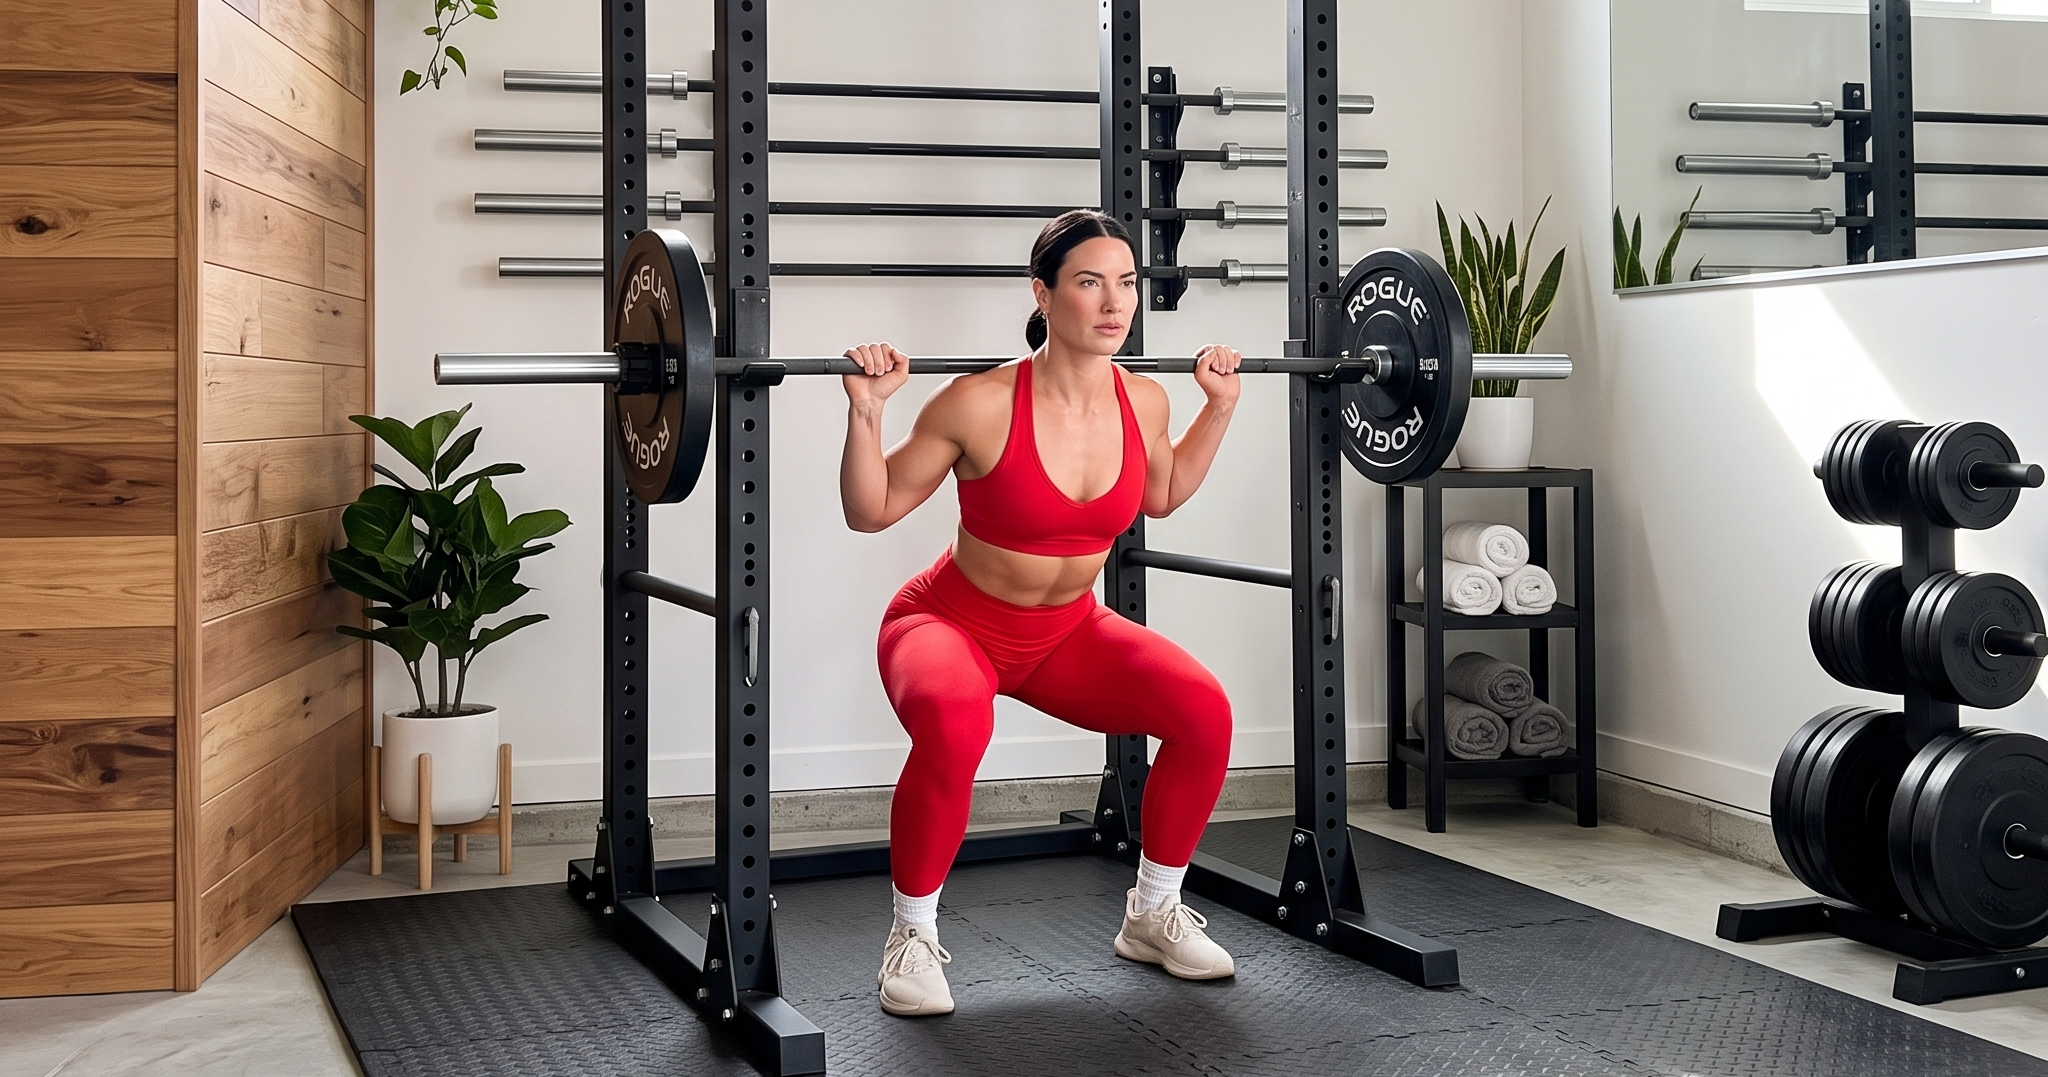
Garage Setup: How to Make a Power Rack Work in a One- or Two-Car Space
The garage is the most forgiving environment for a home gym, and with the right approach, even a crowded single-car garage can house a solid power rack small space setup.
Concrete floors don’t need to be rubber-matted for safety, but you’ll want them matted anyway
Bare concrete is unforgiving on dropped weights (and on knees and lower back during bodyweight movements). A standard 3/4-inch stall mat cut to fit creates a lifting platform that protects the floor, reduces vibration, and makes the space feel purposeful.
Related Post: Best Flooring for Home Gyms: Rubber vs Foam vs Mats
Temperature management is the hidden maintenance issue
Steel racks rust. Garage environments with big temperature swings create condensation, which accelerates corrosion on knurling, pull-up bars, and bolted joints. Wipe down equipment after use, apply a light coating of 3-in-1 oil or WD-40 to bare steel every 3–6 months, and consider a small dehumidifier if you live in a humid climate.
Overhead obstacles are the #1 planning mistake in garage setups
Garage door tracks run along the ceiling 12–18 inches down from the highest point — directly in the path where many people try to position a rack. Map the track path before deciding rack placement. In most cases, the rack needs to sit toward the center or far wall, not along the garage door side.
Anchoring on concrete is straightforward
Use concrete anchors (Tapcon screws or expansion anchors) through the rack’s base feet. Most manufacturers include anchor points; some require a separate bolt-down kit. This is non-negotiable — an unanchored rack under heavy load can shift, tip, or walk.
Wall storage is your best friend in a tight garage
A simple pegboard or slotted wall rail system lets you hang resistance bands, pull-up bars, ab rollers, and accessories vertically — freeing the floor for your working space. Vertical plate storage (mounted to the wall or to the rack uprights) clears the floor of the one thing that takes up the most footprint: weight plates stacked horizontally.
Basement Setup: Working with Low Ceilings and Structural Obstacles
Basements present unique challenges, and ceiling height is almost always the primary constraint. The good news: there are racks specifically engineered for low-clearance environments, and with the right setup, a basement can become the best-insulated, most private training space in the house.
If your ceiling is under 8 feet, a standard full cage is not your rack
Look at half racks in the 70–80-inch range (companies like Rogue, Titan Fitness, and Rep Fitness all make low-profile options), or explore wall-mounted folding racks that eliminate the top crossmember entirely. Attempting to use a full cage under a 7-foot ceiling doesn’t just limit overhead press — it makes the space feel claustrophobic and creates real safety hazards on bar liftoffs.
Structural columns aren’t obstacles — they’re reference points
Most basements have support columns running floor-to-ceiling at regular intervals. Measure between them and design your rack placement around them rather than against them. In many cases, a column can serve as a natural boundary for a lifting platform or be used to mount wall storage.
Moisture is a non-negotiable issue in basements
Even “dry” basements experience humidity fluctuations that damage equipment over time. A 50-pint dehumidifier running seasonally protects your rack investment and makes the space more comfortable to train in. Check for any water intrusion points before laying flooring.
Rubber flooring over basement concrete is straightforward
Stall mats (4×6 feet, 3/4-inch) are the standard solution — durable, affordable, and easy to cut to fit. If your basement already has carpet, consider pulling it in the rack footprint area and going direct to concrete with mats, as carpet under a loaded rack compresses unevenly and creates instability.
When in doubt about load-bearing capacity, get a professional opinion
Basement slabs are almost always rated well above what a home gym demands. But if you’re working with an older home, a crawlspace, or unusual construction, a brief structural consultation is a small price compared to equipment damage or worse.
Spare Bedroom Setup: The Quiet Strength Space That Won’t Wreck Your House
Training in a spare bedroom is entirely achievable — but it requires the most deliberate approach of the three environments. The constraints are real, and ignoring them creates problems that go beyond fitness.

Floor reinforcement is worth understanding before you dismiss it
Standard residential floor joists are typically rated for 40 lbs/sq ft of live load. A 500-pound power rack setup concentrated on four anchor points can create localized pressure that exceeds this. The practical solution: spread the load. A 4×8-foot lifting platform (layers of plywood + stall mat) distributes weight across more joists and dramatically reduces point-load concentration. This also provides vibration absorption for dropped weights.
Dropped weight noise travels — fast and far
Even in a single-story home, a dropped barbell vibrates through the floor into the room below. In a bedroom setup, this is a relationship issue as much as a structural one. Deadlift blocks, bumper plates, and a quality lifting platform aren’t just nice-to-haves — they’re what make a bedroom gym a sustainable long-term setup.
Related Post: How to Soundproof a Home Gym Without Major Renovations
Wall protection is simple but easy to overlook
Barbell ends, band hooks, and the rack’s footprint can all damage drywall. Install corner guards or wall padding at barbell-height around the rack perimeter, and keep the rack at least 6–8 inches from any wall to allow bar path clearance.
Folding wall-mounted racks were built for this scenario
The PRx Profile Rack and Rogue RML-3W fold flat against the wall when not in use, reclaiming nearly the entire room. They’re rated for serious loads (up to 1,000 lbs in many configurations) and install into wall studs with standard hardware. For a spare bedroom that also functions as a guest room or office, this is the most elegant solution available.
Lighting and mirrors matter more here than in a garage
A properly lit, mirror-equipped bedroom gym feels like an intentional training space rather than an afterthought — and that psychological difference affects how consistently you show up. A full-length mirror on one wall and a bright overhead LED panel cost under $200 and dramatically change the environment.
Choosing the Right Rack for a Small Space: What to Look For (and What to Skip)
A power rack small space setup only works as well as the rack you choose for it. Here’s how to approach the decision without getting lost in spec sheets.
Lead with the constraint, then find the rack that answers it:
- Low ceiling (under 8 ft): Rep Fitness PR-1100, Titan Fitness T-2 Short, or any half rack with a listed height under 80 inches.
- Floor space under 50 sq ft: PRx Profile Series (wall-mounted folding), Rogue RML-3W wall mount.
- Need to share the space: Any folding wall mount — the floor returns to you when training is done.
What you can’t compromise on:
- J-hooks with proper depth: Cheap J-hooks flex under load and scratch bars. If a compact rack cuts corners here, pass.
- Safety bars or spotter arms: Training alone without safeties is a serious injury risk. Any rack you buy must include them, and they must be rated for your working weight.
- Weight capacity rated above your current max: If you’re squatting 225 lbs, a rack rated for 500 lbs gives you years of growth room. Don’t buy to your current numbers.
What you can sacrifice in a small-space setup:
- Lat pulldown attachments and cable systems (useful, but not what makes the rack essential)
- Chin-up bar width beyond standard grip positions
- Extra uprights or attachment storage beyond what you’ll actually use
Space-Saving Accessories and Layout Strategy

Getting the rack right is step one. Organizing everything around it is what makes the setup actually functional in a tight room.
Position the rack first, then build outward. Every other piece in the room — bench, plates, accessories — works around the rack’s requirements (clearance, anchor points, bar path). Trying to fit the rack into an existing arrangement almost always fails.
Plate storage belongs on the rack or on the wall. Post-mount plate trees that bolt to the rack uprights keep plates within reach without taking up floor space. If the rack doesn’t support this, a wall-mounted plate storage system 12 inches off the floor keeps the area clear.
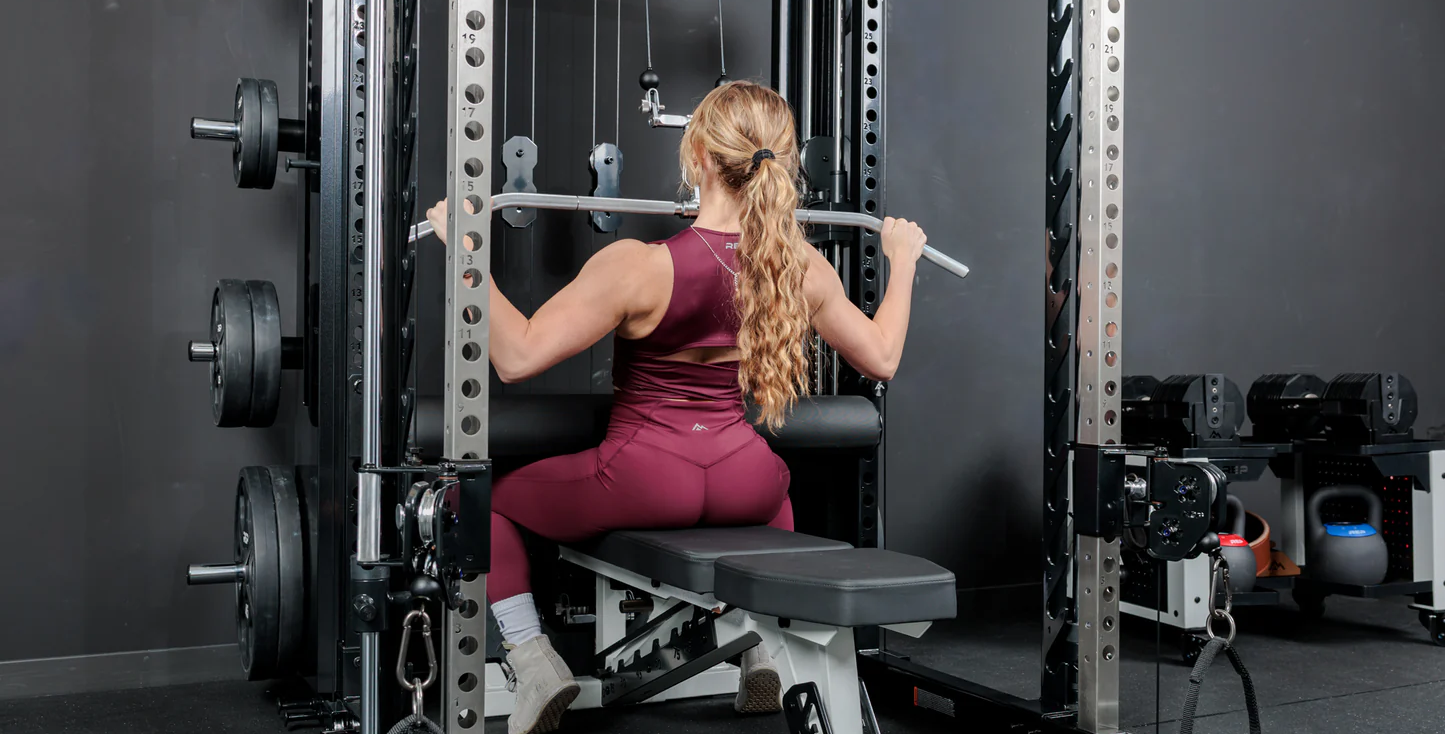
An adjustable bench that slides under the rack doubles your training surface without doubling your footprint. Look for benches with a low profile (under 17 inches to seat) and wheels. When not in use, it lives under the rack entirely.
Wall-mounted pull-up bars, dip handles, and band pegs consolidate your equipment without stacking it on the floor. If your rack doesn’t include these attachment points, a separate 12-inch wall mount between the rack and the nearest wall puts them within arm’s reach without consuming square footage.
Actionable step: Sketch a top-down floor plan (graph paper or any free room planner app) with the rack footprint drawn to scale. Add your bench and plate storage. You’ll see immediately where the constraints are before anything gets moved.
Safety in a Tight Space: The Considerations Most Guides Skip
A power rack small space setup introduces safety variables that don’t exist in a commercial gym. Address them directly.
Anchor the rack. On wood floors, use lag bolts through the base feet into floor joists (locate them first with a stud finder). On concrete, use Tapcon anchors or expansion bolts. An unanchored rack can shift during heavy lifts — particularly on overhead press, where rearward force is significant. This is non-negotiable.
Bail-out space is a safety requirement, not a luxury. When you fail a squat, the bar needs somewhere to go. Make sure there’s clear space behind the rack’s spotter arms when you’re in the setup position, and that you’ve tested the bail-out movement before loading heavy.
Bar clearance on overhead press is the most overlooked hazard in small rooms. If the rack is positioned near a wall or column, a missed rep on overhead press can bring the bar backward into a wall. Ensure at least 12–18 inches of clear space behind your standing position on any overhead movement.
Check hardware every 90 days. Vibration from heavy lifts loosens bolts over time. A quick walk-around with a wrench takes two minutes and prevents equipment failure under load.
The Right Environment Is Where It Starts
The difference between people who train consistently for years and people who drift in and out isn’t discipline — it’s environment. A space that’s set up intentionally, equipped correctly, and designed for how you actually train becomes a cue in itself. You walk past it and you want to train.
A power rack small space setup done right isn’t a workaround. It’s a decision to prioritize your physical potential in whatever space you have — and to stop waiting for perfect conditions before building the life you’re capable of. Measure your space. Pick the rack type that fits. Start with the room-specific section above that applies to your situation.

Leave a Reply