

You did everything right. Equipment picked carefully, space measured twice, maybe even a wall repainted. And yet when you walk in to train, something feels off — flat, sterile, a little like a hotel gym at 6 a.m. If that’s you, the equipment probably isn’t the problem. It’s almost always the lighting.
Of all the home gym lighting ideas I give clients, the first one is the simplest: light is not an afterthought you handle after the rack goes up. It’s one of the cheapest, highest-leverage design decisions in the entire build — and one of the most commonly ignored. A single overhead bulb can undo a $3,000 equipment investment. The right lighting plan can make a 90-square-foot garage corner feel like a space worth showing up to every day.
This isn’t about buying the brightest bulbs you can find. It’s about understanding light the way you’d understand flooring or wall color — a material that shapes how a room performs and feels. That’s what we’re covering: the principles, the fixtures, the room-specific plans, and the mistakes that quietly sabotage an otherwise great home gym.
Why Lighting Matters More Than You Think
Most people think about gym lighting in one dimension: is it bright enough to see what I’m doing. That’s part of it — poor visibility genuinely affects training. Dim, uneven light hides bar path, makes it harder to self-correct form in a mirror, and creates shadow zones around equipment that become tripping hazards mid-set. If you can’t see your feet clearly during a deadlift setup, that’s not a mood problem, that’s a safety problem.
But visibility is only half the equation, and it’s the half most articles stop at. The other half is design — where lighting actually starts to separate a serious training space from a converted storage room.
Light defines mood. It’s the difference between a space that feels intentional and one that feels thrown together, even with identical equipment in both. It affects how the room photographs, which matters more than people admit — a well-lit gym is one you’re proud to open the door to, and pride shows up in consistency. And it affects how the space feels at 6 a.m. versus 8 p.m., because most people aren’t training in the same light twice a day.
I tell clients to think of light the way they think about flooring or mirrors: a material in the room, not a utility bolted to the ceiling. You wouldn’t choose flooring purely on function and ignore how it looks. Lighting deserves the same consideration.
Related Post: Home gym lighting ideas that actually improve your training environment
Takeaway: Before you buy a single fixture, walk your space at two different times of day — morning and evening — and note where it feels dead. That’s your starting map for where light needs to do real work.
The Design Principles Behind Great Gym Lighting
This is where home gym lighting ideas stop being generic and start being intentional. A handful of interior design principles, applied correctly, will do more for your space than any single fixture purchase.
Layer Your Light Like a Designer Would
Interior designers rarely rely on one light source, and neither should you. Good lighting design works in three layers: ambient (the general fill light for the room), task (focused light exactly where you need to see clearly — a squat rack, a mirror, a workbench), and accent (light that adds depth, warmth, or drama without doing functional work). A single overhead panel gives you ambient light and nothing else, which is exactly why so many home gyms feel flat. Layering even two of these three creates dimension immediately.

Match Color Temperature to the Work
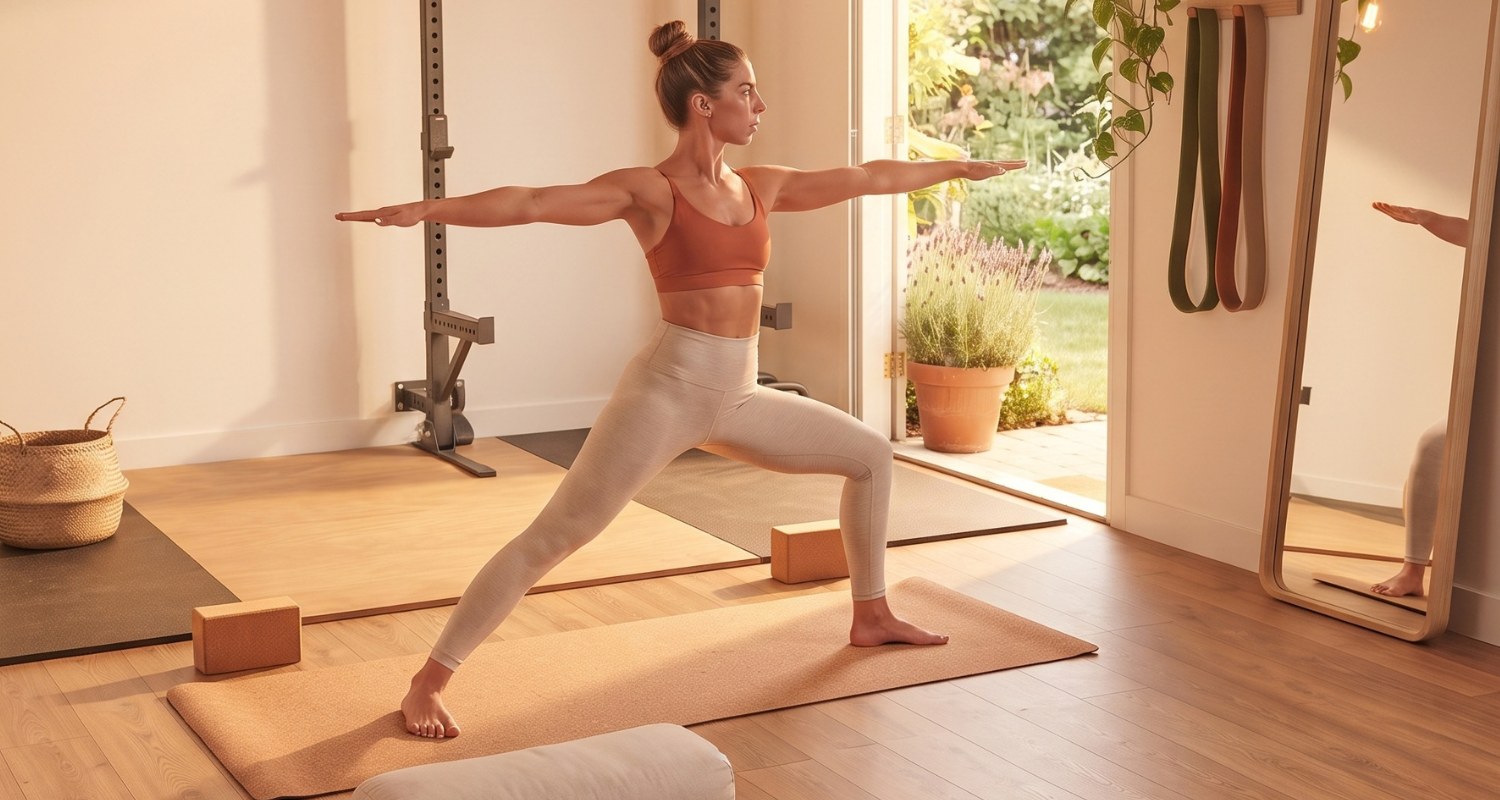
Color temperature, measured in Kelvin, changes how a space feels and how your body responds to it. Cooler light (5000K–6500K) reads as energizing and alert — ideal over your primary training zone for HIIT, lifting, or cardio. Warmer light (2700K–3000K) feels calmer and more residential — better suited to a stretch corner, recovery area, or a gym that shares space with the rest of your home. Mixing zones deliberately, rather than using one temperature throughout, is one of the more overlooked home gym lighting ideas that instantly reads as “designed.”
Don’t Ignore CRI
Color Rendering Index (CRI) measures how accurately a light source reveals true color, on a scale up to 100. A low-CRI bulb can make skin tone look sallow in a mirror, wash out equipment finishes, and make a space feel cheap even when everything in it isn’t. Aim for CRI 90+ wherever mirrors or reflective surfaces are involved — it’s a small spec that has an outsized effect on how polished the room feels.
Treat Fixtures as Architecture, Not Just Utility
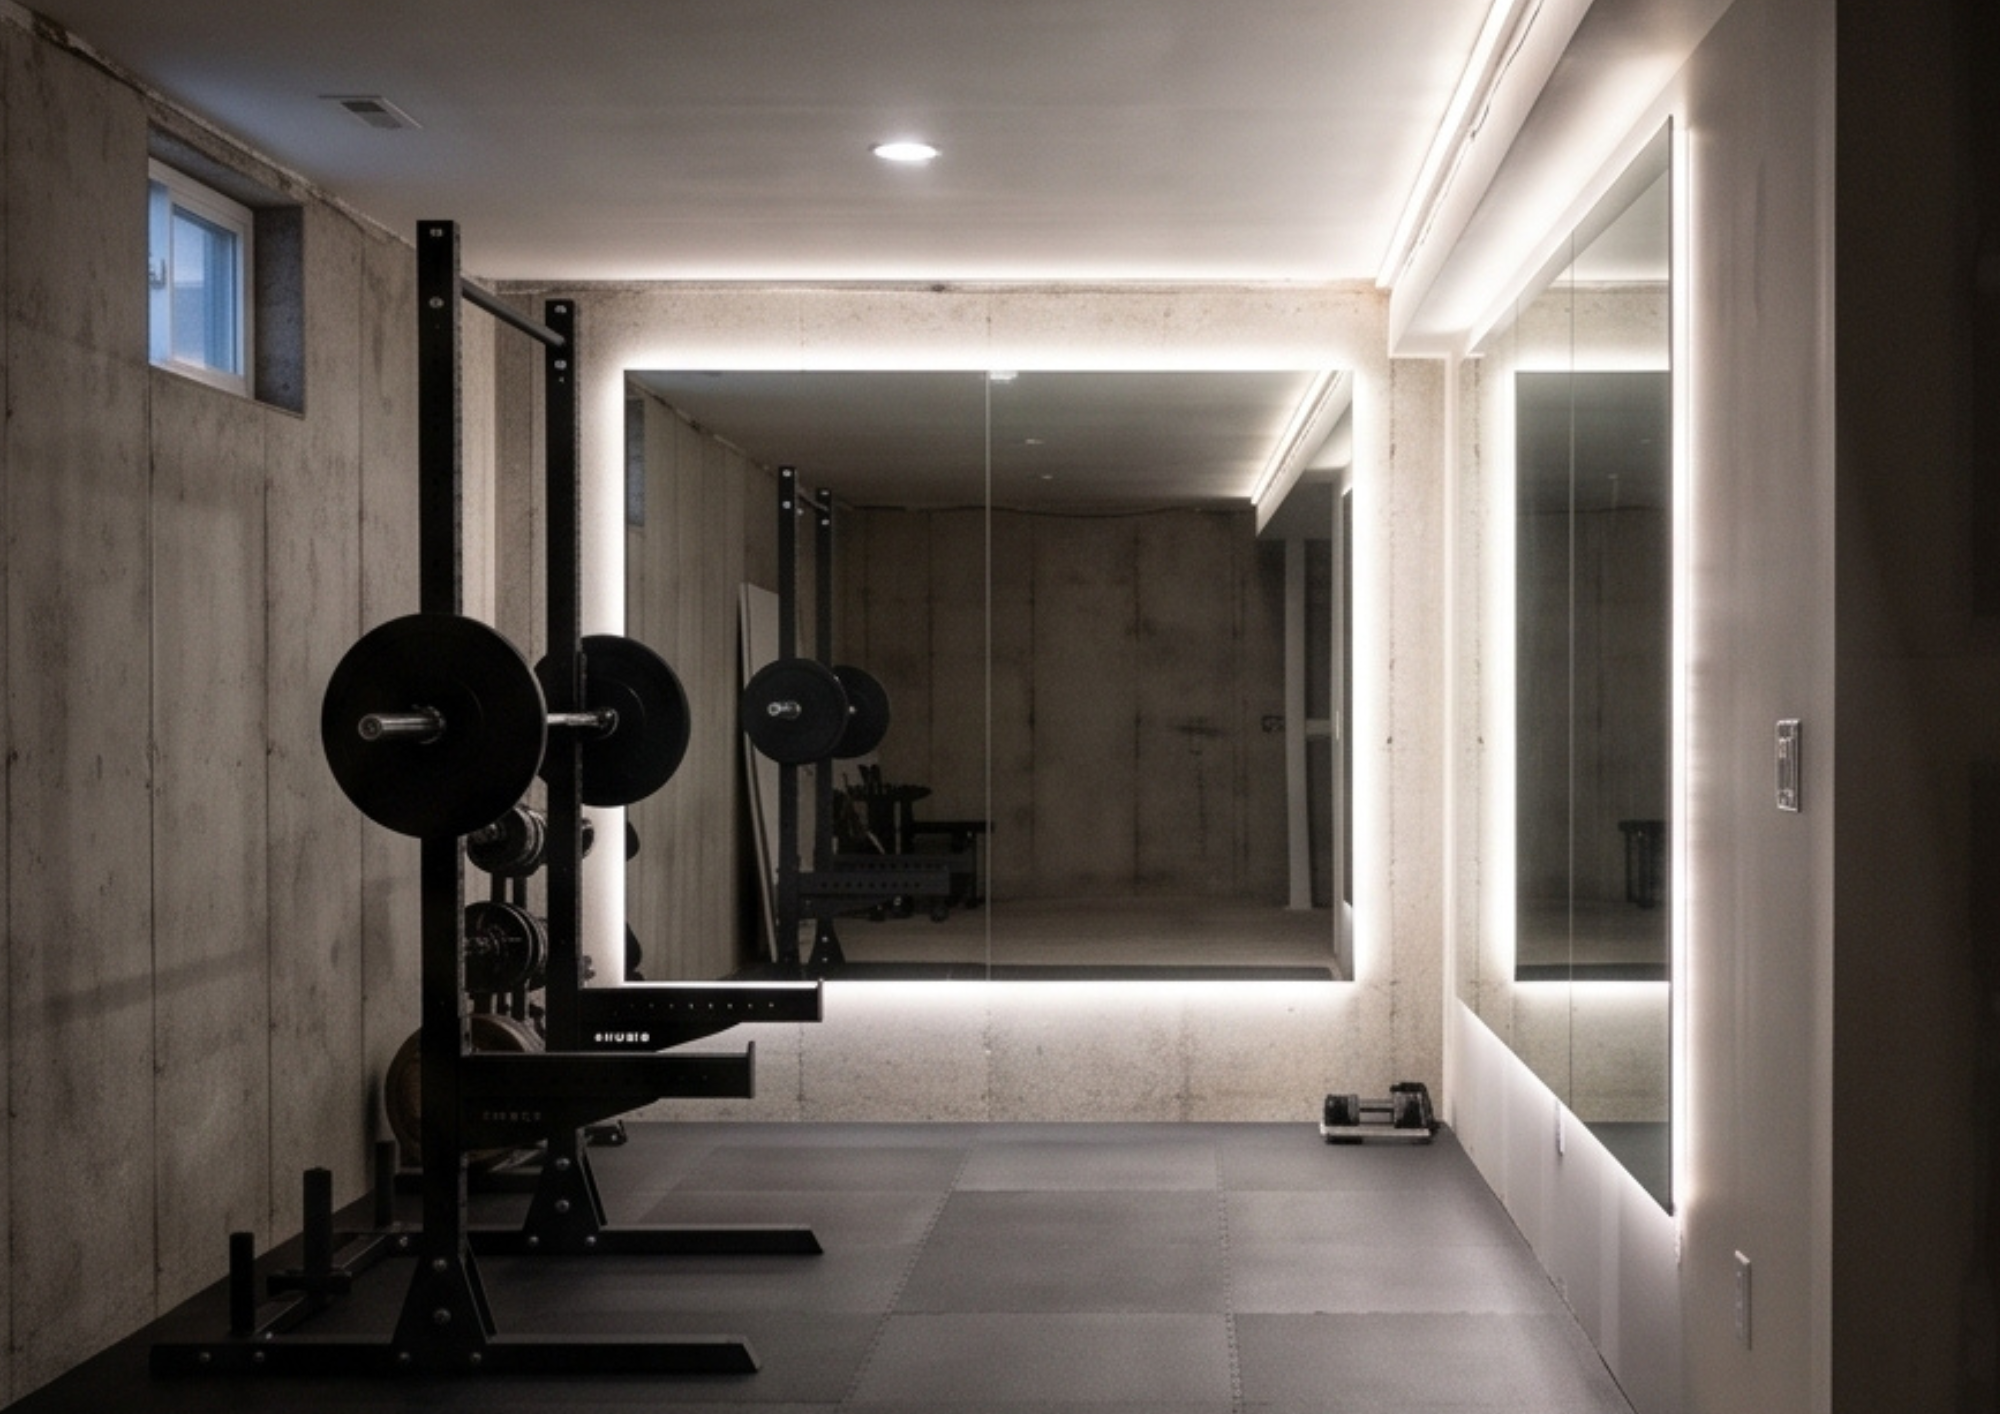
The highest-impact shift in how a home gym looks often comes from treating light as a sculptural element rather than a fixture you tolerate. A ceiling cove that washes light down a wall, a linear LED channel that traces the edge of a mirror, a backlit accent wall behind the rack — these read as intentional design choices, the kind you’d see in a boutique studio, not a garage.
Takeaway: Pick one accent lighting element — a cove, a strip, a backlit panel — and treat it as a design feature from day one, not an upgrade you’ll “add later.” Later rarely happens.
Best Types of Lighting for a Home Gym
Once the principles are set, the fixture choice becomes practical. Here’s how the main categories perform, both functionally and aesthetically.
Recessed or ceiling LED panels
These lights give you clean, even ambient light with a minimal visual footprint — ideal for lower ceilings or spaces where you don’t want fixtures competing with exposed equipment. They’re the workhorse of the ambient layer, but they shouldn’t be the only layer.

Track lighting
It earns its place through flexibility. If your gym has zones — a lifting platform on one side, a possible stretch mat on the other — track heads let you angle light exactly where it’s needed and adjust as your equipment layout changes. This is one of the most practical home gym LED lights setups for anyone still dialing in their space.

LED strip and cove lighting
Definitely the aesthetic workhorse of the bunch. Framing a mirror, lining a ceiling cove, or running a strip behind a rack all create the “gallery” effect that makes a space feel curated rather than assembled. This is usually the single upgrade that gets the most “wait, you did this yourself?” reactions.

Smart and RGB lighting
Adds functional mood control — the ability to shift from a bright, energizing setup for HIIT to a dimmer, warmer scene for mobility work, without installing new fixtures. It’s less about novelty color and more about having one lighting system that adapts to different training modes throughout the day.

Natural light
— skylights, window film that diffuses harsh direct sun, or light tubes in windowless rooms — remains some of the best lighting for home gym spaces where it’s structurally possible. Natural light does something artificial light can’t fully replicate: it regulates energy and mood over the course of a session. Where you can bring it in, even partially, do it.

Takeaway: Don’t chase one “perfect” fixture. Combine at least two categories — one ambient, one accent — and you’ll outperform almost any single high-end light on its own.
Garage Gym Lighting: Solving the Hardest Room
Garages are the most common home gym location, and the hardest to light well. If you’re working with one, this section is worth reading twice.
The default garage setup — a single bare bulb or builder-grade fixture mounted dead center — creates predictable problems: harsh shadows from garage doors and support beams, cold uneven light that reads as industrial in the wrong way, and dark corners around equipment along the walls. Garage gym lighting has to work harder than lighting in a finished room, because garages typically start with worse insulation, lower-quality fixtures, and none of the ambient light a residential room already has.
What’s the Answer?
The fix is layering, applied more aggressively than you would elsewhere. Start with high-output LED shop lights as your ambient base — these deliver the raw lumens a garage needs, especially one without windows. Then soften the industrial edge with accent lighting: a warm LED strip along a workbench or mirror, or track lighting angled onto the rack itself. The shop lights solve visibility. The accent layer solves the “does this look like a garage or a gym” problem.
There’s also real design opportunity here that most people miss. Black matte fixture finishes read as intentional against exposed studs or drywall, rather than looking like leftover hardware. Exposed conduit, if you’re running new electrical anyway, can be treated as an aesthetic choice — clean, visible runs rather than something hidden and apologized for. And epoxy flooring, beyond being more durable than bare concrete, reflects light back up into the room, which measurably brightens the whole space without adding a single new fixture.
One practical note: garages have unique fixture requirements most people don’t think about until it’s a problem. Temperature swings, humidity, and dust mean you need fixtures rated for those conditions — a shop light rated for damp locations will hold up; a decorative fixture meant for a finished interior often won’t. If you’re insulating or drywalling the garage as part of the build, that’s the moment to also finalize your electrical plan, since retrofitting after drywall is up costs significantly more.
Takeaway: In a garage, budget for shop lights and accent lighting as two separate line items from the start — not one big fixture you hope does both jobs.
Related Post: Garage gym ideas on a budget: A serious training space without spending serious money
Room-by-Room Lighting Approaches
Every space has different constraints, and the right home gym lighting ideas look different depending on where you’re building. Here’s how I’d approach each of the most common home gym locations.
Spare Bedroom
A spare bedroom gym usually needs to stay dual-purpose, which means the lighting has to flex. Skip harsh overhead fixtures in favor of softer ambient light — a dimmable ceiling fixture at 3000K keeps the room feeling residential rather than clinical. Add a task light near your primary training zone (a floor lamp with a directional head works well in a room this size, typically 10×12 to 12×14) so you have brighter, more energizing light when you need it, without changing the fixture the room was built around. Dimmers are non-negotiable here — they’re what let the same room function as a bedroom and a training space without either identity fighting the other.

Basement
Basements fight two problems at once: no natural light, and a tendency to feel like a cave once the sun goes down elsewhere in the house. Layering matters more here than in any other room type. Start with strong ambient light — full-spectrum or “daylight” bulbs (5000K) help counter the windowless feeling — then add task lighting over your main equipment zone and accent lighting along at least one wall to prevent the room from reading as a single flat box. Wall color plays a bigger role in basements than people expect: a mid-tone or light wall bounces significantly more light back into the room than a dark one, which matters when you have zero natural light to work with.

Living Room
A living room gym has to look intentional even when the dumbbells are put away — this is usually the top priority for readers building in a shared living space. Hidden or integrated fixtures do the heaviest lifting: recessed cans, or a cove that blends into the room’s existing architecture rather than announcing “gym equipment lives here.” Smart bulbs are particularly useful in this room type, since they let you shift between a “living room” scene and a “training” scene without swapping fixtures or leaving a rack-adjacent lamp as a permanent visual reminder of the workout gear tucked in the corner.

Garage
Covered in depth above — the short version for garage builders scanning this section: layer high-output shop lights with a warmer accent layer, choose fixtures rated for temperature and humidity swings, and use finish choices (matte black hardware, epoxy flooring) to offset the industrial starting point.

Takeaway: Match your lighting plan to how the room needs to function outside of workout hours, not just during them. That’s the difference between a space that looks built-in and one that looks temporary.
Related Post: Home gym design ideas (beautiful and functional spaces)
Mirrors, Reflection, and Light Amplification
Mirrors do more for a home gym than form-checking — they’re one of the most effective light-amplification tools available, and most people underuse them. A well-placed mirror wall doesn’t just reflect your image; it reflects your light source, effectively doubling the perceived brightness of a room without adding a single new fixture.
Placement matters more than size. A mirror positioned opposite your main light source — a window, a cove, a run of LED strip — will bounce that light back across the room rather than absorbing it into a dark wall. This is especially valuable in rooms without much natural light, like basements and interior garages.

Framing is where the aesthetic upside really shows up. An LED strip integrated directly into the mirror frame does two things at once: it eliminates the shadow-under-chin problem that top-down lighting creates when you’re checking form, and it turns the mirror itself into a lit design feature rather than a plain reflective panel bolted to drywall. This is currently one of the more popular home gym design trends for good reason — it’s a relatively low-cost upgrade that changes the entire visual character of a wall.

Takeaway: If you’re only adding one mirror, place it to catch and reflect your strongest light source — not just centered on the wall for symmetry’s sake.
Materials and Finishes That Work With Light
Lighting doesn’t operate in isolation — it interacts with everything else in the room, and getting the pairing wrong undercuts even a well-planned layout.
Wall color is the biggest lever. Light, matte walls bounce and diffuse light, softening a room; dark walls absorb it, which can look intentional and moody but will fight you in a room already short on light, like a basement. Know which effect you’re going for before you paint.
Flooring matters too. Rubber, the most common choice, is matte and light-absorbing — safe and low-glare under bright ambient lighting. Turf reflects less and can look flat under harsh overhead light but responds well to warmer accent lighting. Wood or wood-look flooring reflects more and can glare directly under strong overhead fixtures, so it pairs better with angled or indirect light.
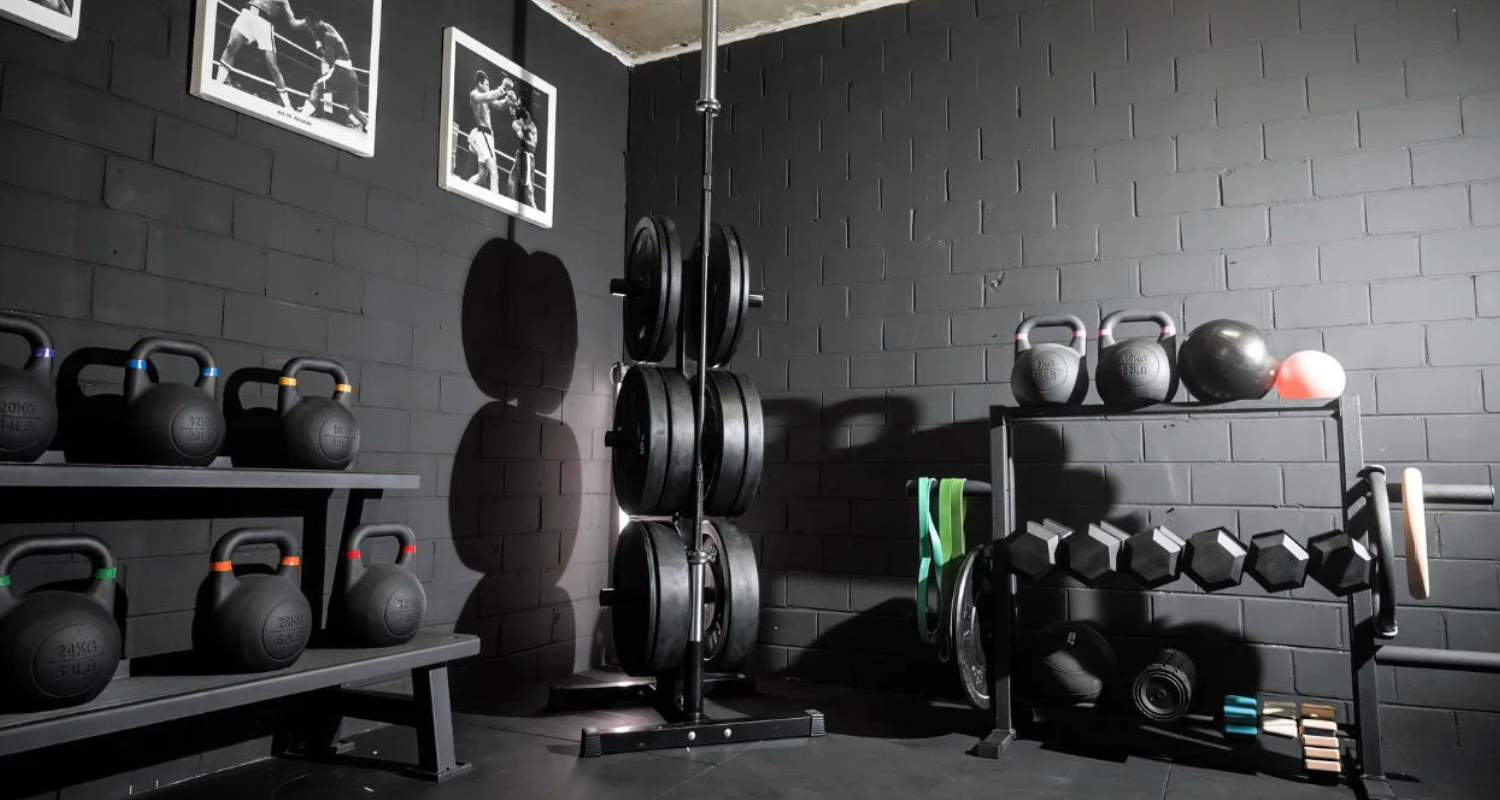
Equipment finish is the detail most people never sequence with their lighting plan. Matte black absorbs light and reads as moody and modern under warmer, layered lighting. Chrome and polished finishes reflect aggressively — sharp and clean under the right conditions, distracting under unshielded overhead fixtures.
Takeaway: Choose your flooring and wall color before finalizing your lighting plan, not after — the interaction between the two determines how much of your lighting budget actually shows up as visible brightness in the room.
Smart Lighting and Mood Control
A training session isn’t one mood from start to finish, and your lighting doesn’t have to be either. App- or voice-controlled smart lighting lets you build actual scenes: a bright, cool-toned setting for the working sets, and a dimmer, warmer setting for the cooldown and stretch that follows. This isn’t a novelty feature — it’s a tool for building a workout ritual, the kind of small environmental cue that makes a session feel like it has a beginning and an end, rather than just stopping when you’re tired.

Practically, this means setting two or three saved scenes rather than relying on a single always-on setting: a “train” scene at higher brightness and cooler temperature, a “recover” scene warmer and dimmer, and optionally a “default” scene for whenever the room is being used for anything other than training. Most smart bulb and smart switch systems support this natively, and it requires no rewiring — just a lighting layer that was already planned to be controllable.
Takeaway: Set your scenes once, during setup, rather than manually adjusting lights every session — the whole point is removing friction from the ritual, not adding a new decision every time you walk in.
Common Lighting Mistakes to Avoid
These are the mistakes I see most often when clients ask me to look at their space — all fixable, none of them expensive to correct.
- Relying on a single overhead bulb. It creates flat light, harsh shadows directly beneath it, and dark corners everywhere else. One source can’t do a room’s worth of work.
- Mixing color temperatures without intention. A 3000K lamp next to a 6000K overhead fixture reads as unfinished, not layered — pick a temperature per zone and stay consistent within it.
- Ignoring mirror glare. A light source placed directly in front of a mirror bounces straight back at you, which is uncomfortable and defeats the mirror’s purpose. Position mirrors and lights at complementary angles, not directly opposite.
- Skipping dimmers. Especially in dual-purpose rooms, a fixed-brightness fixture forces the room to always look like a gym, even when it isn’t being used as one.
- Underestimating shadow zones near equipment. Racks, benches, and machines cast their own shadows. Task lighting needs to account for where your equipment will physically block the ambient layer, not just where the room is generally bright.
Takeaway: Walk your space after dark with just your planned fixtures on and look for shadows around your equipment specifically — that’s the fastest way to catch these mistakes before they’re permanent.
Building the Space That Matches Your Potential
Here’s the bigger point underneath all of this: a home gym isn’t a convenience, it’s the environment your physical transformation gets built in — and environment shapes behavior more than motivation ever will. Good home gym lighting ideas aren’t about decoration for its own sake. They’re about building a space you actually want to walk into, every day, at whatever hour training happens to fall.
Layer your light. Match temperature to purpose. Let mirrors and finishes do double duty. And treat the fixtures themselves as part of the room’s design, not an afterthought bolted to the ceiling after everything else is done. Get that right, and the room stops looking like a garage with a barbell in it — it starts looking like a space built for who you’re becoming.
If you’re still in the planning phase, don’t try to hold all of this in your head at once. Grab SOMA’s free Home Gym Planning Checklist — it walks through lighting, flooring, and layout decisions in the order you actually need to make them, so nothing gets bolted on as an afterthought.

Leave a Reply