
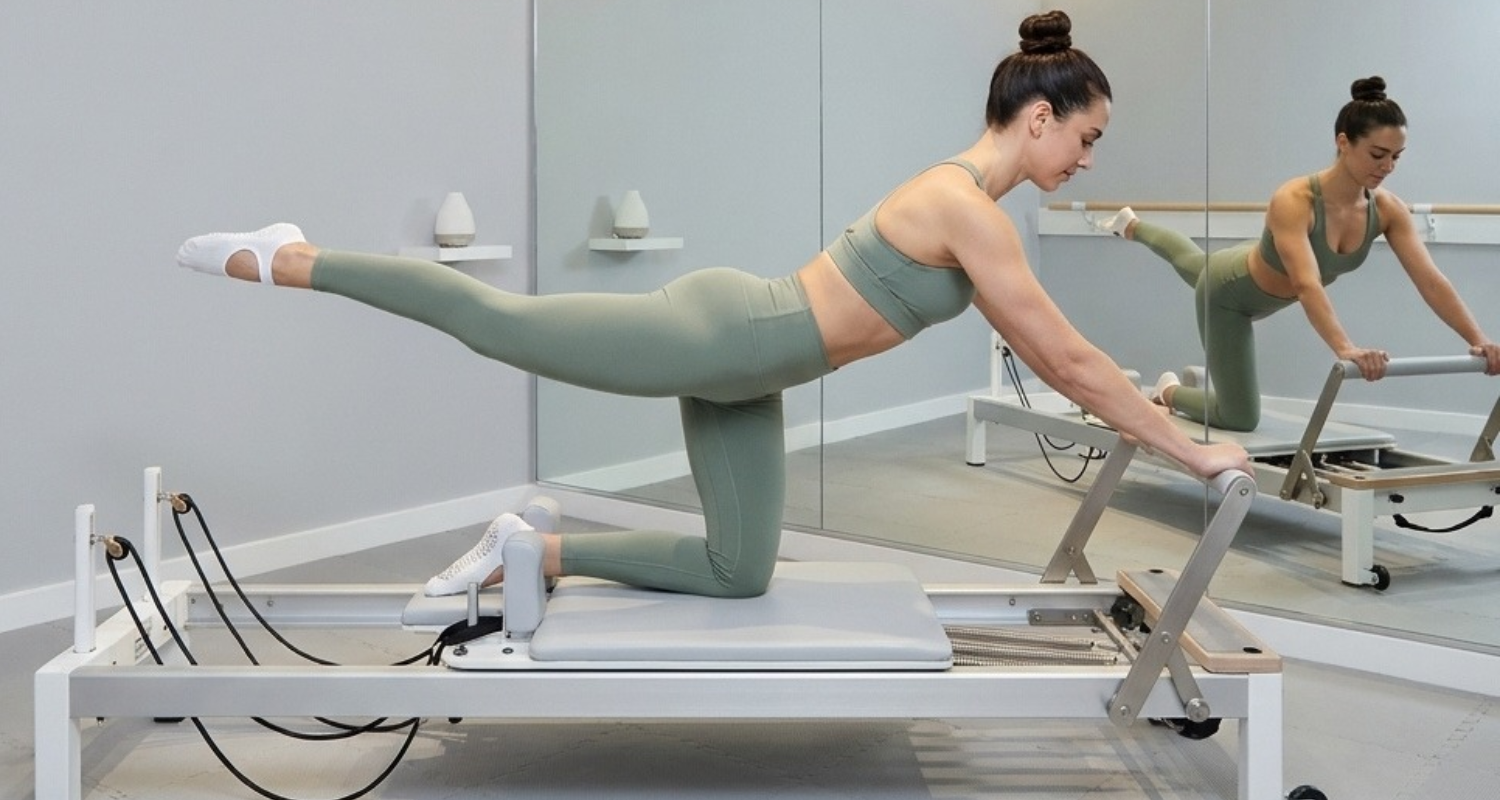
There’s something about walking into a boutique fitness studio that makes you want to train. Maybe it’s the wall-to-wall mirrors, the carefully positioned lighting, or the way every piece of equipment seems to belong exactly where it is. Everything feels intentional.
And while you might associate that experience with an expensive Pilates studio or a high-end fitness club, there’s no reason you can’t recreate it at home. In fact, your basement might be one of the best places to do it.
Think about it.
Unlike a garage, you don’t have to deal with an overhead door or the same degree of outdoor temperature exposure. Unlike a spare bedroom, you may have more room to spread out your equipment. And because many basements have little or no natural light, you can design the lighting almost entirely around the atmosphere you want to create. That’s the appeal of a performance studio basement gym.
Instead of embracing exposed concrete and unfinished ceilings like the Industrial Loft, or creating a dark, intense atmosphere like the Athlete Cave, the Performance Studio takes a completely different approach. Light-grey walls. Large mirrors. Clean flooring. Polished equipment. Carefully directed lighting.
The goal is to make the room feel like a private boutique fitness studio rather than a basement with exercise equipment. Of course, basements come with their own challenges. Moisture, ceiling height, and finishing the space properly all deserve attention before you start shopping. But get those details right, and you can create a training environment that feels surprisingly professional.
Let’s get into it.
What Makes the Performance Studio Basement Gym Different?
You can create a Performance Studio in almost any room. But a basement offers a few advantages that make this aesthetic especially appealing. There are three worth highlighting.

1. You Have More Control Over the Lighting
In a spare bedroom, natural light changes throughout the day. Morning sunlight might illuminate one wall, while afternoon shadows completely change the room’s appearance. That isn’t necessarily a bad thing, but it makes the lighting harder to control.
In a windowless basement, you get to decide exactly how the space is illuminated. Want bright, even lighting for Pilates? You can do that. Prefer warmer lighting for strength training? That works too. And because the lighting doesn’t have to compete with changing daylight, the room can look virtually identical at 6 AM and 9 PM.
For a design built around large mirrors and carefully directed light, that consistency is a major advantage.
2. You Get More Privacy and Potentially Better Acoustics
There’s something appealing about having a dedicated training room downstairs. You can close the door, put on your music, and focus on your workout without the distractions of people moving through the room. Depending on your home’s construction, a basement may also provide better acoustic separation than an upstairs bedroom. That makes it an attractive location for strength training, Pilates, cardio, and other activities that benefit from a private environment.
But keep in mind that basements aren’t automatically soundproof. Music, jumping, and equipment vibrations can still travel through the structure. You’ll want to consider flooring, acoustics, and the rooms directly above your gym.
3. You May Have More Room to Work With
One of the biggest limitations of a spare bedroom gym is space. You might have to fold your bench away after every workout or store your Pilates equipment against the wall. A basement can offer more flexibility.
Depending on the layout, you may have enough room for a full mirror wall, a dedicated Pilates reformer, a longer barre, and separate strength and mobility areas. That means less rearranging equipment between sessions.
Of course, not every basement is spacious. But if yours has a relatively open floor plan, a performance studio basement gym gives you an opportunity to create something closer to a dedicated commercial studio.
The One Big Challenge
Here’s the catch. A basement doesn’t naturally look like a boutique fitness studio. It might have exposed concrete, visible pipes, unfinished walls, and a ceiling that hasn’t been touched in decades. That’s where the design work comes in.
The Performance Studio isn’t about celebrating those unfinished features. It’s about creating a polished, cohesive environment that feels completely different from the basement you started with.
Related Post: Performance Studio Spare Bedroom Gym: Create the Boutique Fitness Experience at Home
Performance Studio Basement Gym Setup: Moisture, Walls, Mirrors, Flooring, and Lighting
Before you buy a mirror or start picking out equipment, take a good look at the room itself. Basements require a little more preparation than spare bedrooms. And with the Performance Studio aesthetic, that preparation is especially important. You’re creating a bright, polished environment where imperfections tend to stand out.
A water stain on a pale wall, a musty smell beneath the flooring, or an uneven ceiling finish can undermine the entire design. So the order of your decisions matters. Start with moisture. Then finish the walls and ceiling. After that, plan the mirror, flooring, lighting, and equipment.
Moisture Comes First
This probably isn’t the most exciting part of building a home gym. But it’s one of the most important. Basements are more vulnerable to moisture problems than most above-ground rooms. And in a Performance Studio, where you’re using pale finishes, mirrors, and carefully installed flooring, those problems can become noticeable pretty quickly.
Before finishing the room, check for signs of water intrusion. Look for damp patches, staining, peeling paint, musty odors, or visible moisture along the foundation. You can also perform a simple preliminary moisture check on the concrete floor.
Tape a roughly twelve-inch square of clear plastic sheeting to the slab, sealing the edges, and leave it in place for about twenty-four hours. If moisture collects beneath the plastic or the concrete darkens, that may indicate moisture moving through the slab. This isn’t a definitive moisture assessment, but it can help identify a potential problem. If you suspect water intrusion, address the source before installing flooring or applying a sealer.
Invest in a Dehumidifier
A dehumidifier is another useful addition to a basement gym. Aim to keep relative humidity below approximately 50% throughout the year. A 50-pint unit may be suitable for many basement studios, although the correct capacity depends on the room’s size and moisture conditions. If possible, choose a model that supports continuous drainage.
Connecting a drain hose to a suitable floor drain can save you the trouble of emptying the tank every day. Once you’ve confirmed the floor is suitable for finishing, consider a concrete sealer compatible with the slab and your planned flooring system. Just remember that sealing concrete isn’t a substitute for fixing an active water problem.
Get the moisture under control first.
Walls and Ceiling: Create a Clean, Finished Space
This is where the Performance Studio really separates itself from the Industrial Loft. In an Industrial Loft basement, exposed joists and concrete walls are part of the appeal. In a Performance Studio, we’re going in the opposite direction. The goal is to make the room feel finished, bright, and precise.
Wall Color
I’d recommend smooth drywall finished in a cool, light-grey paint. Not the warm white you’d typically find in a Clean Minimalist gym. And definitely not the dark charcoal associated with an Athlete Cave. Cool grey creates a clean, professional backdrop that works beautifully with mirrors and brushed-metal equipment. Choose a flat or matte finish to reduce unwanted reflections. And take your time preparing the walls.
Large mirrors and directional lighting have a way of revealing uneven paint, roller marks, and other imperfections. Proper priming and a smooth finish can make a noticeable difference.
Ceiling Treatment
For the ceiling, go with clean white or the same cool grey used on the walls. Ideally, you’ll want to conceal exposed pipes, ducts, and wiring where practical. A finished ceiling helps create the uninterrupted lines associated with boutique fitness studios. But don’t box in mechanical systems without considering access, ventilation, and building requirements.
Some components need to remain accessible for maintenance or inspection. The goal is a clean appearance without compromising the function of the house.
Measure Your Ceiling Height
Before purchasing equipment, measure from the finished floor to the lowest point of the ceiling. That includes any remaining ducts, beams, or mechanical obstructions. This matters for more than just power racks.
Pilates equipment, overhead exercises, jumping movements, and even certain lighting fixtures require adequate clearance. A full-height mirror can make a lower ceiling feel visually taller, but it won’t create more physical headroom. Plan accordingly.
The Mirror: Your Studio’s Main Design Feature
If there’s one feature that defines the Performance Studio, it’s the mirror. And in a basement, you may have the opportunity to go bigger than you would in a spare bedroom.
Ideally, choose the longest suitable wall and install large frameless mirror panels. Floor-to-ceiling coverage creates the strongest boutique-studio appearance. The mirror makes the room feel more open, reflects your lighting, and provides useful visual feedback during certain exercises. But here’s the important part.
Choose the mirror wall before you start positioning equipment.
You don’t want to assemble a rack or install storage only to realize you’ve taken up the best wall.

Mirror Installation
Basement walls can be a little different from ordinary bedroom walls. You might be mounting to concrete, concrete block, or drywall installed over masonry. Each surface requires an appropriate mounting method.
Large mirror panels need hardware and support systems rated for their size, weight, and wall construction. Depending on the installation, that may involve structural anchors or a properly installed mounting rail. For particularly large panels—such as those exceeding 80 inches in one dimension or weighing more than 50 pounds—professional installation is worth considering.
A basic professional installation might cost around $150–$300, although actual costs depend on the mirror and mounting requirements. Also, keep the mirror safely outside the path of moving equipment. As a starting guideline, allow at least three feet between the mirror and dumbbell movements, kettlebell swings, or other equipment paths, with additional clearance whenever needed. For more detailed guidance, check out the dedicated mirror article.
Related Post: Home Gym Mirror Guide: How to Choose, Place, and Mount the Right Mirror for Your Space
Flooring: Keep It Light, Clean, and Practical
Flooring plays a bigger role in the Performance Studio than you might expect. It’s not just about protecting the surface beneath your equipment. It’s also a major part of the room’s appearance. And because your mirror reflects the floor, the flooring becomes even more noticeable.
For a performance studio basement gym, I’d recommend light-grey interlocking rubber tiles. They complement the walls, help create a bright atmosphere, and provide a practical surface for many types of exercise.
Start With the Subfloor
Once moisture issues have been addressed, consider installing a suitable plywood subfloor system over the prepared concrete. This can create a more comfortable surface and help separate the finished flooring from the cold slab.
However, the subfloor design needs to be appropriate for below-grade conditions. Ordinary plywood placed directly over damp concrete can create moisture problems, so use a system compatible with the slab and the room’s moisture conditions.
Install Half-Inch Rubber Tiles
For the finished training surface, half-inch light-grey interlocking rubber tiles are a strong option. Lay them in a precise grid with the seams running parallel to the walls. This helps maintain the clean, organized appearance of the room. Diagonal patterns can look interesting, but they also introduce visual complexity that becomes more noticeable in the mirror.
If possible, extend the tiles at least three feet beyond the mirror and throughout the main training area. The goal is a consistent floor that looks intentional from every angle. A suitable subfloor and rubber tiles may help with some sound and vibration, but they won’t completely soundproof the basement.
Related Post: Best Home Gym Flooring in 2026: (Complete Guide)
THE PERFORMANCE STUDIO BASEMENT: WHERE TO START
You don’t have to build the entire studio at once. There are several ways to approach the project depending on your budget and how much finishing work the basement needs. Here are three configurations worth considering.
Option 1: Essentials
Start with a suitable concrete floor sealer after addressing any moisture issues. Install light-grey interlocking rubber tiles over the prepared slab. Add a continuous-drain dehumidifier to help manage humidity. For lighting, use an entry-level LED track-lighting kit with a matching perimeter strip. This gives you the foundation of a Performance Studio without requiring a complete renovation.

PROSOURCEFIT Grey EVA Foam Interlocking Tiles

AEOCKY 50 Pint/Day, 3500Sq.Ft Ultra-Quiet 40dB Dehumidifier with Drain Hose


Option 2: Studio
Ready to take things a little further? Build on the Essentials configuration with a suitable plywood subfloor and half-inch rubber tiles. Upgrade to a four-head LED track-lighting system with a dimmer. Then add a matching LED perimeter strip to create a more balanced lighting environment. This setup provides greater control over the room’s appearance and a more complete boutique-studio feel.
BASELAYER Performance Series Interlocking Floor Tiles – Durable ½ in TPE


Option 3: Full Build
For the complete experience, start with the Studio configuration. Then add a professionally installed full-wall mirror and fabric-wrapped acoustic panels designed to resemble framed wall art. The result is a polished, dedicated training space with a much more professional atmosphere.

Lighting: The Secret to a Boutique-Studio Atmosphere
Lighting can completely change the way a basement feels. A poorly lit room might look like a finished storage area with exercise equipment. But a thoughtfully designed lighting system can make the same room feel like a high-end fitness studio. And because many basements have little or no natural light, you have the opportunity to control the entire lighting environment.
Start With LED Track Lighting
For a Performance Studio, LED track lighting is one of the best options. Look for a ceiling-mounted track with four adjustable heads. Position each light to serve a different area. For example:
- One aimed toward the mirror wall
- One illuminating the main training floor
- One focused on the equipment wall
- One directed toward the center of the room
This allows you to distribute light more evenly than you could with a single overhead fixture. Just be careful with the angles. Bright fixtures aimed directly into a mirror can create uncomfortable glare. The goal is to illuminate the space without making the reflection distracting.
Add LED Perimeter Lighting
Next, install an LED strip along the ceiling perimeter. This provides a softer layer of ambient light that helps fill darker corners. Combined with the track lighting, it creates a more balanced appearance. And because the mirror reflects the entire room, that extra layer of light makes a difference.
Choose Your Color Temperature
The Performance Studio has two particularly useful lighting options. 3000K warm white is a great starting point for strength training, hypertrophy, and recovery. It creates a slightly softer, more flattering atmosphere. 4000K neutral white works well for Pilates, barre, and high-intensity cardio. It produces a brighter, more energetic appearance that complements the clean studio aesthetic.
Neither temperature is automatically better for exercise technique or concentration. Proper brightness, fixture placement, and glare control matter just as much. Whichever you choose, try to keep your lighting consistent throughout the room. Mixing warm track lights with cool perimeter strips can make the room look visually disconnected, especially in the mirror.
Install a Dimmer
This is one feature I’d strongly recommend. A dimmer allows you to change the atmosphere without changing the equipment. Bright lighting for a challenging workout. Softer lighting for stretching or recovery. It’s a simple addition that makes the space much more versatile. And for this particular aesthetic, I’d avoid rustic pendants, exposed industrial fixtures, and fluorescent tubes.
Those elements can look fantastic in an Industrial Loft, but the Performance Studio benefits from cleaner, more streamlined lighting.
Related Post: Home Gym Lighting Ideas by Archetype: How to Light Each Aesthetic Correctly
Acoustics: Make the Room Sound as Good as It Looks
A large mirror and hard flooring can make a room surprisingly echoey. Music reflects off the walls. Footsteps sound louder. Even ordinary movement can create more reverberation than you’d expect. Fortunately, improving the acoustics doesn’t have to be complicated.
Two to four fabric-wrapped acoustic panels on the non-mirror walls can help absorb some of those reflections. Choose panels designed to resemble framed canvas art, and they’ll blend naturally into the décor. You can also place a quality speaker at standing height on a shelf beside the mirror. That helps create a more immersive sound experience without filling the room with audio equipment.
Just remember that acoustic panels reduce echo within the room. They don’t necessarily prevent sound or vibration from traveling upstairs. The basement’s location may help with acoustic separation, but the building’s construction still matters.
Storage: Keep Everything Slim and Organized
One of the easiest ways to ruin the Performance Studio aesthetic is clutter. A large mirror makes everything more noticeable. And if your equipment is scattered around the room, the reflection only emphasizes it. Fortunately, you don’t need an elaborate storage system. A few carefully chosen pieces can keep the space organized.
1. Wall-Mounted Dumbbell Rack
Choose a slim dumbbell rack in a brushed-metal or chrome finish. Mount it on a wall perpendicular to the mirror so the equipment becomes part of the room’s organized reflection. Make sure the rack and mounting hardware are rated for the combined weight of the dumbbells.
2. Resistance Band Organizer
Install a compact band organizer on the same wall. Choose neutral black or grey bands where possible and arrange them by resistance level. It’s a small detail, but it contributes to the clean studio appearance.
3. Floating Shelf
A slim floating shelf beside the mirror is perfect for your essentials. Water bottle. Training journal. Speaker. Try to keep it limited to the things you actually use during a workout.
4. Under-Bench Storage
A slim storage box beneath your bench can hold smaller accessories. If your bench is designed to fold upright, the storage box can remain tucked away when the bench isn’t in use. The goal is to keep the main training floor open and ready for movement.
Three Performance Studio Basement Gym Mistakes to Avoid
A few common mistakes can make a beautiful basement studio feel less polished than it should. Here are the three I’d pay the most attention to.
Mistake 1: Skipping Moisture Control
This is the big one. You spend money on mirrors, flooring, and equipment, only to discover moisture accumulating beneath the tiles or rust developing on your equipment. Don’t wait until something goes wrong. Check the basement for moisture, address any underlying problems, and establish humidity control before finishing the room.
Mistake 2: Under-Lighting the Space
A single overhead light might be enough to see your equipment. But it probably won’t create the atmosphere you’re looking for. The Performance Studio benefits from layered lighting. Directional track lights illuminate the training areas. Perimeter strips soften the shadows. A dimmer gives you control over the overall brightness. Together, those elements make the room feel designed rather than simply finished.
Mistake 3: Leaving the Ceiling Unfinished
Exposed pipes, ducts, and wiring can look fantastic in an Industrial Loft. But they don’t fit the Performance Studio’s clean, polished appearance. If practical, conceal the mechanical systems and create a smooth ceiling line. Just make sure you preserve any necessary access, ventilation, and safety requirements. A clean ceiling helps the entire room feel more cohesive, especially when it’s reflected in a full-wall mirror.
Training Setup 1: Strength and Muscle Building
For lifters who want to build strength and muscle in a clean, private, mirrored environment.

You don’t need a commercial gym’s worth of equipment to make progress. In fact, a compact dumbbell-based setup can be incredibly effective for strength and hypertrophy training. And in a performance studio basement gym, you get the added benefit of privacy. You can focus on your sets, experiment with different exercises, and train without the distractions of a crowded facility.
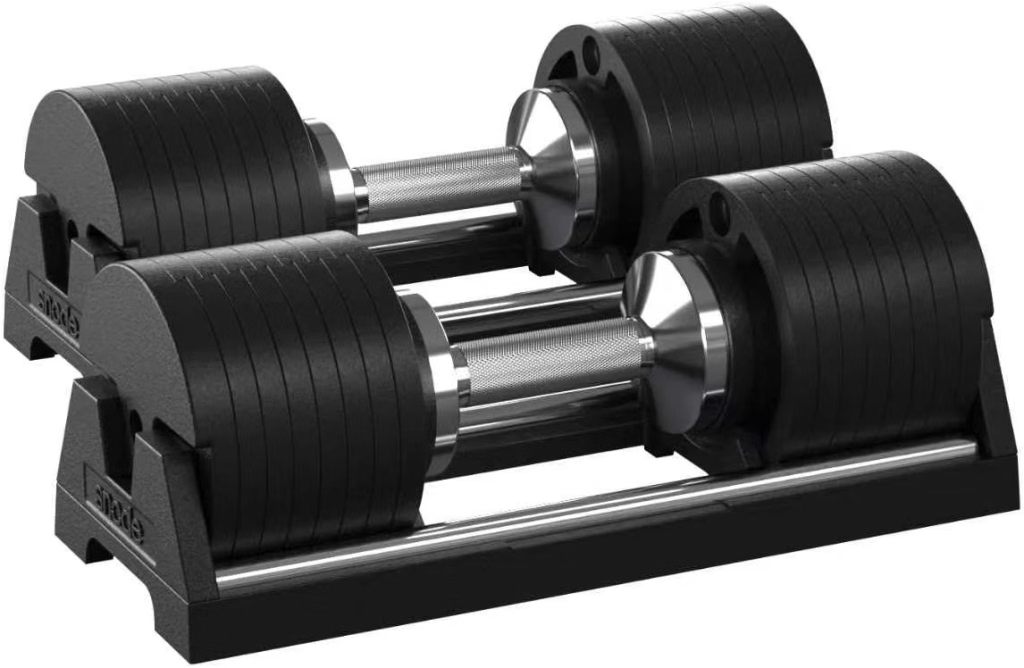
Adjustable Dumbbells
Start with a quality set of adjustable dumbbells. Look for a compact design in a polished or brushed-metal finish. Unlike the Athlete Cave or Industrial Loft, chrome and reflective metal actually work beautifully in the Performance Studio. Pair the dumbbells with a slim wall-mounted rack positioned perpendicular to the mirror.
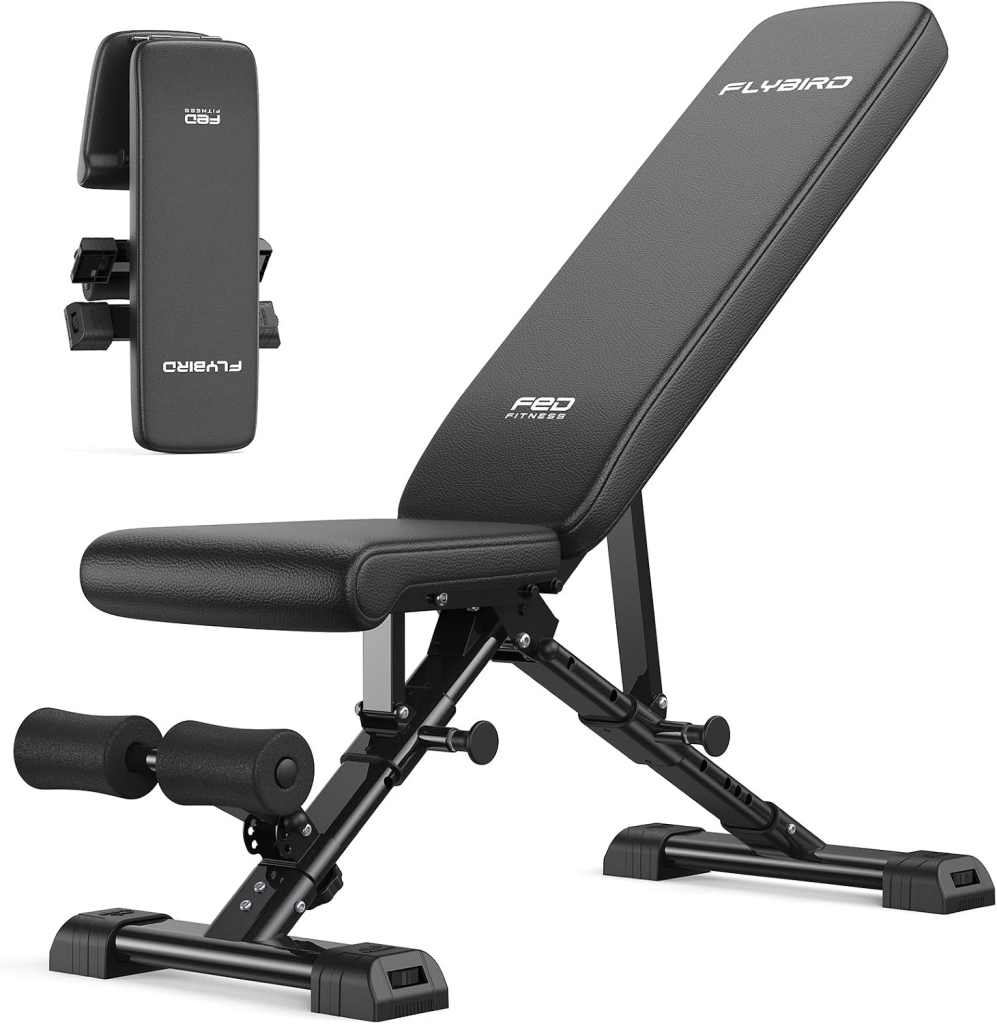
Foldable Adjustable Bench
A foldable adjustable bench with light-grey upholstery is another excellent addition. Choose a model that supports upright storage if you want to reclaim floor space between sessions.
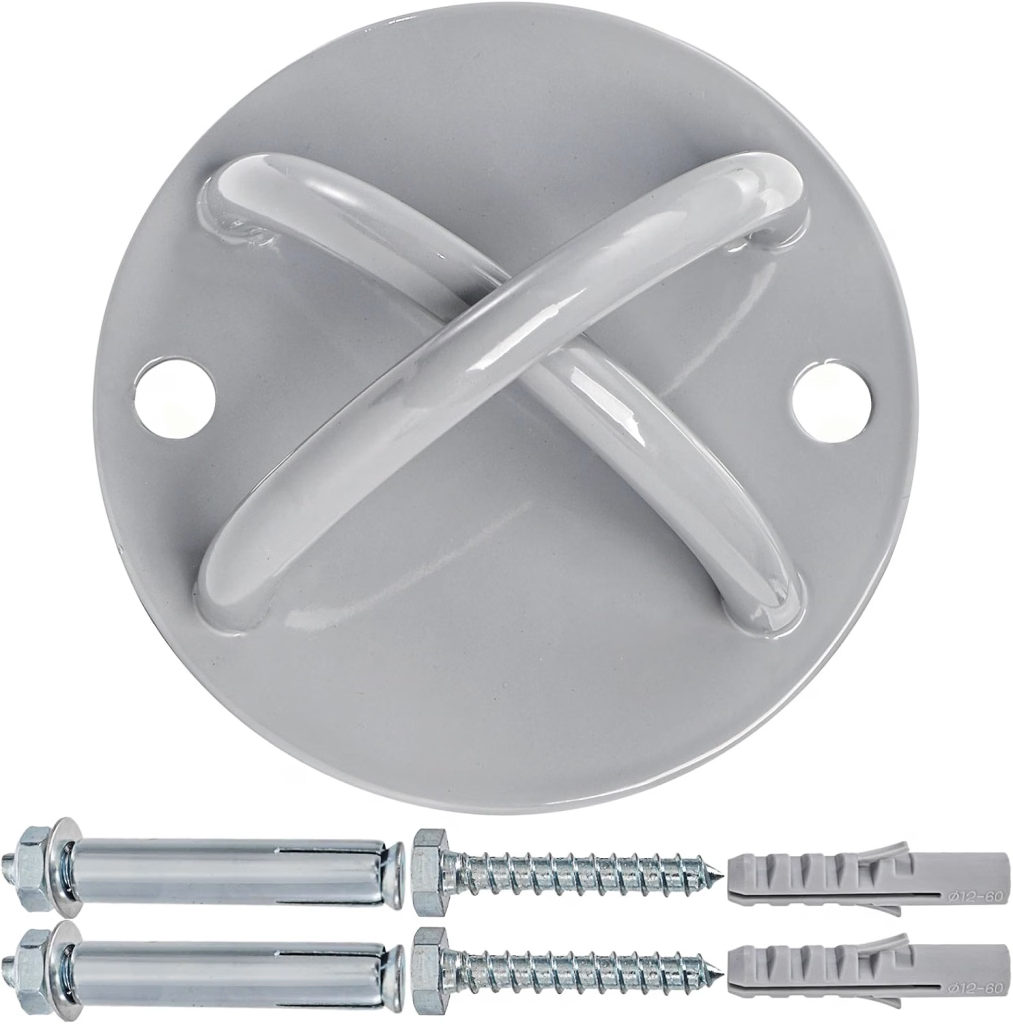
Resistance Band Anchor
A properly installed wall anchor gives you plenty of additional exercise options. Use resistance bands for face pulls, pull-aparts, rows, and other accessory movements. They can replace some cable-machine exercises without requiring a large dedicated machine.
Optional Compact Power Rack
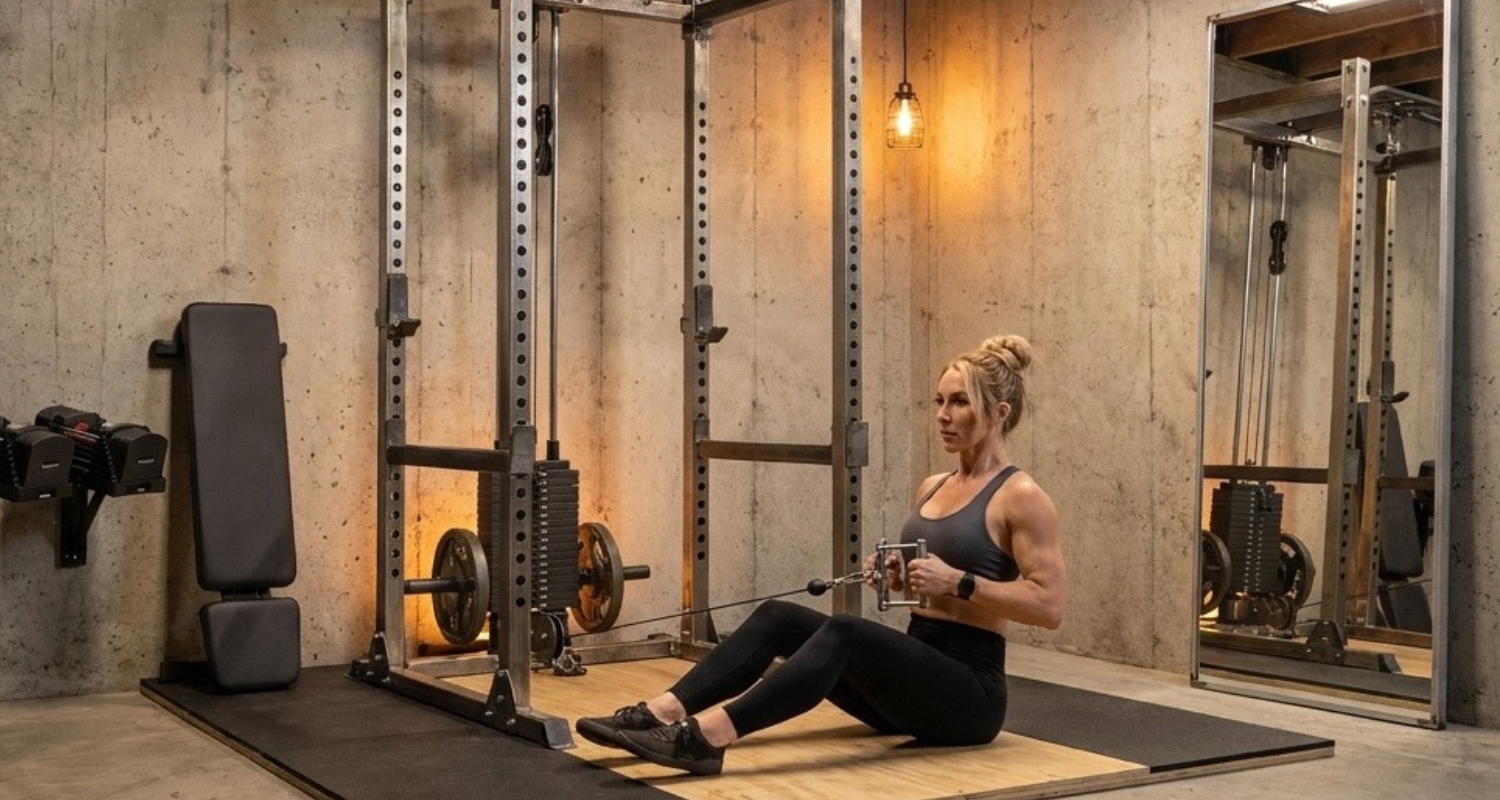
If your basement has enough ceiling clearance, a compact power rack in a brushed-metal or white finish can expand your training options. Just measure carefully before purchasing. You’ll need enough room for the rack itself and the movements you plan to perform.

Training Setup 2: Pilates and Barre
For anyone who wants to recreate the experience of a boutique Pilates or barre studio at home.

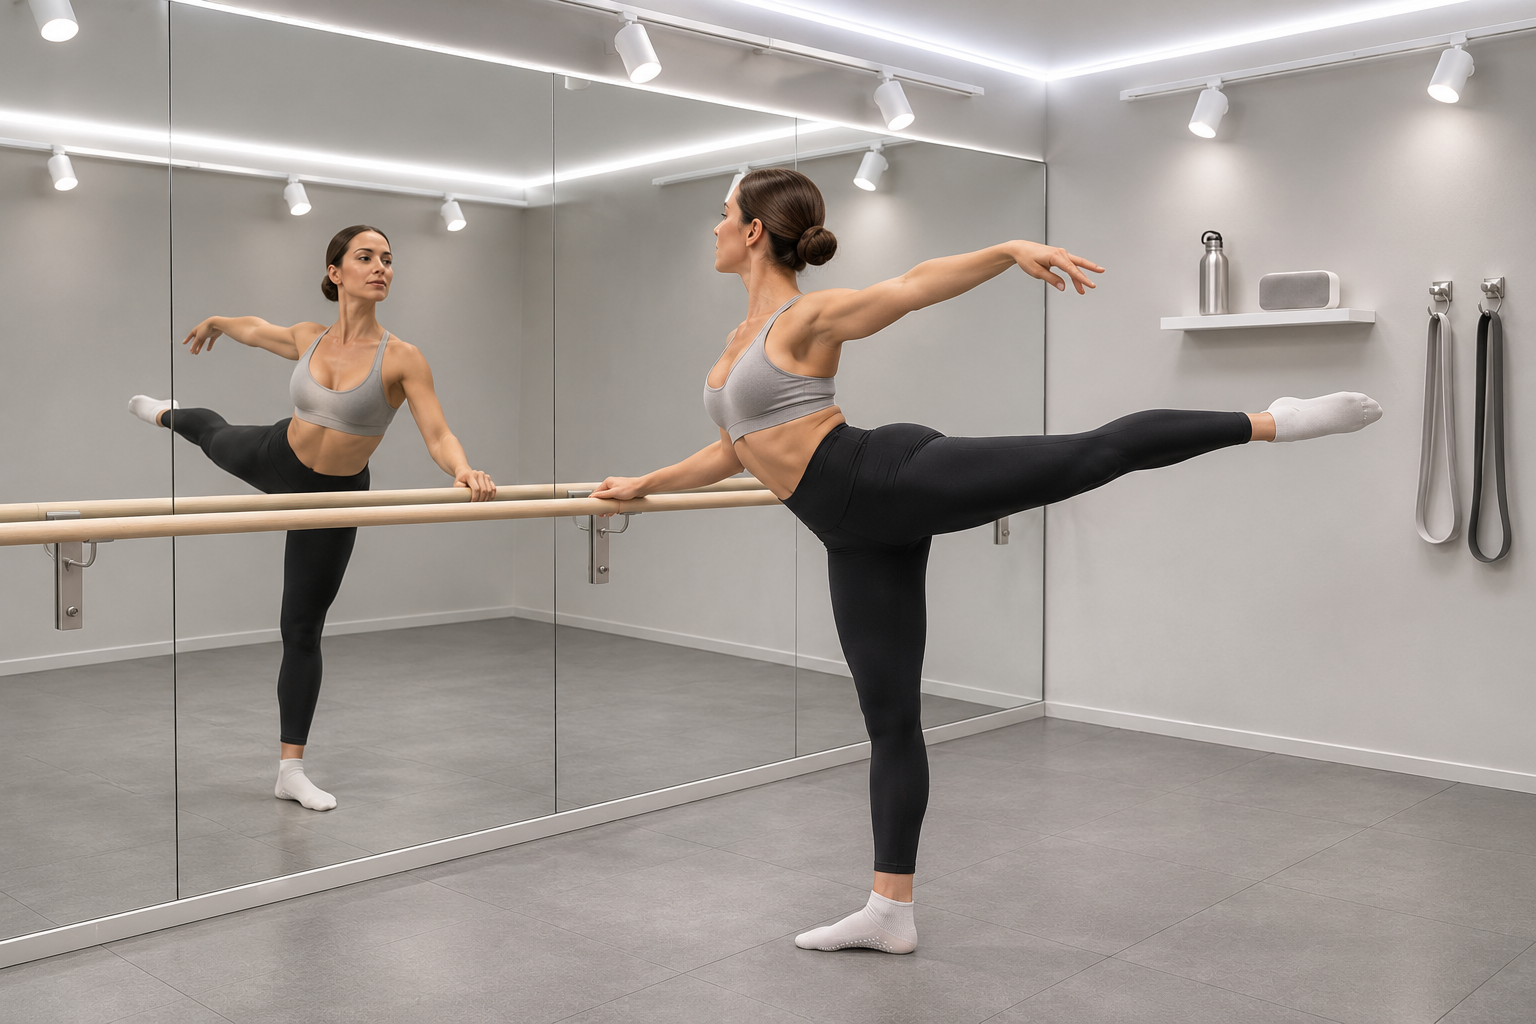
If there’s one training style that feels completely natural in the Performance Studio, it’s Pilates and barre. This is where the aesthetic really shines. The large mirror provides useful visual feedback. The open floor gives you room to move. And the controlled lighting creates the clean, professional atmosphere associated with boutique studios.
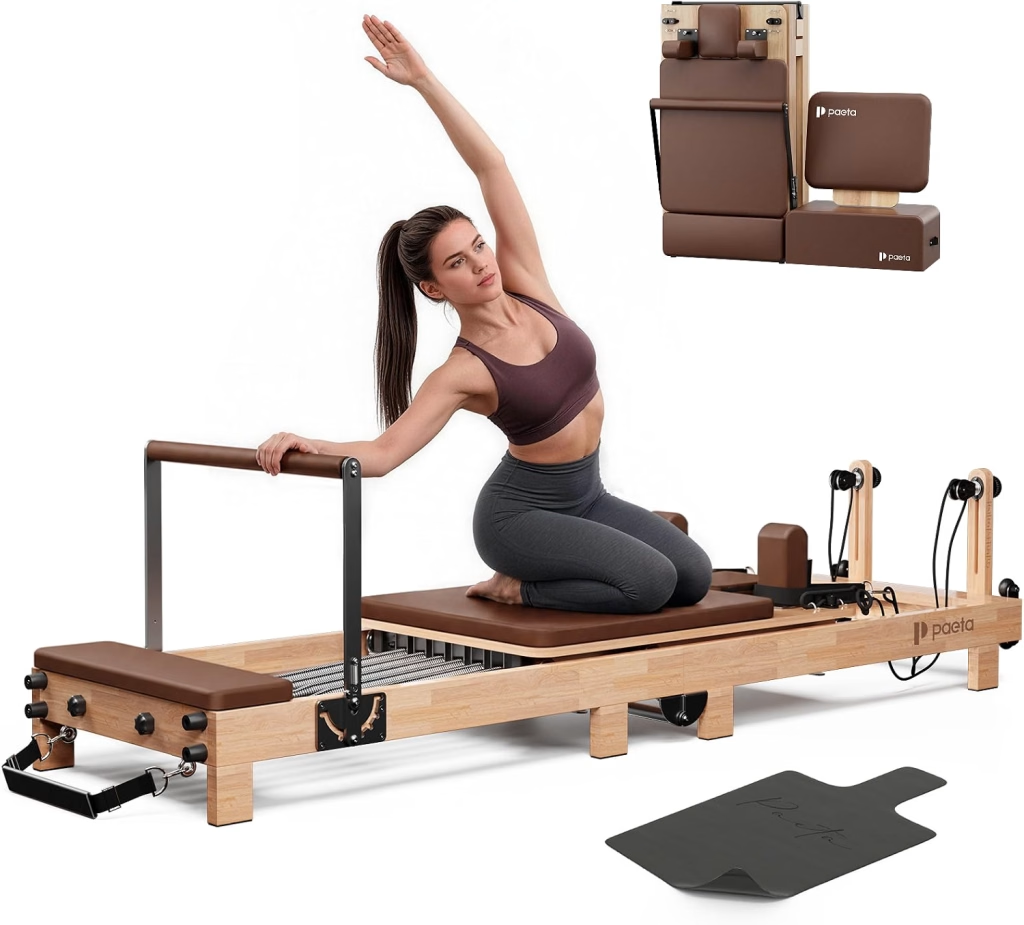
Pilates Reformer
If you have the space and budget, a Pilates reformer can become the centerpiece. Look for a model with clean lines, pale upholstery, and a light studio-style finish. In a spacious basement, you may even have enough room to leave the reformer fully assembled between sessions.
That eliminates the need to fold or move it every time you train. Just make sure there’s adequate clearance around the machine for safe movement.
Wall-Mounted Barre
A wall-mounted barre positioned along the mirror wall is another excellent addition. Ideally, it should provide enough length for comfortable standing exercises. Install it at a height appropriate for the user and the movements being performed. And make sure the wall and mounting hardware can safely support the expected loads.

Mats and Accessories
A premium exercise mat in a neutral color works well for floor exercises. Add light resistance bands and a small Pilates ball for accessory movements. These items are compact, easy to store, and fit naturally into the studio environment.


Training Setup 3: Cardio and Conditioning
For anyone who wants a dedicated space for cardio, intervals, and conditioning workouts.

A basement can be a great place for cardio equipment. Depending on the home’s construction, it may offer more privacy and acoustic separation than an upstairs bedroom. But that doesn’t mean you can ignore noise completely. Impact and vibration can still travel through the structure. The goal is to choose equipment that fits the space and supports your training without creating unnecessary disturbance.
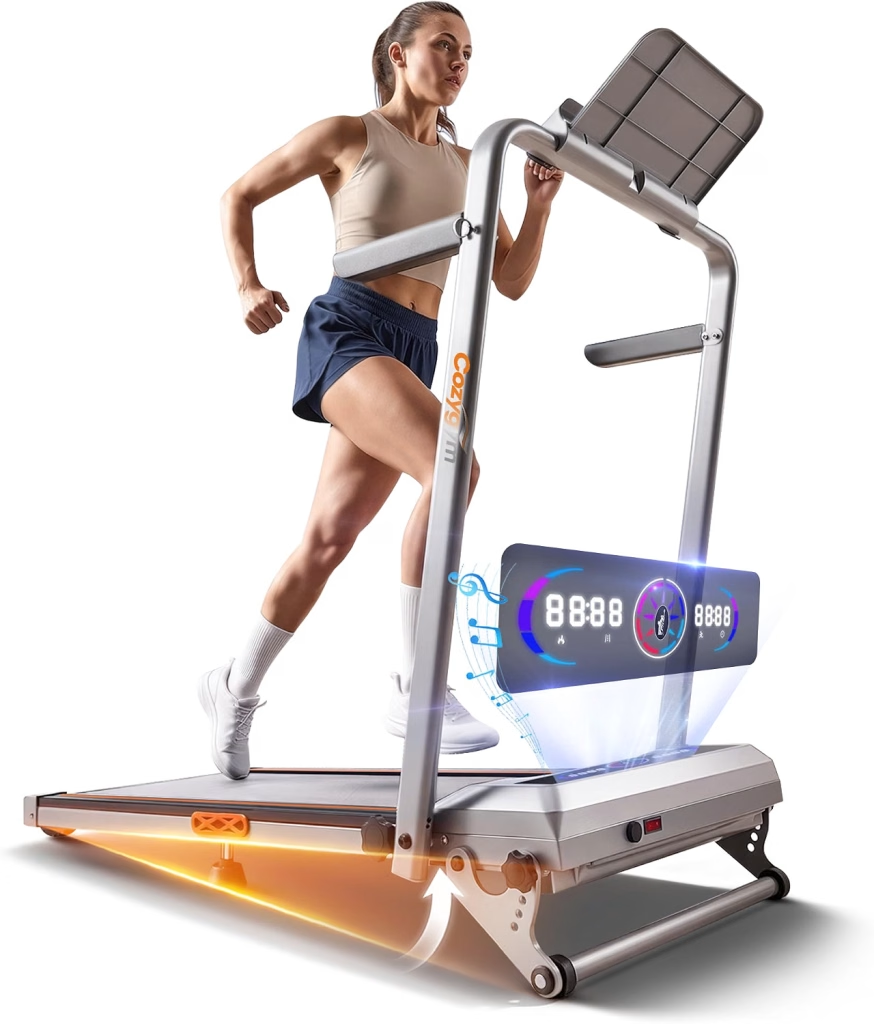
Folding Walking Pad
A compact folding walking pad is a good starting point. Choose a white or light-grey model if possible to maintain the room’s pale color palette. Many walking pads can be stored compactly when not in use, although storage requirements vary.
Stationary Bike or Compact Rower
A quiet stationary bike is another excellent option. A compact rowing machine can also work well if you have enough room for the full rowing motion. Look for a light or neutral finish that complements the room. The Performance Studio doesn’t need oversized commercial machines to feel professional.

Jump Rope and Kettlebell
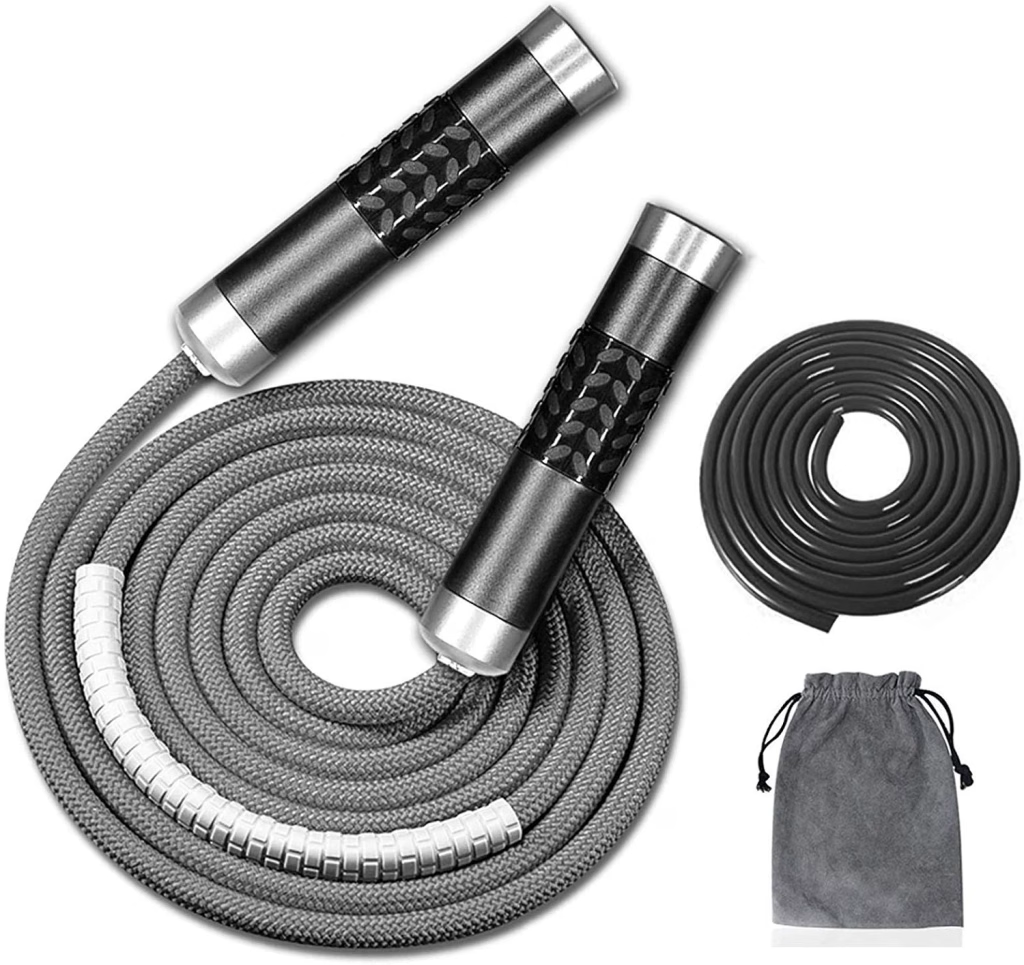
A jump rope stored on a wall hook and a single kettlebell can add plenty of conditioning variety. Just check the ceiling height before incorporating jump-rope intervals. Resistance bands are another useful addition for circuit-style strength work between cardio sessions.

Training Setup 4: Mobility, Yoga, and Recovery
For anyone who wants a calm, private space for stretching, yoga, and active recovery.

Not every workout needs to be intense. Sometimes the most valuable thing you can do is spend thirty minutes moving, stretching, and giving your body a chance to recover. And a performance studio basement gym can be a fantastic environment for that. The enclosed space gives you privacy. The clean layout minimizes distractions. And the lighting can be adjusted to create a calmer atmosphere.
Keep the Equipment Simple
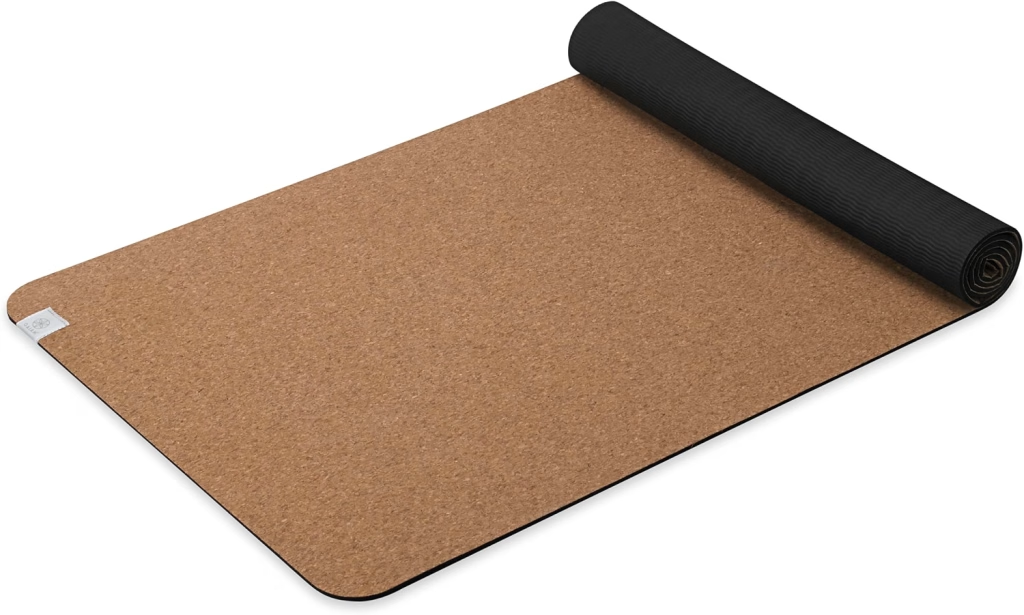
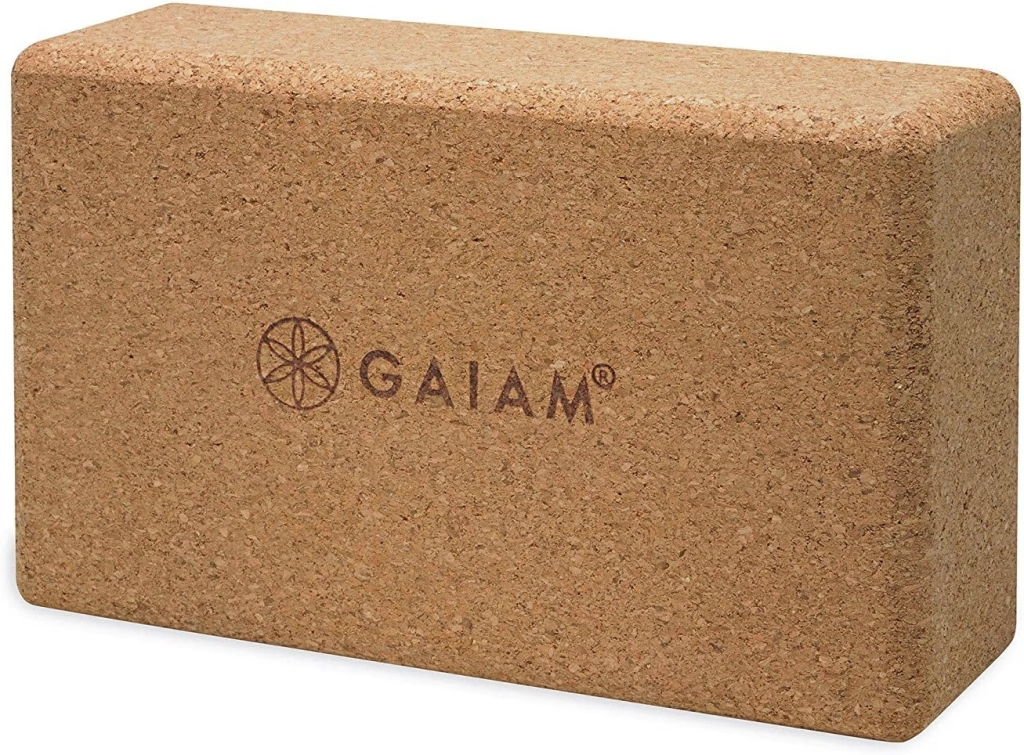
You don’t need much. Start with a premium exercise mat. Add a pair of yoga blocks, a bolster, and a foam roller. Light resistance bands can provide additional options for assisted stretching and mobility exercises. That’s enough to support a wide range of recovery sessions.
Use the Lighting to Change the Mood
Remember the dimmer we discussed earlier? This is where it becomes especially useful. After a bright strength or cardio session, you can gradually lower the lighting for your cooldown. If you’ve chosen warm-white 3000K fixtures, dimming them creates a softer atmosphere. If you’ve installed 4000K lighting, dimming will reduce the brightness without necessarily changing the color temperature.
Either way, the room can shift from energetic to calm without requiring any major changes.
Add a Subtle Fragrance
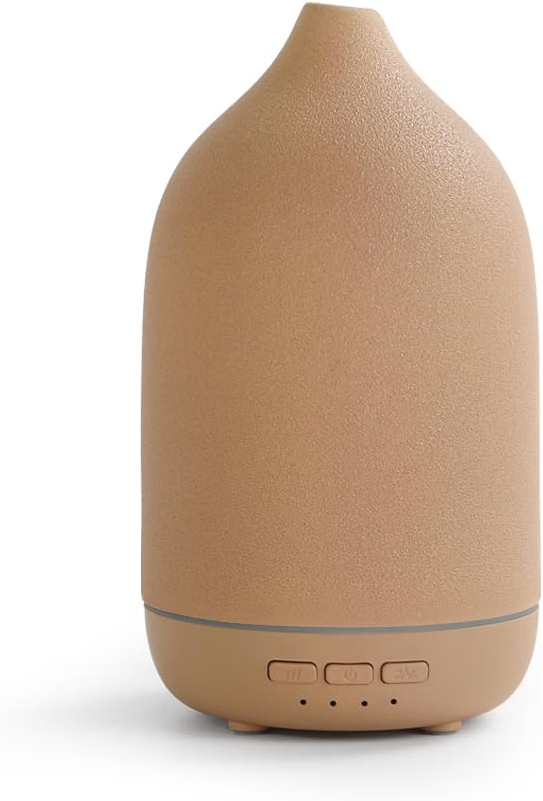
If you enjoy aromatherapy, a small diffuser with eucalyptus or peppermint can add another sensory element. Keep the fragrance subtle and avoid essential oils around anyone who finds them irritating or has sensitivities. The goal is a comfortable environment that supports relaxation.
Keep the Floor Clear
Once your session is finished, return everything to its designated storage. Roll up the mat. Put the blocks away. Tuck the bolster beneath the bench. Clear the floor. That simple habit helps maintain the polished appearance of the room.
The Room With No Variables
One of the most appealing things about a dedicated basement studio is how much control it gives you. You don’t have to wait for the sun to reach the right angle. You don’t have to rearrange furniture before every session. And you don’t have to share your equipment with a room full of strangers. You walk downstairs, close the door, and train. The mirror is where you want it. The lighting is exactly how you set it. The equipment is organized and ready to use.
That’s what makes the performance studio basement gym such an interesting approach to home gym design. While the Athlete Cave embraces darkness and the Industrial Loft celebrates raw materials, the Performance Studio takes a different path. It’s bright, polished, and deliberately organized. Every detail is chosen to make the space feel professional. And once you’ve built it, maintaining that atmosphere doesn’t require much.
Keep the equipment organized. Take care of the flooring. Control the humidity. Reset the room after each session. Because the real luxury of a boutique fitness studio isn’t necessarily the equipment or the price of admission. It’s the feeling of walking into a space where everything is ready for you to do your best work.
Your Iron Paradise doesn’t have to look rugged or intimidating. Sometimes, it looks like a beautifully finished studio waiting just downstairs.
If you’re still deciding which home gym aesthetic fits your personality and training style, the free SOMA Dream Gym Style Guide walks you through all five—with mood boards, equipment guides, and a framework for creating a space that reflects who you’re becoming.

Leave a Reply